To WSUS or not to WSUS, that is the question!
A lot of folks simply do not want to invest the time or infrastructure to setup a WSUS server, so today we’re going to talk a bit about how to use BatchPatch for Windows patch management as well as 3rd party patch management *without* using WSUS.
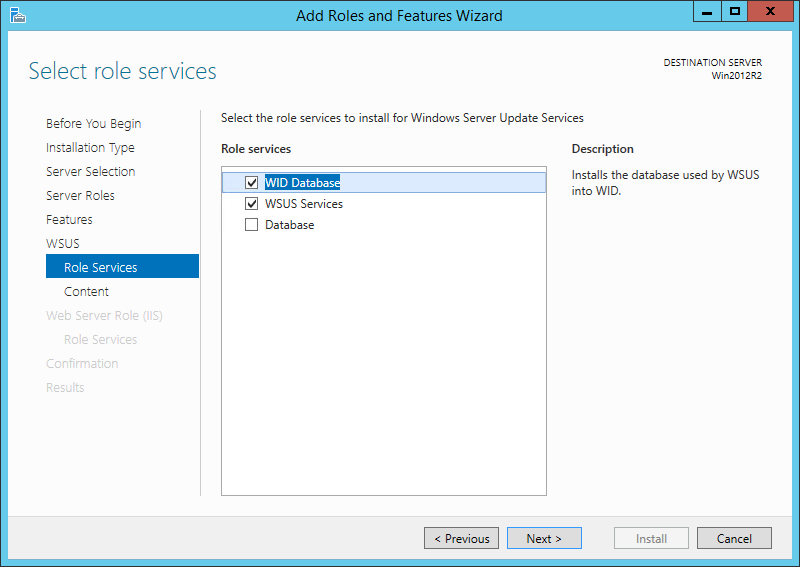
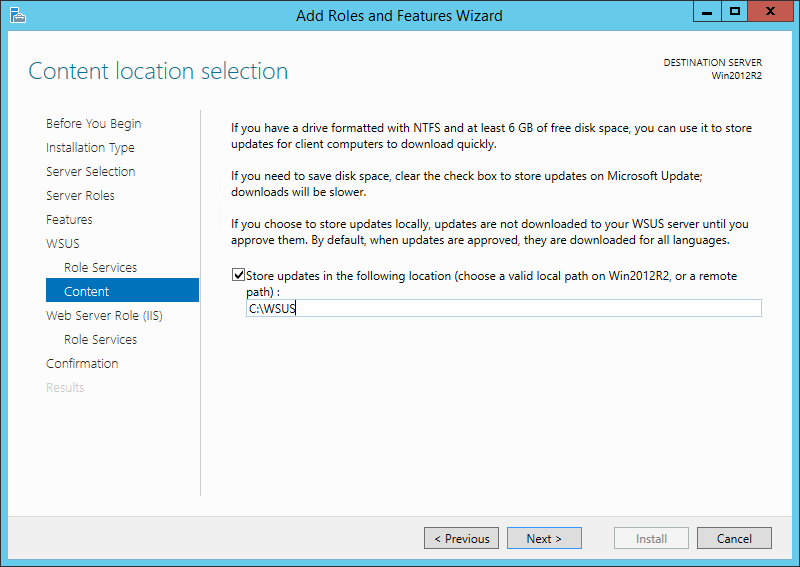
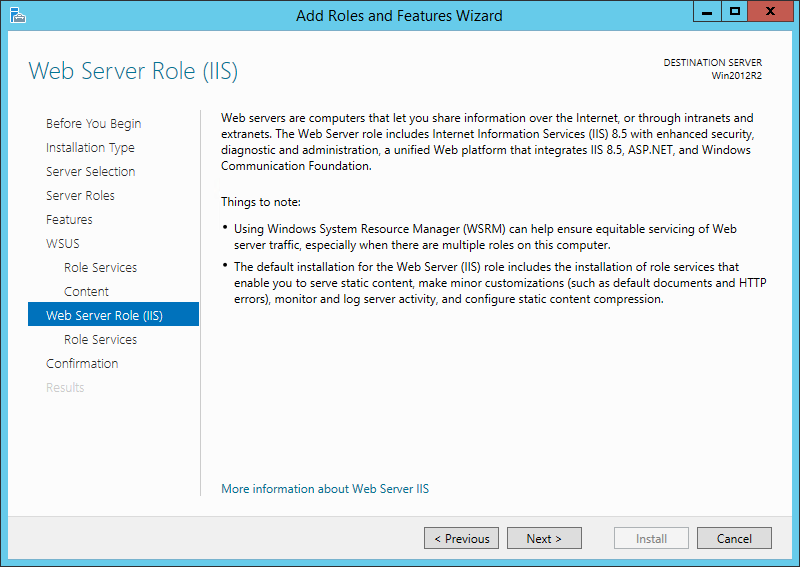
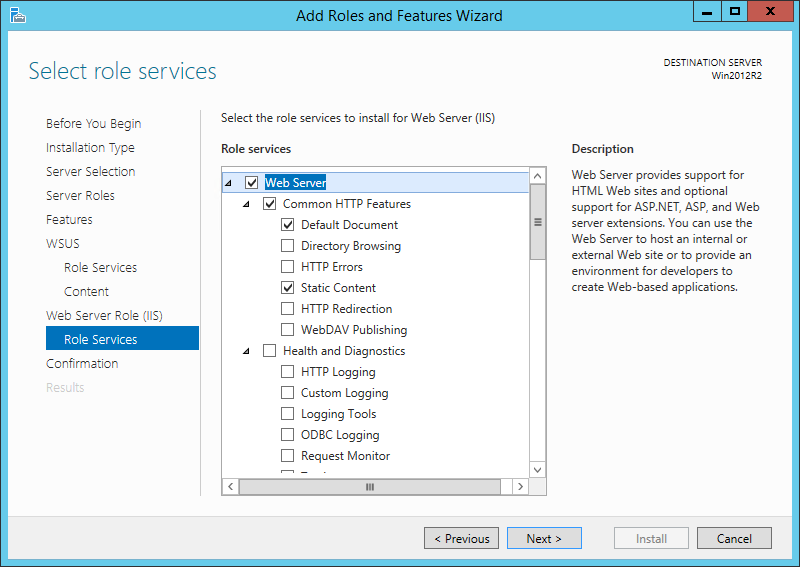
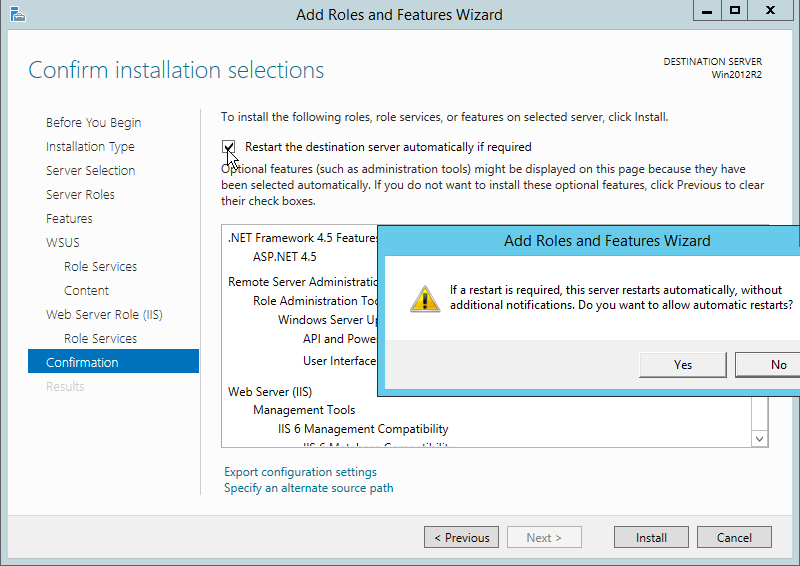
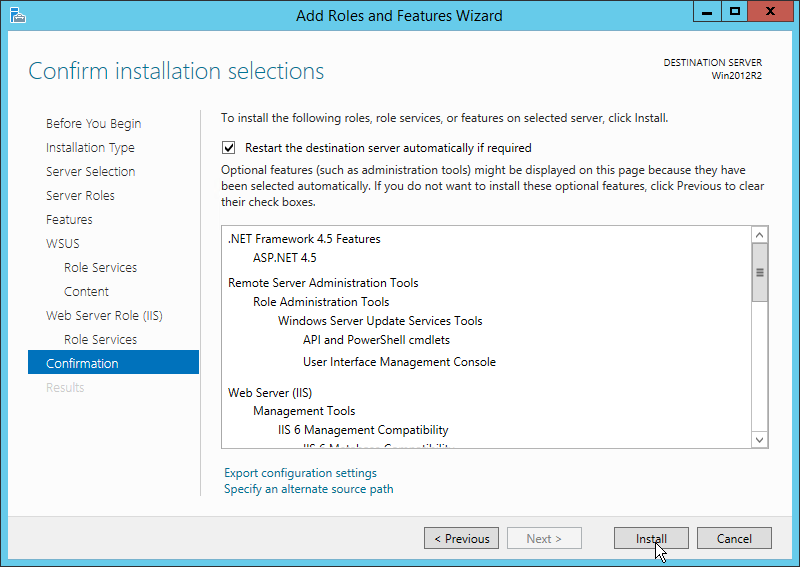
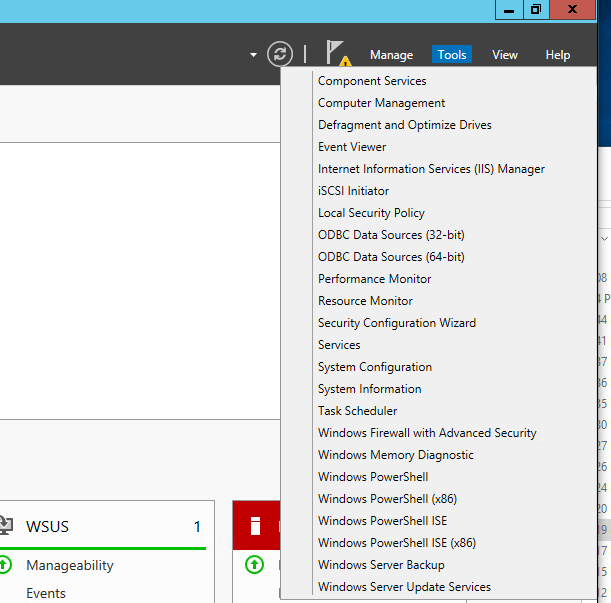
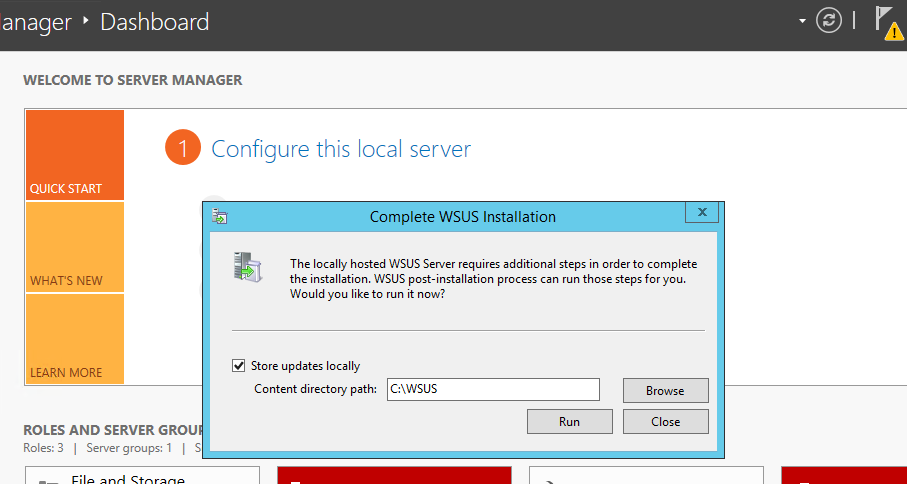
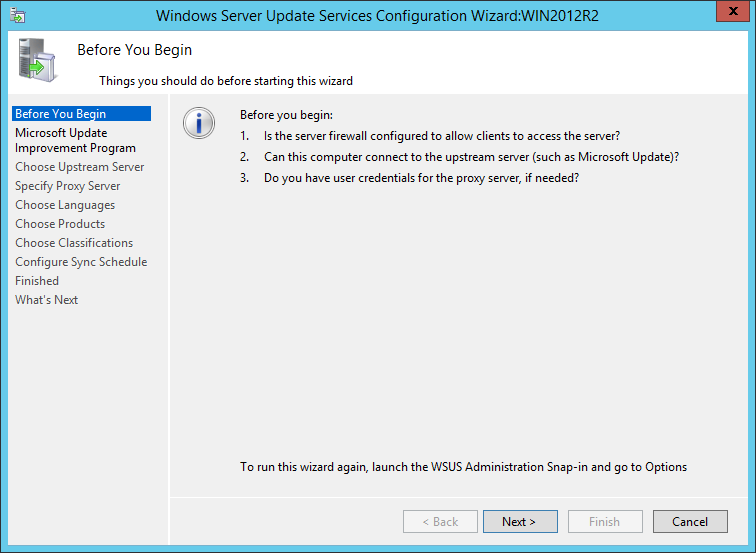
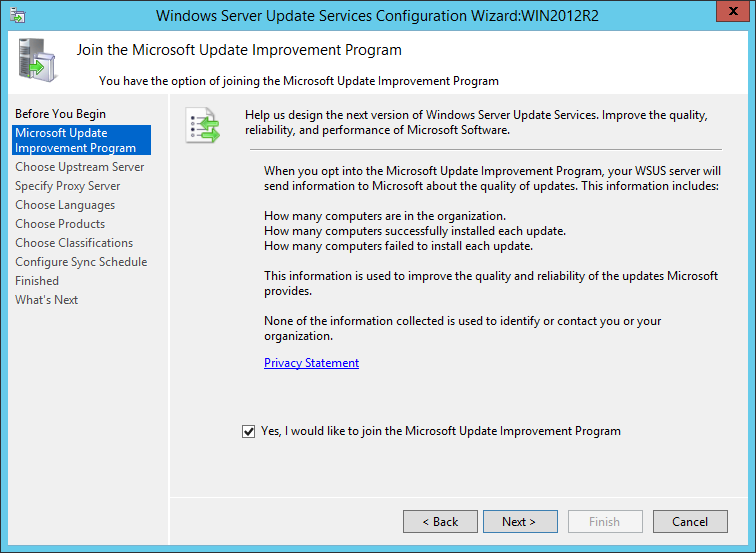
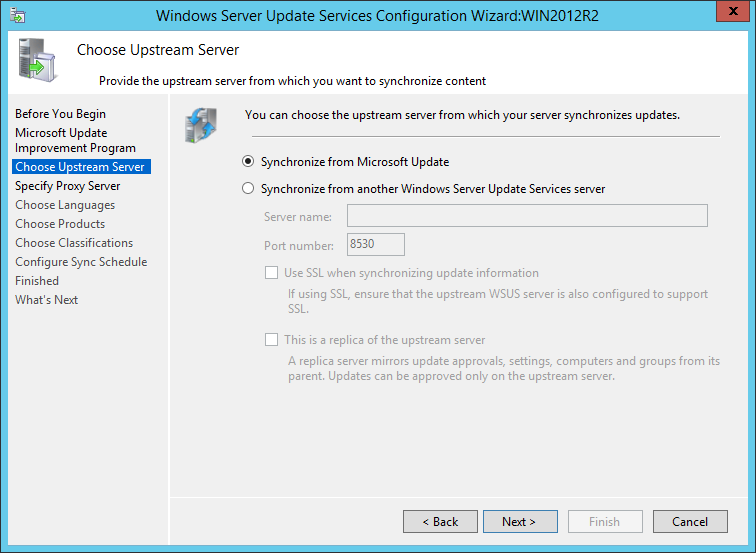
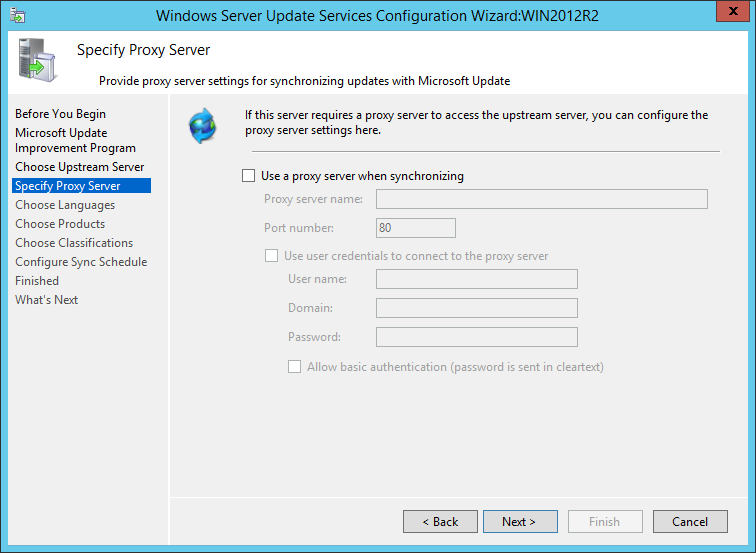
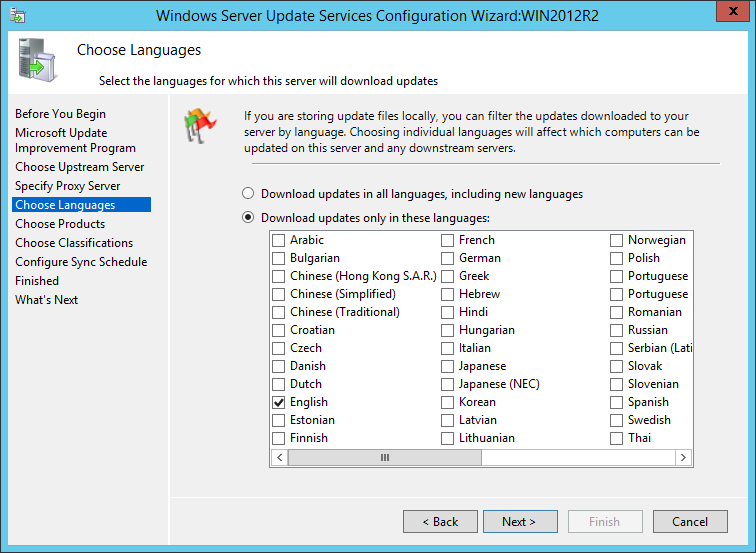
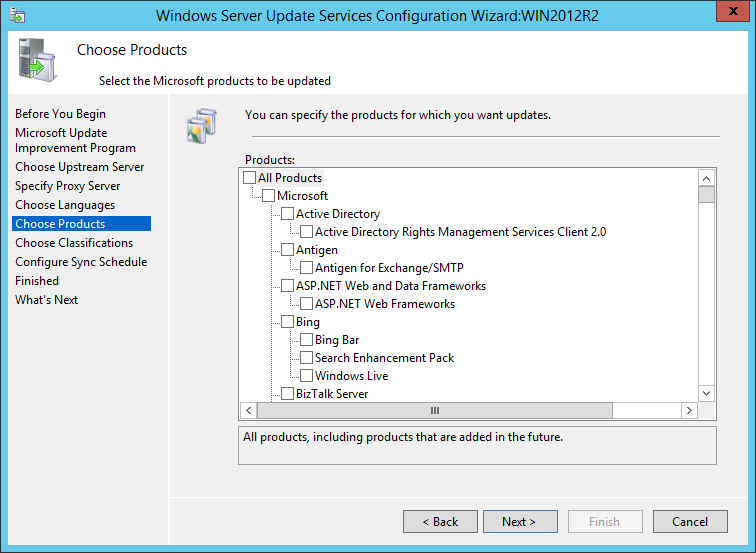
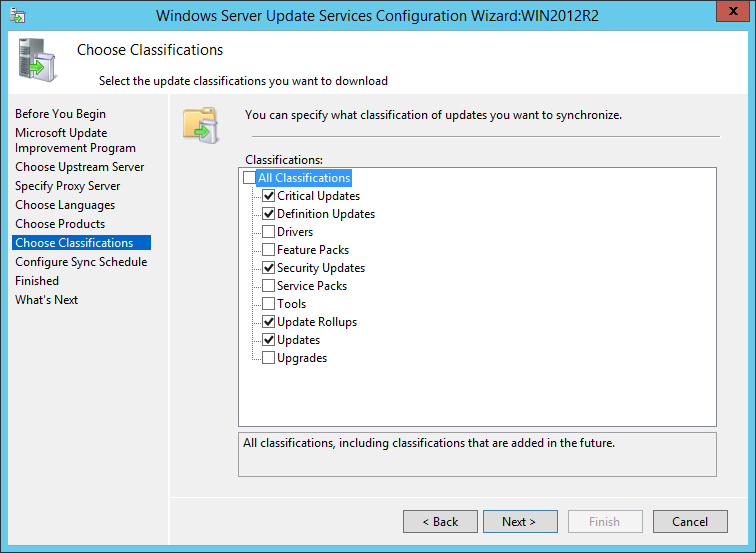
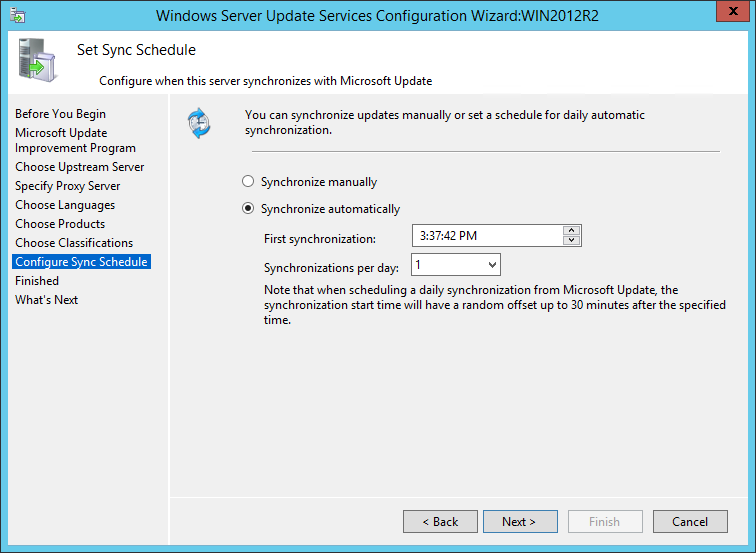
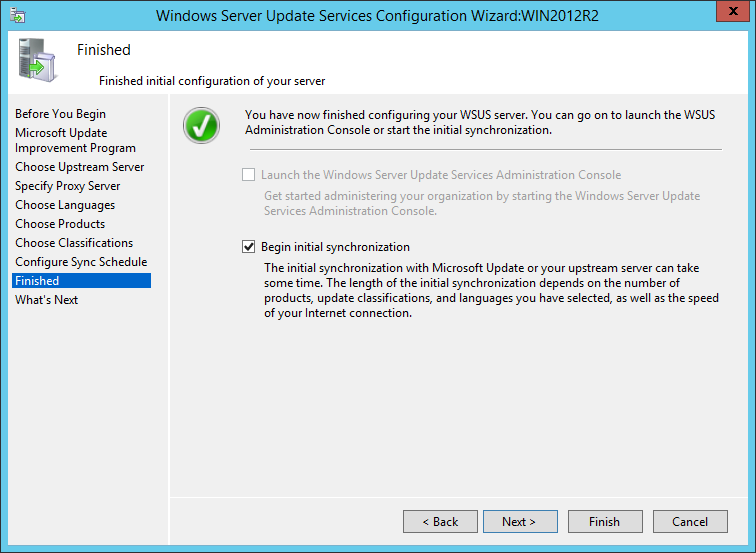
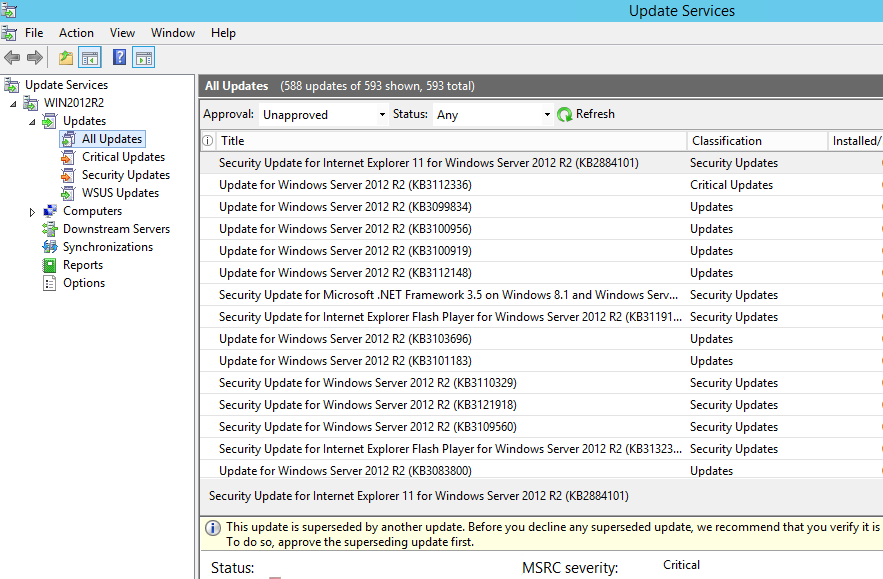
Before I get started, I do want to take a moment to highlight that BatchPatch is also able to work great *with* WSUS, which is is both free and easy to install and use, and can be run on a small virtual machine at minimal cost. That said, if you’re scared to use WSUS simply because you think it’s going to add complexity to your life, don’t worry. It truly is quick, easy, and painless to get up and running. We have a WSUS setup tutorial posted here if you need assistance: How to Setup a New WSUS Server from Scratch on Windows Server 2012 R2
For those of you looking for a patch management solution that does not rely on WSUS, BatchPatch works fantastically as a stand-alone alternative to or replacement for WSUS…
First let me acknowledge that there are always people out there who will say “Don’t bother with a third-party Windows Update patch management solution when you can just use group policy to download and install updates on computers.” However, what these people tend to fail to realize is that in many environments, this kind of methodology simply doesn’t provide an acceptable level of control and monitoring of the process. If you are responsible for an environment where uptime of your servers simply *isn’t* important, then group policy alone might be sufficient. However, if you manage critical servers that cannot be down or offline outside of scheduled maintenance windows, then you will inevitably get into trouble if you try to rely on just group policy alone, especially if your maintenance windows are small. There are a few reasons why this is the case, which I’ll get into momentarily. Ultimately the decision is always yours to make, of course, but do understand that regardless of specific requirements, a patch management tool such as BatchPatch was designed specifically to save you a massive amount of time on systems maintenance, while also minimizing pain and effort. Efficiency is the name of the game… and we all know time is money.
The problem with relying on *only* group policy to handle your entire download, install, and reboot process for Windows Updates
If you’re relying on group policy alone to download, install, and then reboot your critical servers, you cannot monitor the process in real-time. When dealing with any number of servers beyond just a handful, you’re going to need and want to be able to watch the process in real-time to ensure that all applicable updates are successfully installed, that all servers are properly rebooted, and that all servers come back online within your maintenance window and start hosting whatever services they are responsible for hosting. If you don’t have a way to monitor this in real-time, then you are stuck with the following potential issues:
- Some updates fail to install: In this case, to track down which updates failed to install on which servers is not only difficult to determine quickly, but it also becomes increasingly likely that your maintenance window will end before you find and resolve all the failed update installations, leaving your servers potentially vulnerable until the next maintenance window.
- The server hangs during reboot either on its way down or on its way back up: If the server hangs during shutdown, then you’ll probably never discover it during your maintenance window. The updates therefore will never be applied completely, and your server will be in a potentially unstable and/or vulnerable state until the next maintenance window. If the server hangs after shutdown but before coming back online, then whatever services it’s hosting will be offline. Since you probably shut off your server alerts during the maintenance window, you won’t learn that the server is offline until the window ends. At that point you’ll be scrambling to get the server back online after the maintenance window is already over. Clearly this is *not* good for service level agreements (SLAs).
- Services fail to start after reboot: Since you will likely have your alert system disabled during the maintenance window, you won’t discover that critical services never started on particular servers until the maintenance window ends, which again is simply not good for SLAs.
- Knowing the download/install/reboot status of any given server during the maintenance window is near-impossible: Without real-time monitoring, you simply can’t know/tell what the status of servers are during the maintenance window.
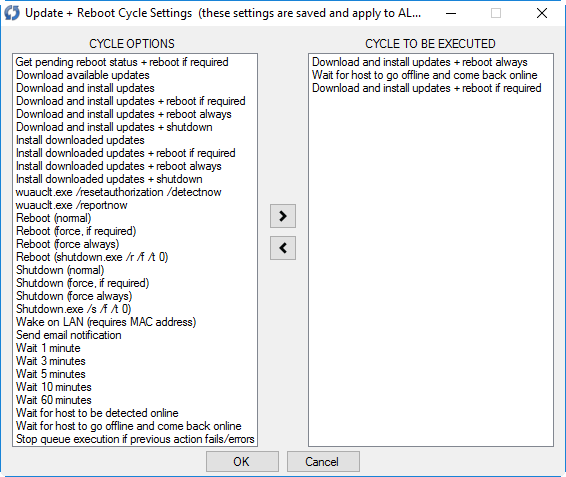
On-Demand Download, Installation, and Monitoring of Windows Updates and Reboots on Numerous Computers
Scenario 1:
BatchPatch Default Mode – No Caching (All computers have access to the internet)
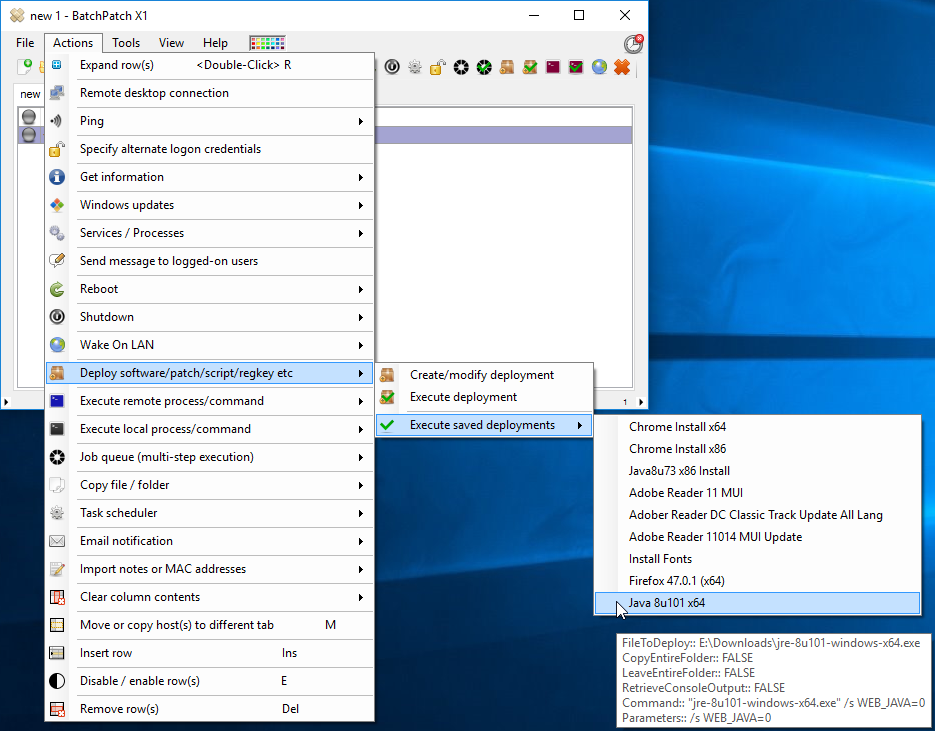
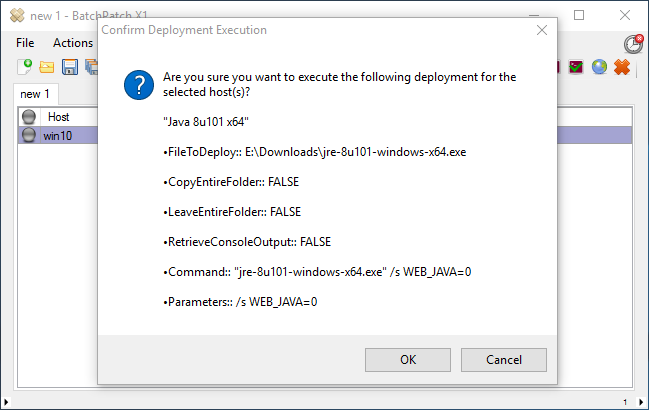
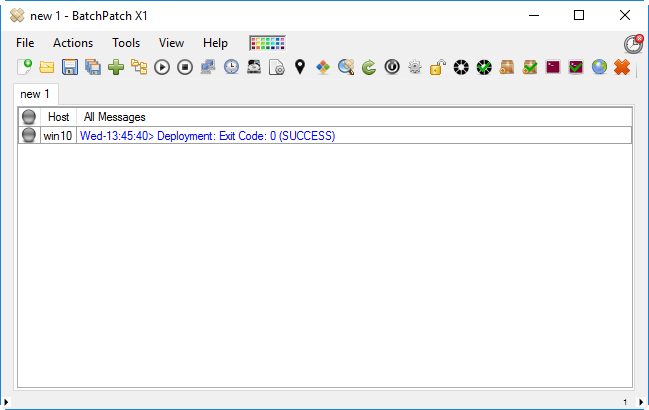
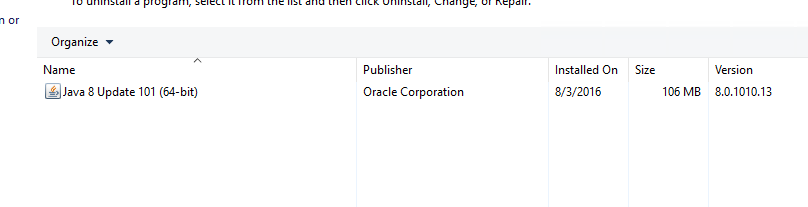
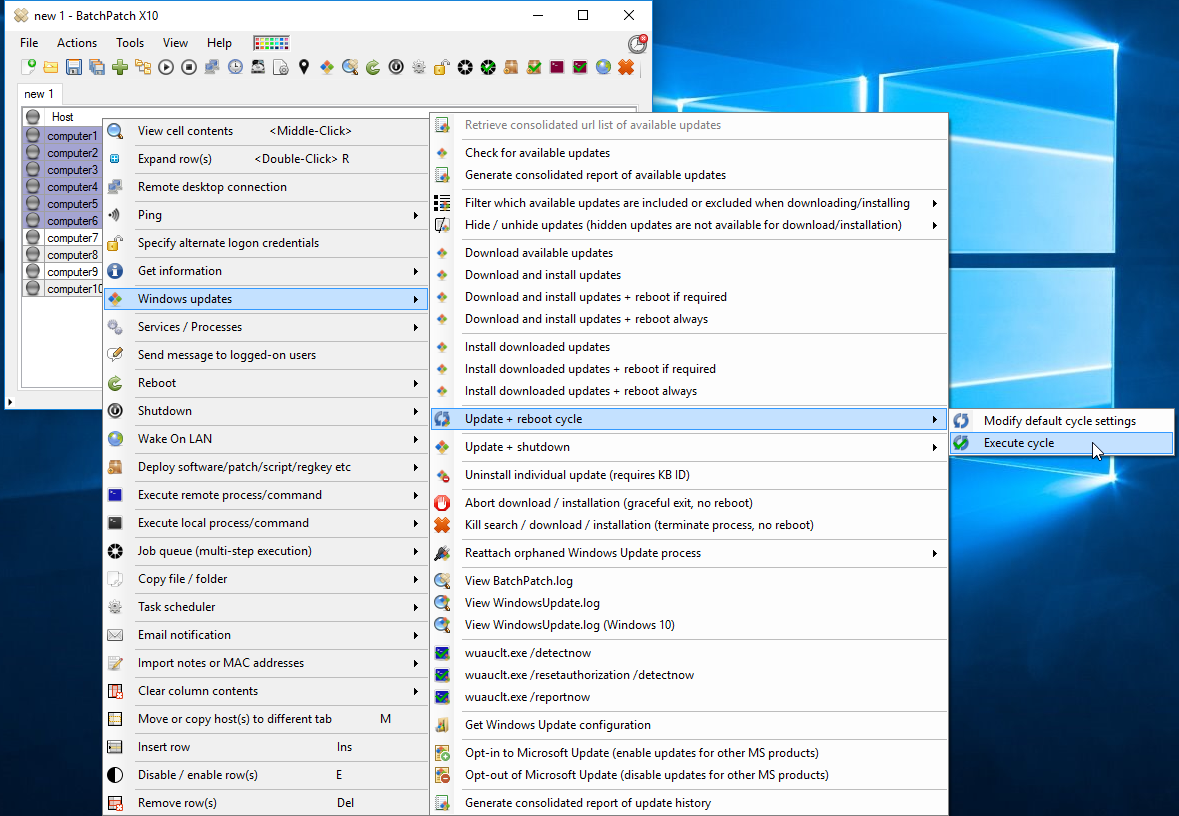
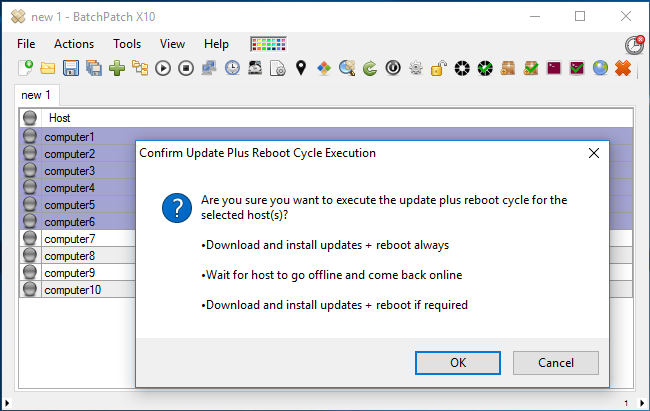
In it’s default configuration, you can use BatchPatch to easily manage the download and installation of Windows Updates on target computers. In this out-of-the-box configuration BatchPatch uses Microsoft’s public Windows Update server to first determine which updates are available to install on each target computer, and then to download and install the applicable updates on each machine, ending with a reboot if required in order to complete the installation process. The whole sequence can be initiated from and monitored by the BatchPatch console with just a single click.
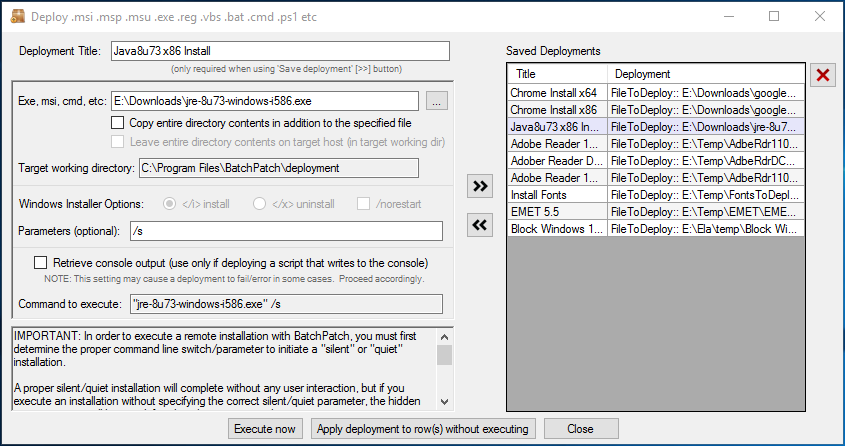
Using BatchPatch To Remotely Install Windows Updates
Scenario 2:
BatchPatch Cached Mode (All computers have access to the internet)
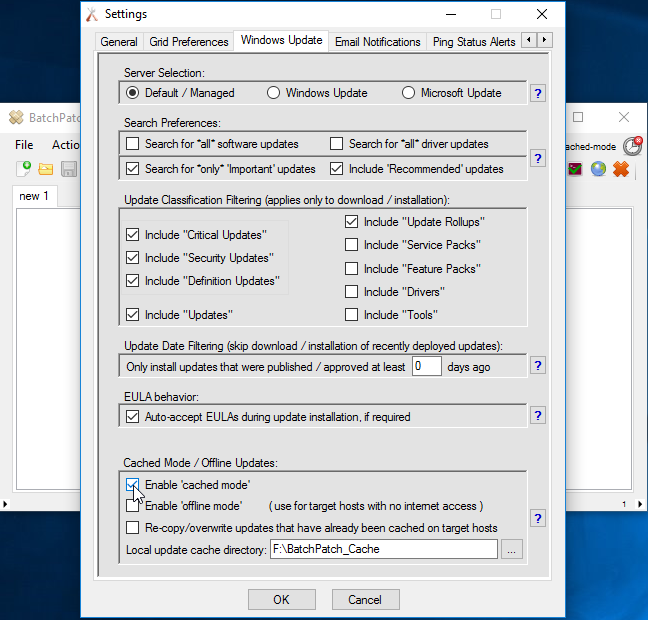
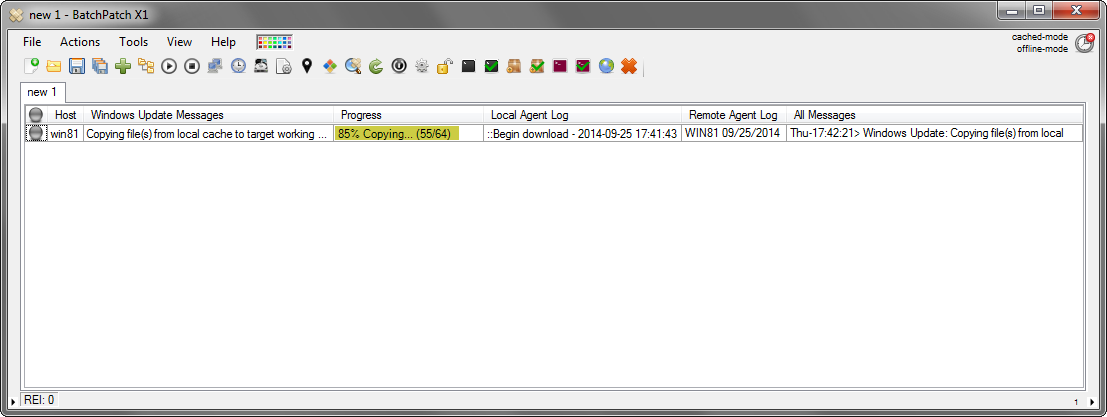
In the online cached-mode configuration, BatchPatch still uses Microsoft’s public Windows Update server to determine which updates are available to install on each target computer. However, instead of each target computer downloading its own copy of any needed / available updates, BatchPatch downloads all updates just one time to a single local repository, and then from there it distributes copies of the updates to target computers. Cached-mode can therefore reduce overall bandwidth usage to the internet, though local network bandwidth usage might be increased.
Using BatchPatch In Cached Mode
Scenario 3:
BatchPatch Cached Mode + Offline Mode (The BatchPatch computer has internet access. Target computers do not have internet access but they do have connectivity to the BatchPatch computer)
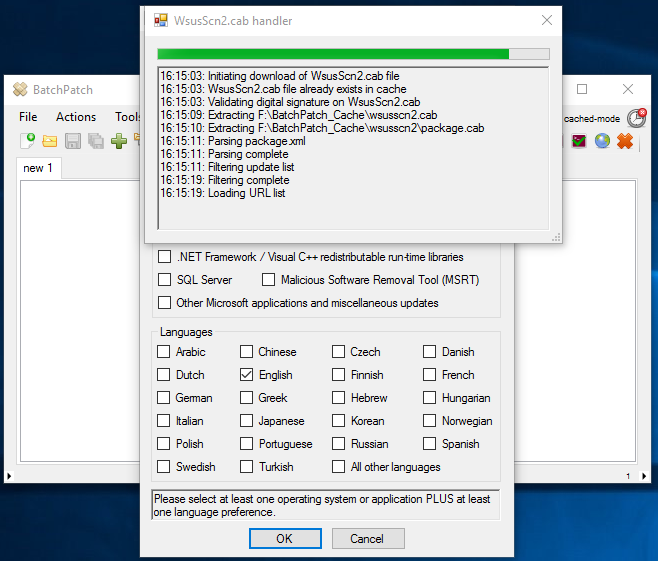
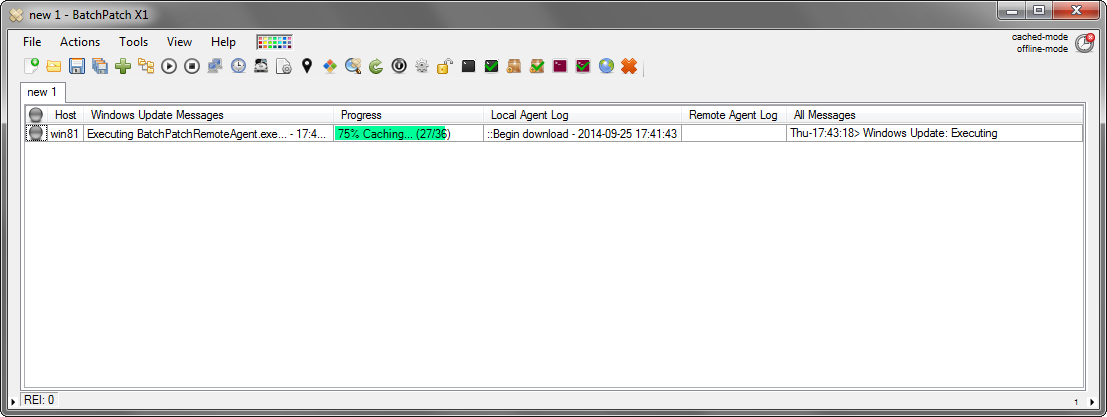
In this first offline cached-mode configuration, BatchPatch does not rely on Microsoft’s public Windows Update server to determine which updates are available to install on target computers. Instead, the offline scan file (WsusScn2.cab) that Microsoft publishes each month is downloaded by BatchPatch and used for offline scanning to determine which updates are needed by computers when those computers are not able to access Microsoft’s public Windows Update server.
Using BatchPatch In Offline Mode When BatchPatch Has Internet Access
Scenario 4:
BatchPatch Cached Mode + Offline Mode (Target computers do not have access to the internet, but administrators are able/allowed to transfer or copy files from this network to another network that has access to the internet. BatchPatch is run in two separate instances – one instance on a computer that has internet access in order to obtain updates, and one instance on the offline network in order to deploy the updates to target computers)
In this second offline cached-mode configuration, BatchPatch does not rely on Microsoft’s public Windows Update server to determine which updates are available to install on target computers. Instead, the offline scan file (WsusScn2.cab) that Microsoft publishes each month is downloaded by BatchPatch and used for offline scanning to determine which updates are needed by computers when those computers are not able to access Microsoft’s public Windows Update server.
Using BatchPatch In Offline Mode When BatchPatch Does Not Have Internet Access
Scenario 5:
BatchPatch Cached Mode + Offline Mode (Target computers do not have access to the internet. These computers are connected to a high-security network with strict rules that disallow administrators and users from transferring or copying any files from the high-security network to a lower-security network. BatchPatch is run in two separate instances – one instance on a computer that has internet access in order to obtain updates, and one instance on the offline network in order to deploy the updates to target computers)
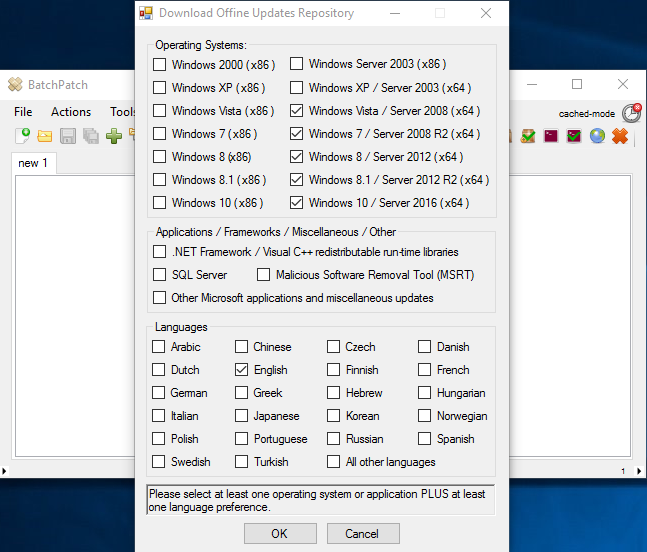
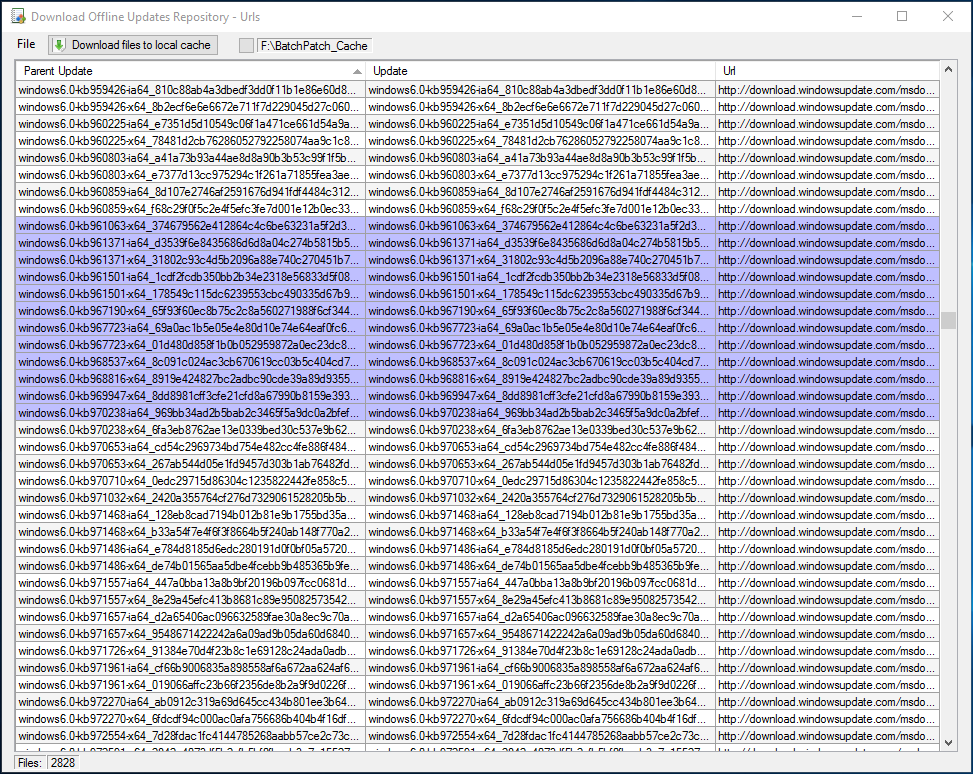
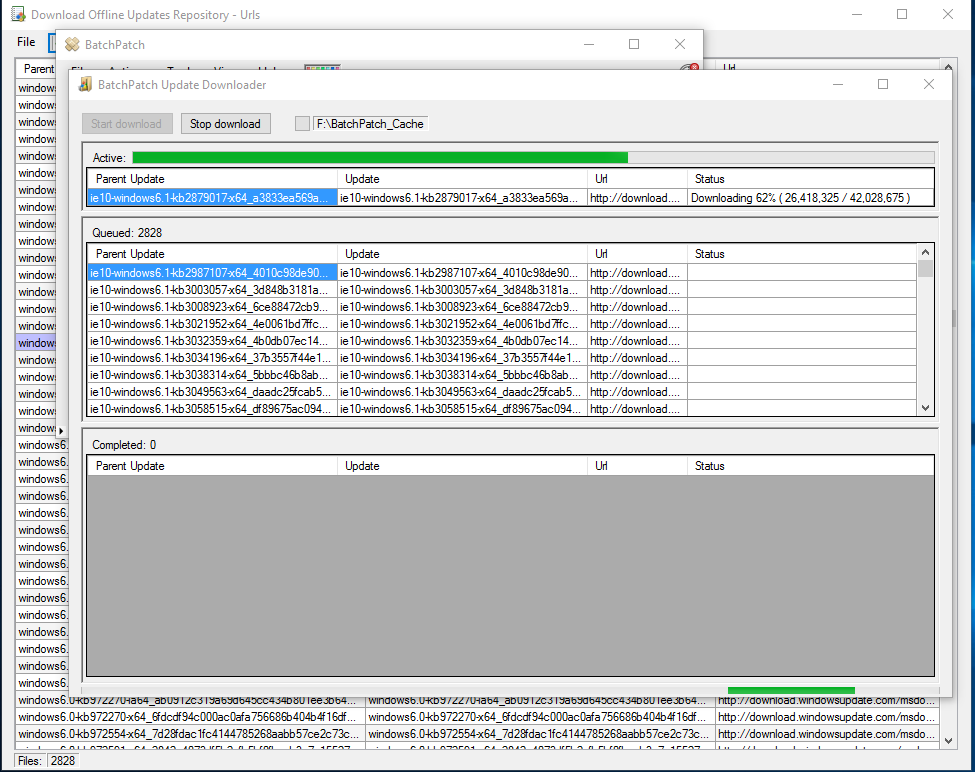
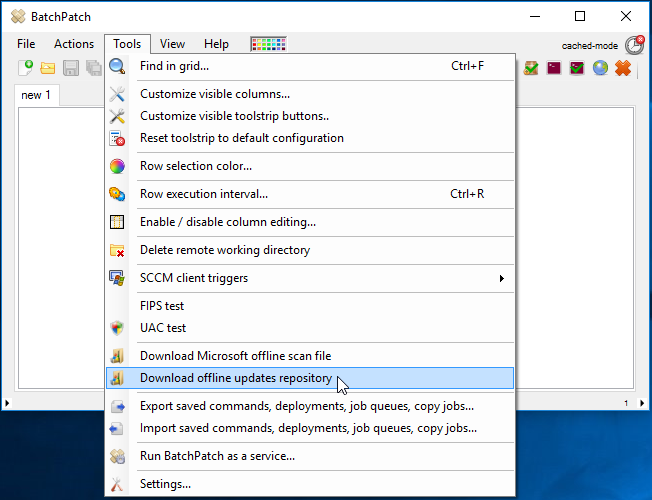
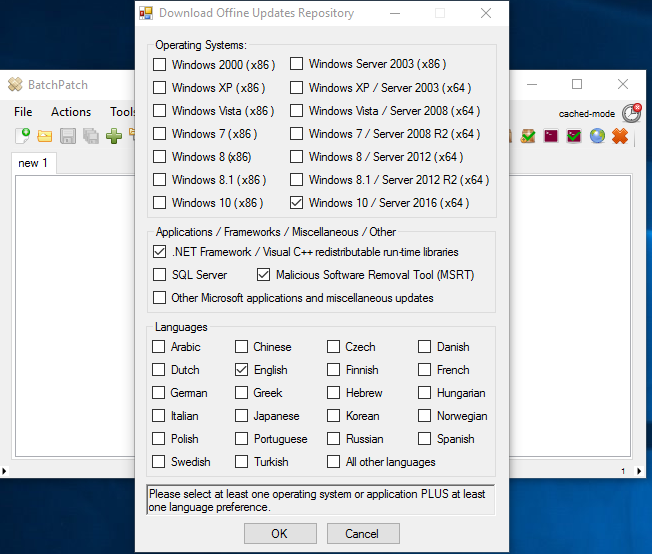
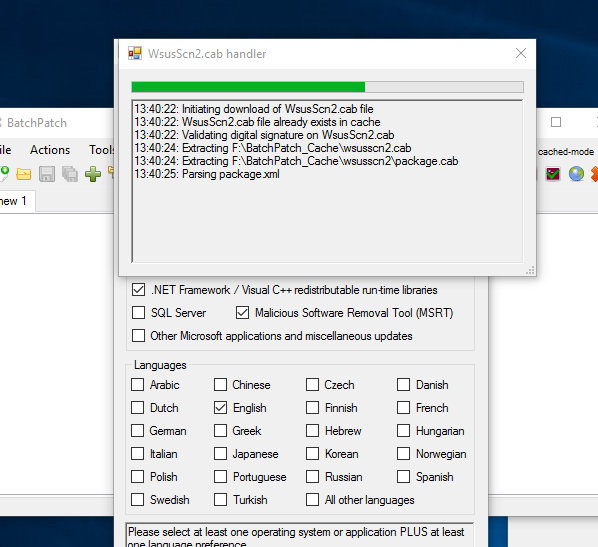
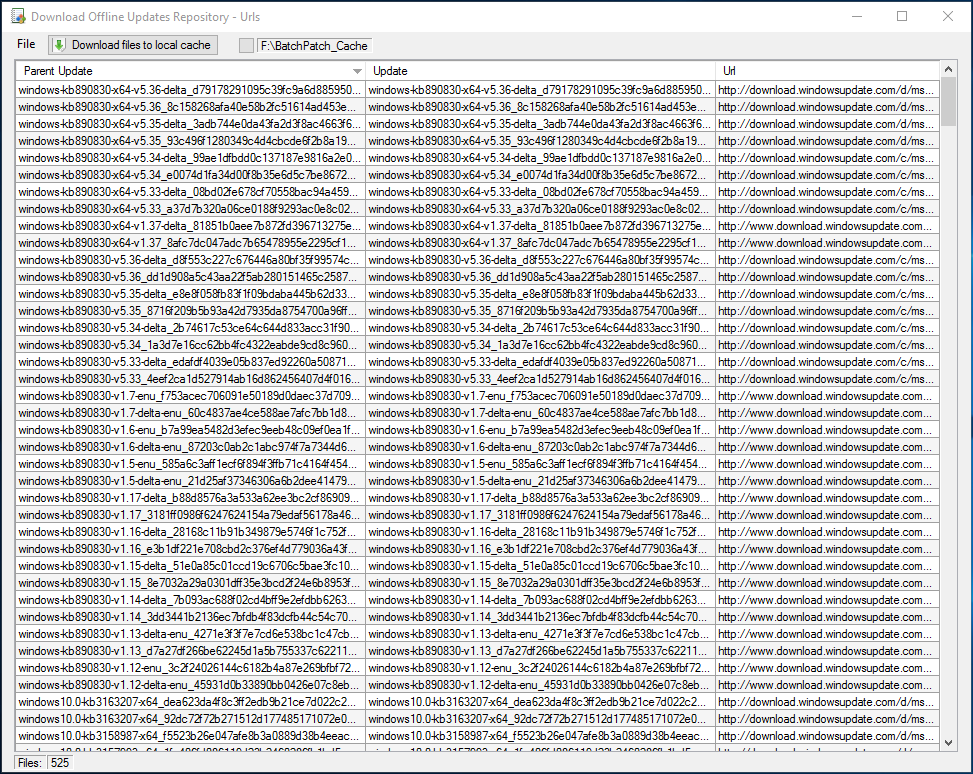
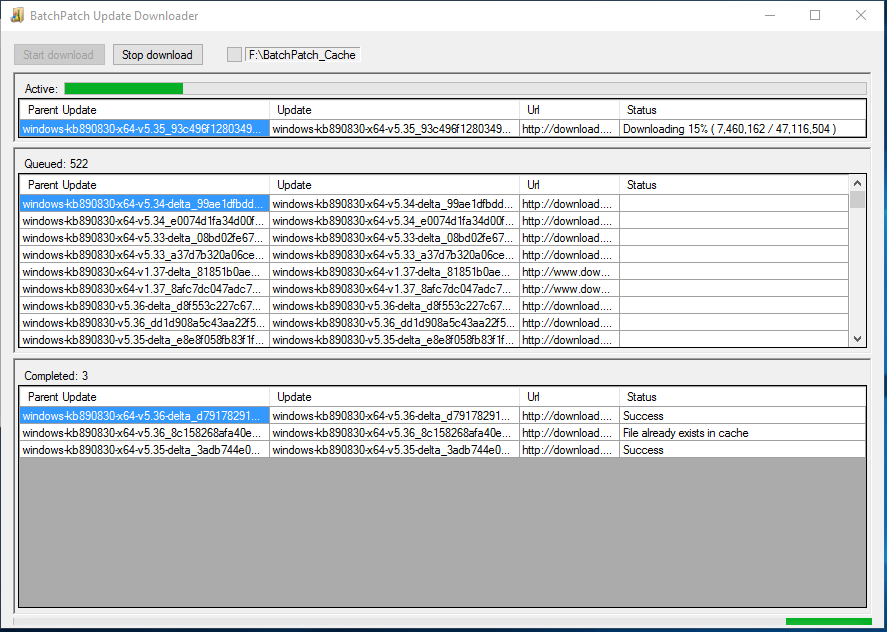
In this third offline cached-mode configuration, BatchPatch does not rely on Microsoft’s public Windows Update server to determine which updates are available to install on target computers. Instead, *all* available updates for a given operating system may be downloaded in advance by the administrator. Once pre-downloaded, the update may then be moved to a high-security network for subsequent deployment to computers on that network.
Downloading Windows Updates for Distribution to Offline Computers on High-Security Networks