Every administrator at one time or another has the need to update user computers that are rarely connected to the corporate network. Whether you need to install Windows Updates or update a third-party software product, it’s always a pain in the butt when the computer in question is a laptop that is rarely brought in to the office and put on the network.
BatchPatch makes this process as easy as possible because we provide an option in the Task Scheduler that enables the administrator to execute a custom process on a computer only after it first detects that the computer is connected to the network and powered on. The task option is titled ‘Run task immediately upon detecting target computer online.’ With this option you are able to schedule a particular task, such as ‘Download and install Windows Updates + Reboot if Required’ on a particular computer. BatchPatch will then check once per minute to see if that computer is online and responding to requests. If the computer responds, then BatchPatch will begin the task. If not, then BatchPatch will sleep for a minute before trying again. This process can be left to run indefinitely until it is complete.
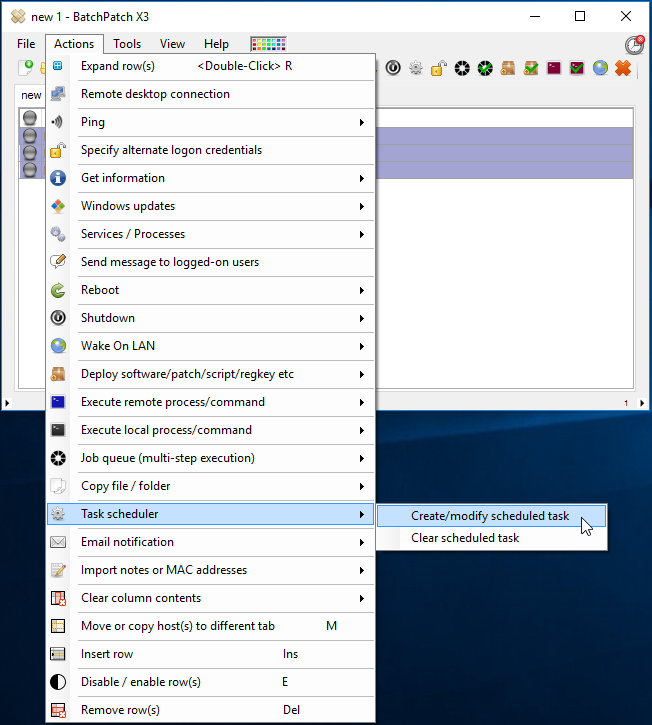
- Highlight the desired host(s) in the BatchPatch grid, and then select ‘Actions > Task scheduler > Create/modify scheduled task.’
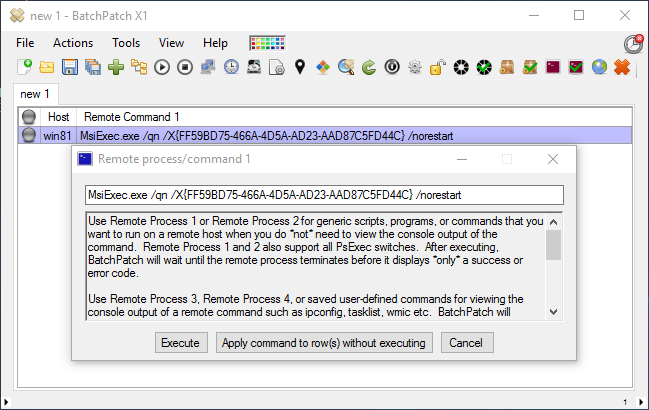
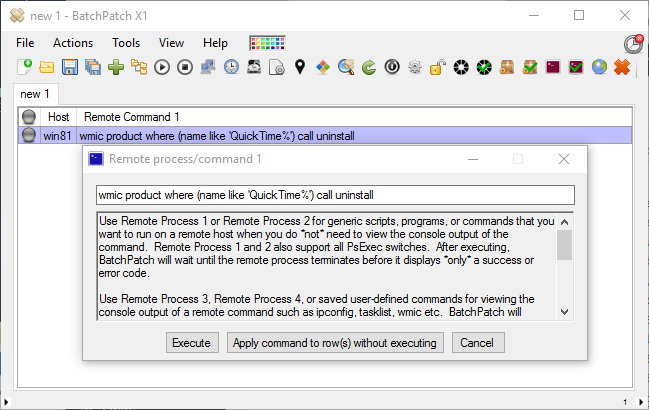
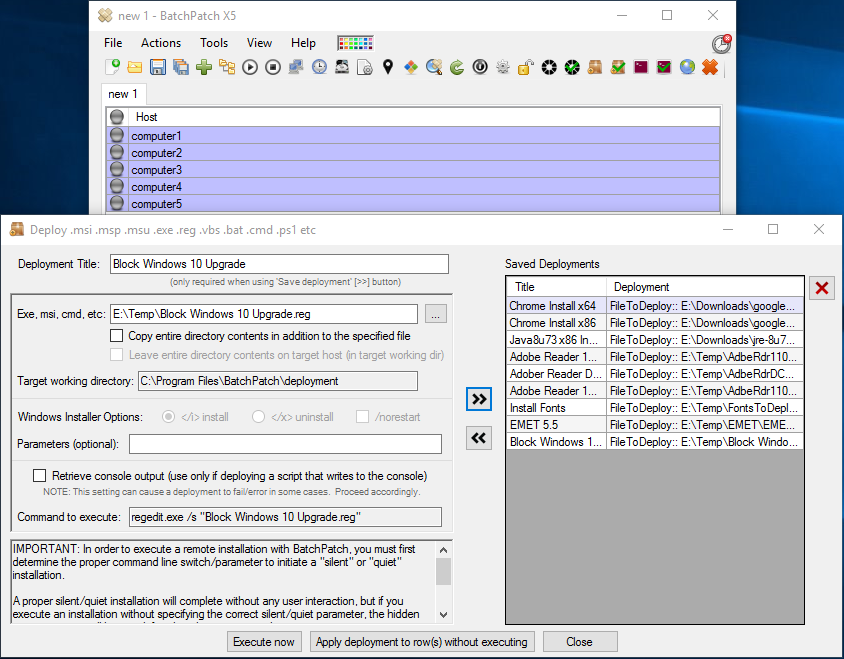
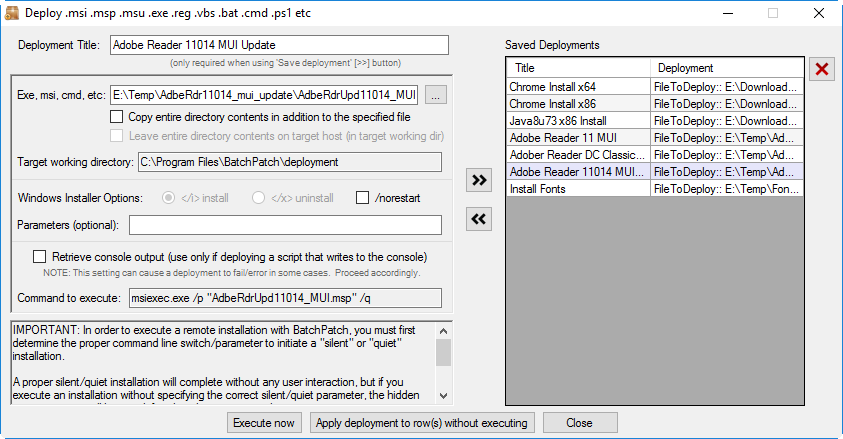
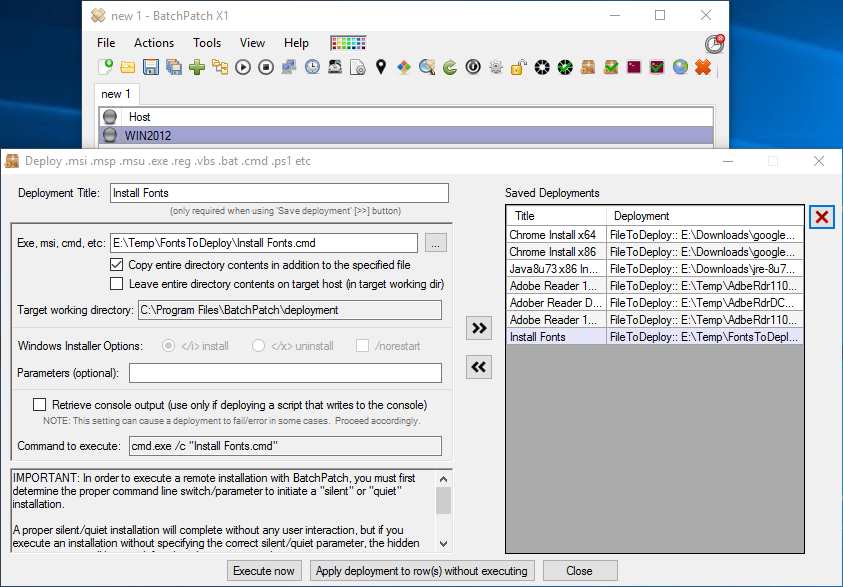
- Select the desired task from the ‘Task’ drop-down menu, and then check the box that says ‘Run task immediately upon detecting target computer online.’ Then click the OK button. The task does not have to be a built-in BatchPatch task. It can also be any custom script, process, or command that you have previously created inside of BatchPatch.
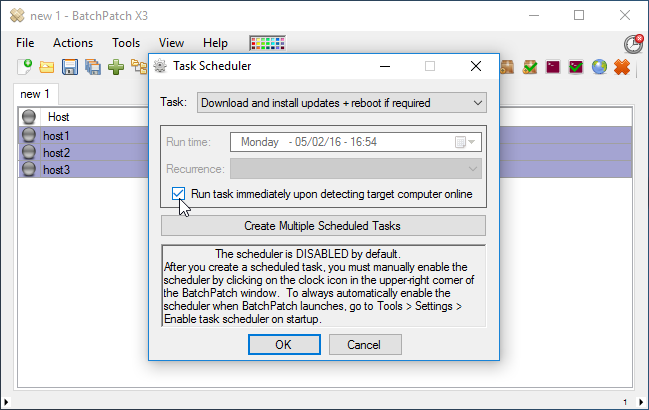
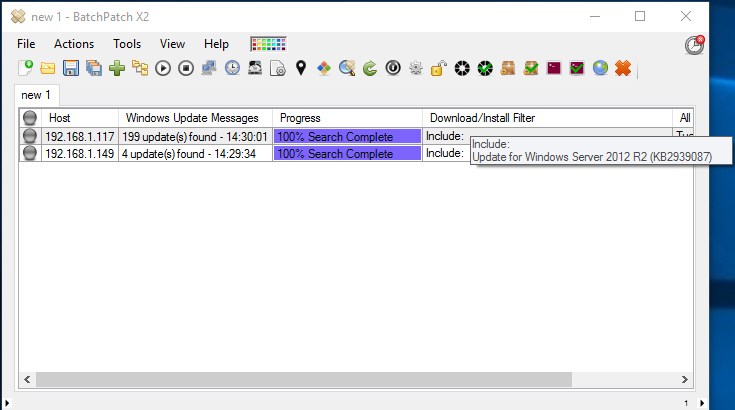
- Lastly, enable the scheduler if it is not already running. To do this, click on the small clock icon in the upper right corner of the BatchPatch window. When it has been enabled it will be green (rather than red), and if you mouse over it you see a tooltip that says ‘Scheduler Enabled.’
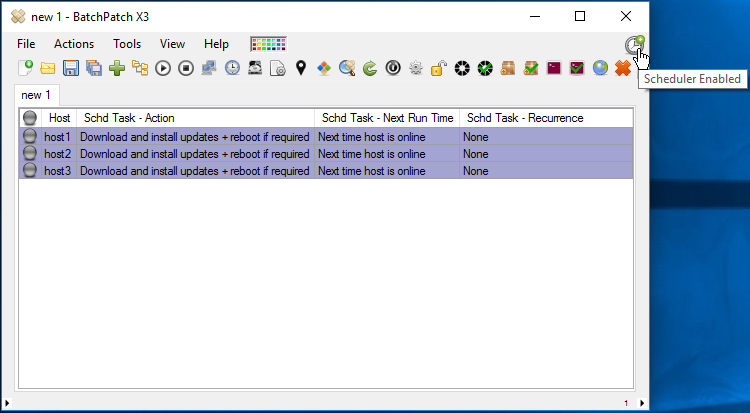
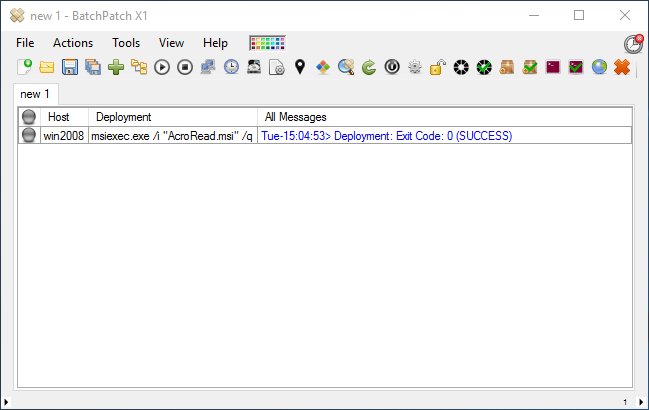
- That’s all there is to it. At this point you can sit back and wait for the task to complete, or better yet you can go on about your daily work. Simply check back on the status in BatchPatch at any time. If you’d like to take it one step further and configure an email alert to notify you when the task has been completed, this is also pretty simple. In this case you would create a job queue with two tasks in it. The first task would be your desired action, such as ‘Download and Install Windows Updates + Reboot if Required.’ The second task in the queue would be the email notification task. Then once you have saved this job queue, you can run it via the scheduler, using the same option that you used above to ‘Run task immediately upon detecting target computer online.’ This way, when the task completes you’ll get an email notification to let you know. More on email notifications can be found here: How to send email notifications in BatchPatch