Today I’d like to go over the automation options that BatchPatch provides for downloading and installing Windows updates on multiple computers.
Update + Reboot Cycle
First let’s look at the ‘Update + Reboot Cycle’ feature, which is available on the ‘Actions’ menu. Select ‘Actions > Windows updates > Update + reboot cycle > Modify default cycle settings’

You’ll be presented with a warning that informs you that you’re about to modify a global setting.
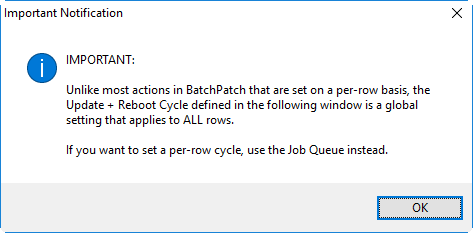
Click OK to proceed. The window that appears allows you to modify the default settings for the ‘Update + reboot cycle’ action. Essentially this is just a simplified version of our ‘Job Queue’ feature. In addition to being simplified, it’s also a global setting, whereas the normal ‘Job Queue’ is configured on a per-row basis. For most users in most situations we actually recommend the job queue because it provides the most complete control. We’ll go over the ‘Job Queue’ further below, so you may skip straight to that section if you prefer.
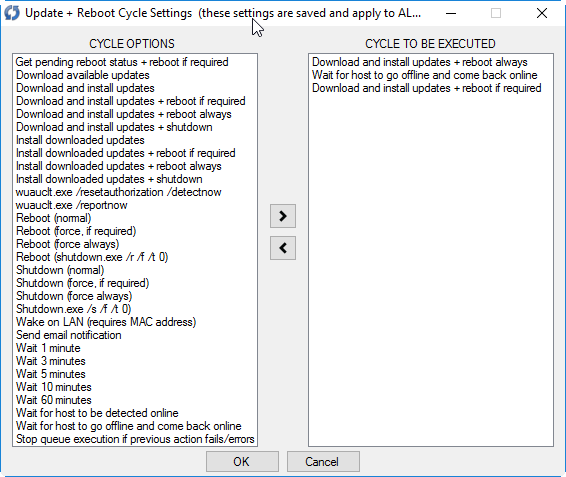
We can modify the default cycle to be whatever we desire, but a simple cycle that works for most situations is just 3 steps:
*Download and install updates + reboot always
*Wait for host to go offline and come back online
*Download and install updates + reboot if required
Click OK to save the default cycle settings. Next you can execute the cycle for hosts that have been selected in the grid by selecting the desired hosts and then click ‘Actions > Windows updates > Update + reboot cycle > Execute cycle’. You’ll be presented with a confirmation dialog that explains what you’re about to execute on the selected hosts in the grid.
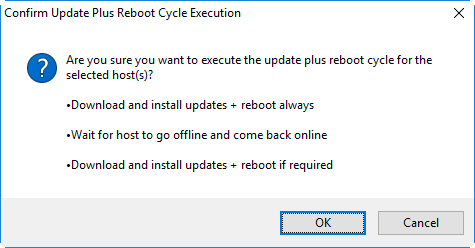
Click OK to execute the cycle on the highlighted hosts. That’s all there is to it.
Job Queue
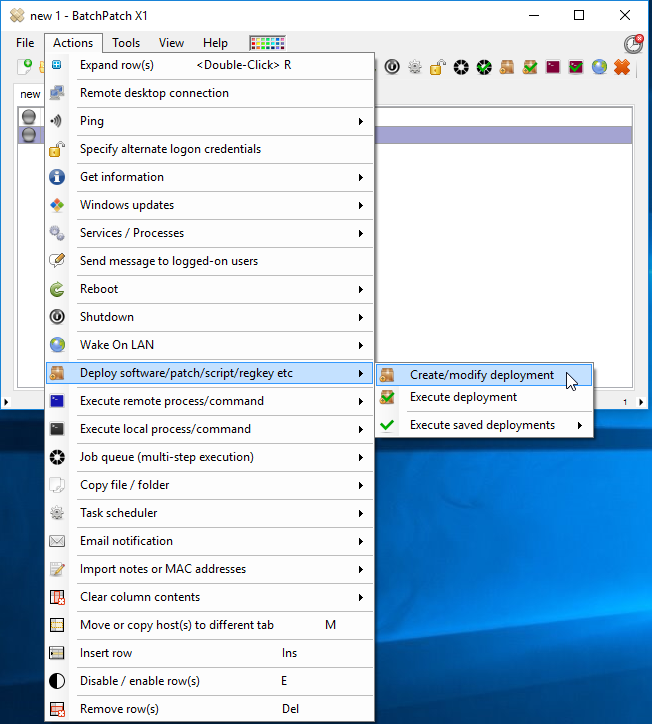
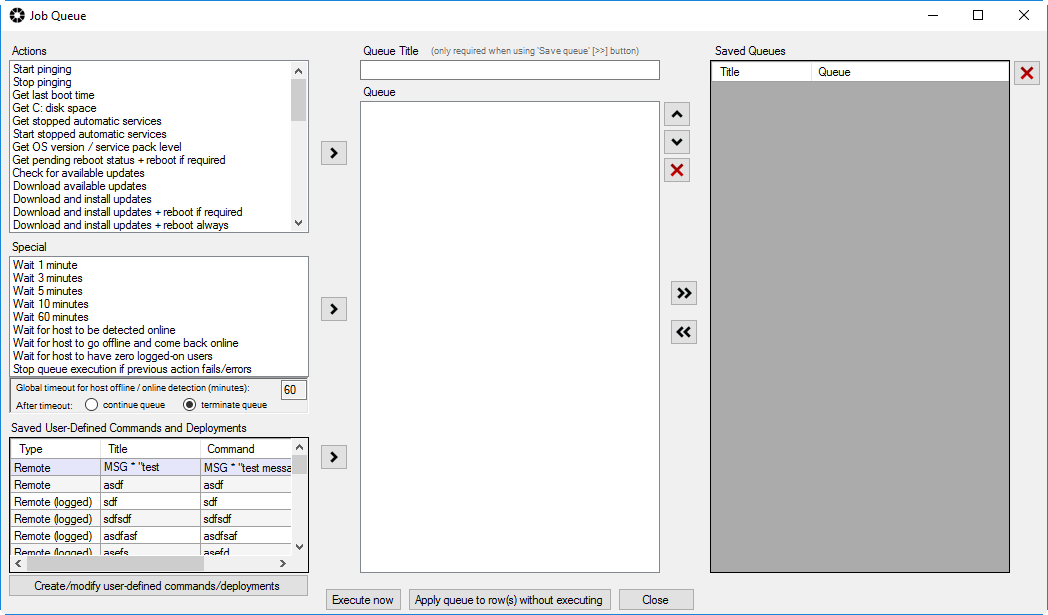
The job queue is the more advanced version of the update + reboot cycle. It has more options, it enables you to save your queues, and it allows you to apply queues on a per-row basis, so you can have one separate job queue for each row/host, or you can have one job queue for all hosts, or one queue for some hosts and another queue for other hosts and so on. To launch the job queue configuration window, select ‘Actions > Job Queue > Create / modify job queue’
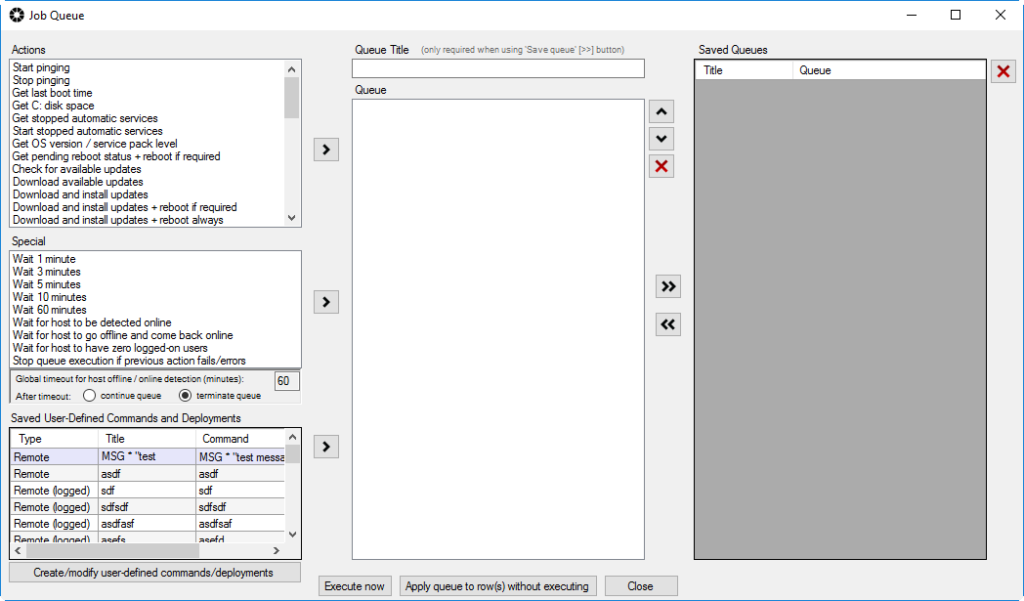
In this form you can create a custom job queue and save it or apply it directly to a given row or set of rows in the BatchPatch grid. You can add your own custom remote command or deployments to the queue, along with numerous built-in actions. In the screenshot below I’ve created a simple queue, and then I’ve gone ahead and saved it by using the ‘>>’ button.
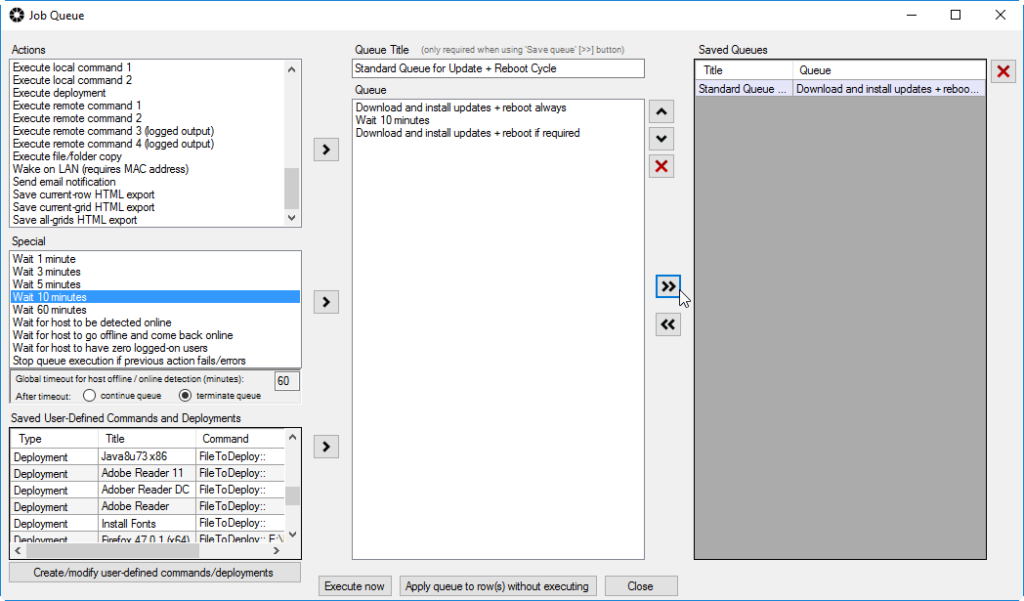
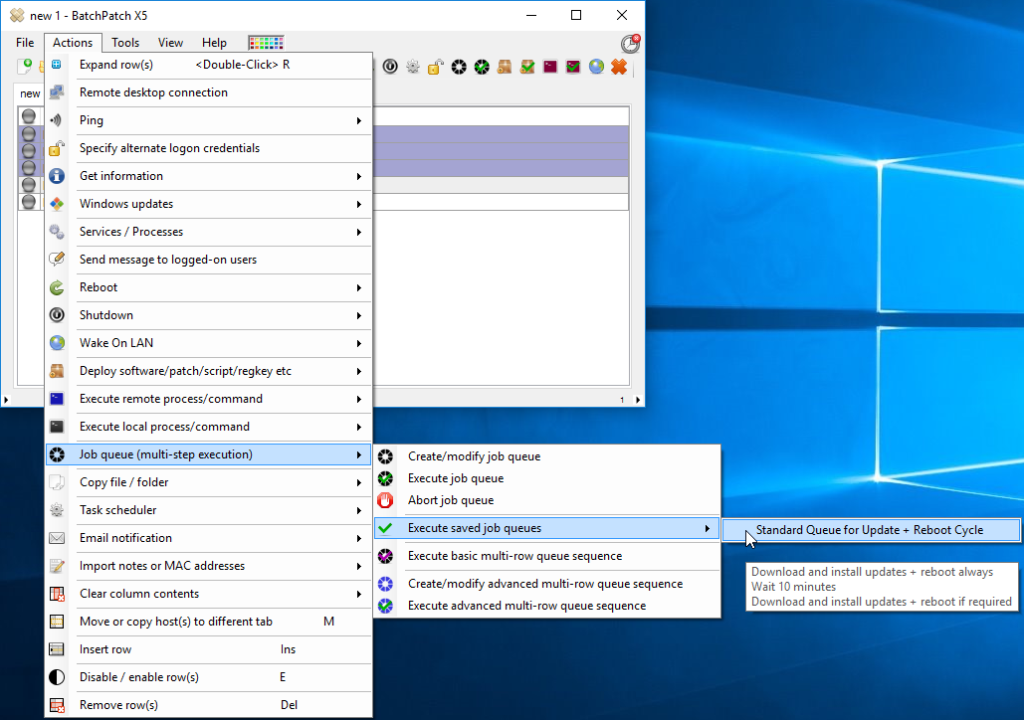
You can also execute the queue directly right now on the currently selected rows by using the ‘Execute now’ button, but in this case since I’ve saved the queue, I’m now going to close the Job Queue window and then execute the queue from the BP Actions menu instead. When I click ‘Actions > Job queue > Execute saved job queues,’ my own queue now appears under the title I gave it, ‘Standard Queue for Update + Reboot Cycle.’ I can select that menu item to execute that queue on the currently selected rows in the grid.
Task Scheduler
We can now bring together these automation options with the task scheduler, which lets us execute the ‘Job Queue’ or ‘Update + reboot cycle’ at a scheduled time/day.
I’ve selected ‘Actions > Task scheduler > Create/modify scheduled task.’ In the screenshot below you can see that I have selected the Job Queue that I created above. I can click OK to apply that scheduled task to each selected row.
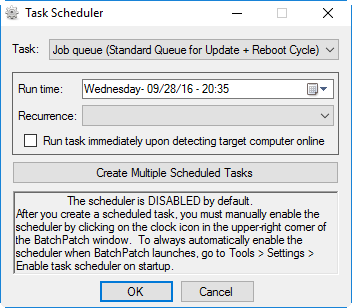
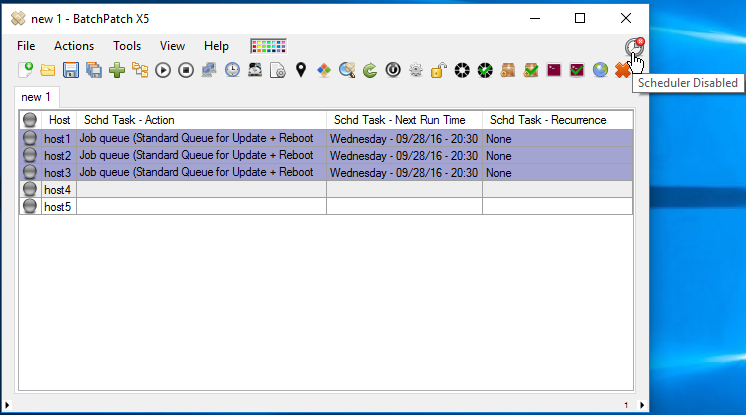
At this point the only thing left for me to do is enable the task scheduler, which I can do by clicking on the red clock icon in the upper right corner of the window. Clicking on it one time turns it green and enables it. Once enabled, any tasks that are scheduled for a future time/date will run when that time/date is reached.