BatchPatch has a few different ways to filter which available Windows Updates are downloaded and/or installed. The graphical filter is good for most situations where you just want to selectively apply only certain available updates. However, text-based filtering can be useful in cases where you want to have an ongoing filter from month to month to month that enables you to always include or exclude updates with certain text in the update title.
Let’s say for example that you want to always exclude the Windows Malicious Software Removal Tool update from your regular update schedule because it takes too long to run. Maybe you want to run it separately during a different maintenance window each month. One way to accomplish this would be to exclude that update from your normal/regular maintenance window schedule so that it only gets installed during your alternate maintenance window schedule.
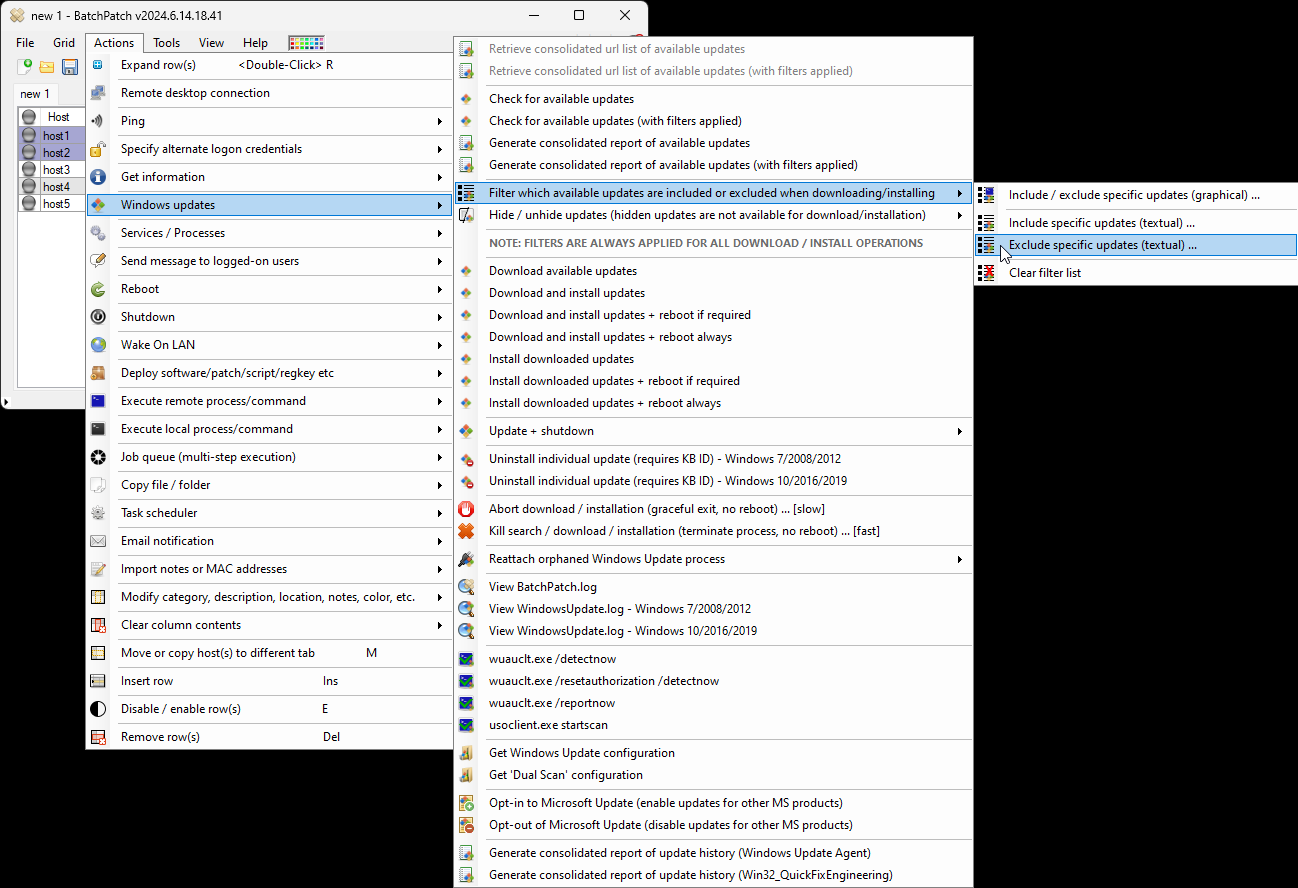
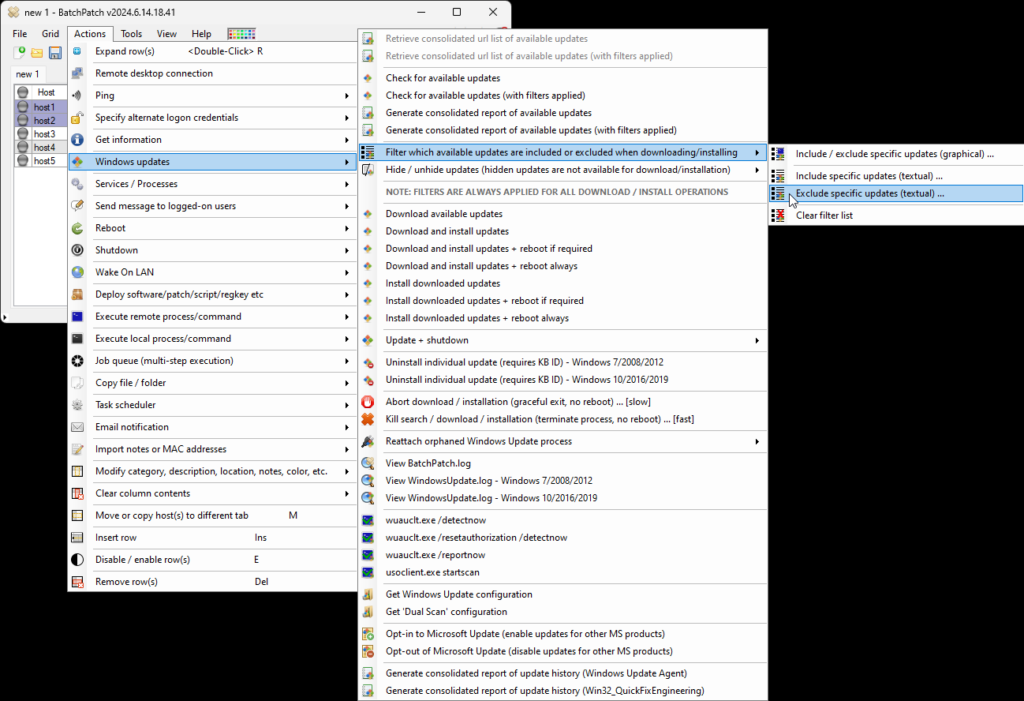
- In BatchPatch select the desired host(s) where you want to exclude this update from being installed. Then click Actions > Windows updates > Filter > Exclude (textual)
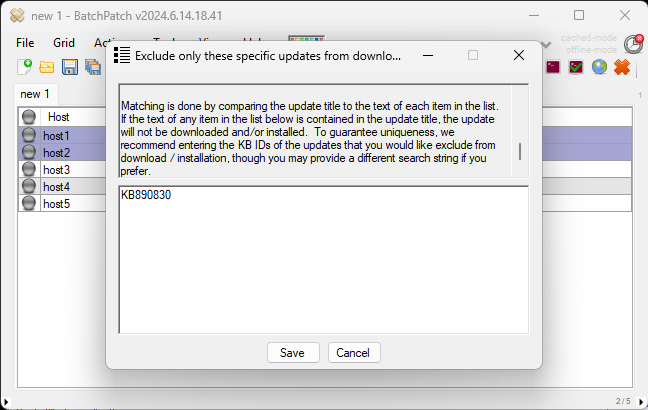
The filtering works based on matching the update title text or KB number. Matching is done by comparing the update title to the text of each item that you add to the filter list. If the text of any item that you add to the filter list is contained in the update title, the update will not be downloaded and/or installed. To guarantee uniqueness, we recommend entering the KB IDs of the updates that you would like exclude from download / installation, though you may provide a different search string if you prefer based on text in the update title. If you know that the KB ID will be the same for each month where you want this filter to work, then you can just use the KB ID without issue. But if for some reason the KB ID is expected to change each month or the KB ID is not the same for different OS versions where you want to be able to just apply the same filter, then using update title text might be a better option. It will depend on your particular needs and the situation.
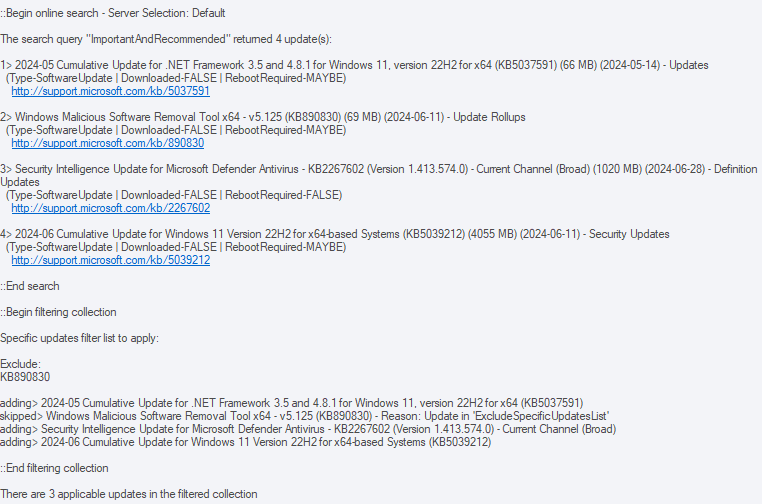
- In the case of the Windows Malicious Software Removal Tool, on my OS I can see that each month it’s KB890830, so I can exclude it with that KB ID. However, I could also exclude it by using the update title itself. I’ll show you both examples. First I enter into the exclusion filter list the KB ID KB890830
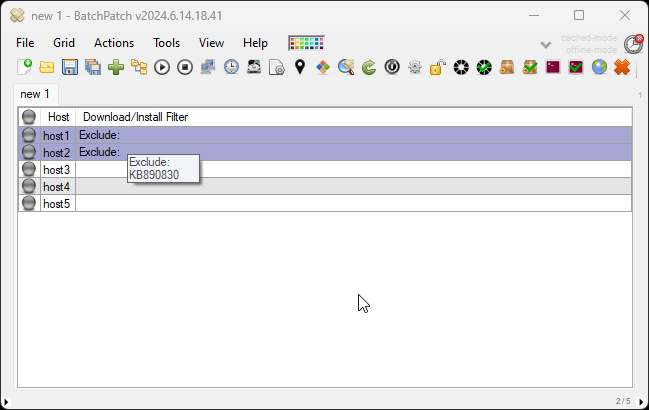
After clicking Save I can now see that the filter is applied to the rows that were highlighted.
- Next, I will use Actions > Windows updates > Check for available updates (with filters applied) to confirm that the filter is behaving in the way that I want or expect it to. The results of my search show me that it’s working as desired because even though there are 4 available updates, there are only 3 applicable updates in the filtered collection. This is visible in the Remote Agent Log column for the most recent search, but it can also be seen in the BatchPatch.log file for historical searches by using Actions > Windows updates > View BatchPatch.log. In the screenshot below of the Remote Agent Log field for the row where I applied the filter I can see that the Windows Malicious Software Removal Tool was skipped due to Reason: Update in ExcludeSpecificUpdatesList
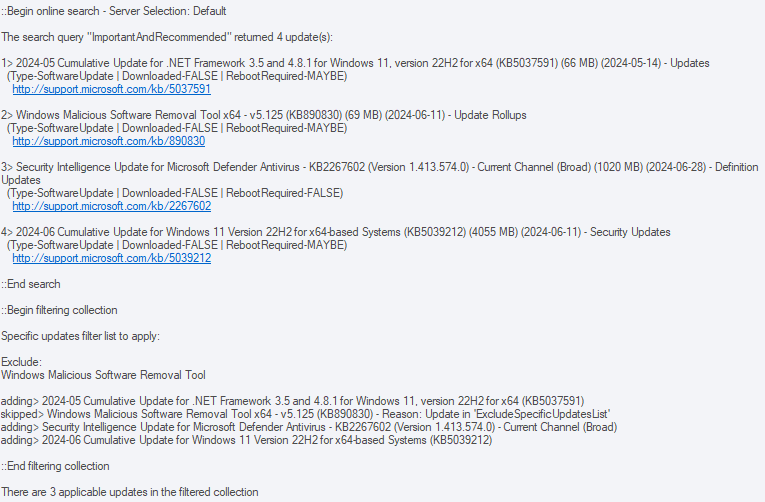
I get the same results when I set the exclusion based on the update title instead of the KB number:
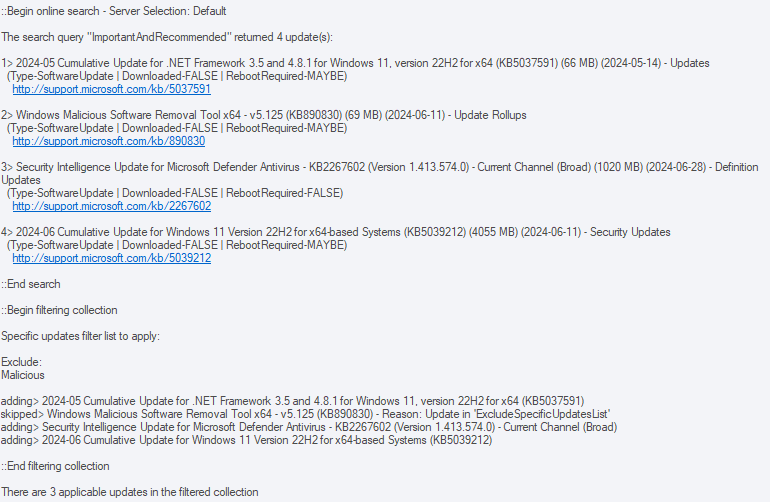
And I get the same results when I set the exclusion based on just the word Malicious since Malicious is contained in the update title text.
- At this point now that I have verified that the search result (with filters applied) is showing me what I want to see (that my update is being excluded so that it is skipped when creating the filtered collection), I can move forward with my normal download and install operation. All download/install operations always apply any filters that have been configured for the row, and you can verify that the download/install operation utilized your filter as expected by again checking the Remote Agent Log field after the action completes, if desired.