Why does BatchPatch sometimes report a different number of available updates when compared to what is being reported by the control panel Windows Update interface on the target computer? This might be the most common question we receive from BatchPatch users. Today I’m going to explain all of the possible reasons why this might occur.
- Search Preferences: Usually when someone is seeing a different number of available updates reported by BatchPatch for a particular target computer when compared to that same computer’s Windows Update control panel, it’s because of the search scope in BatchPatch. BatchPatch might be searching a broader scope or a more narrow scope than what the Windows Update control panel is searching for.
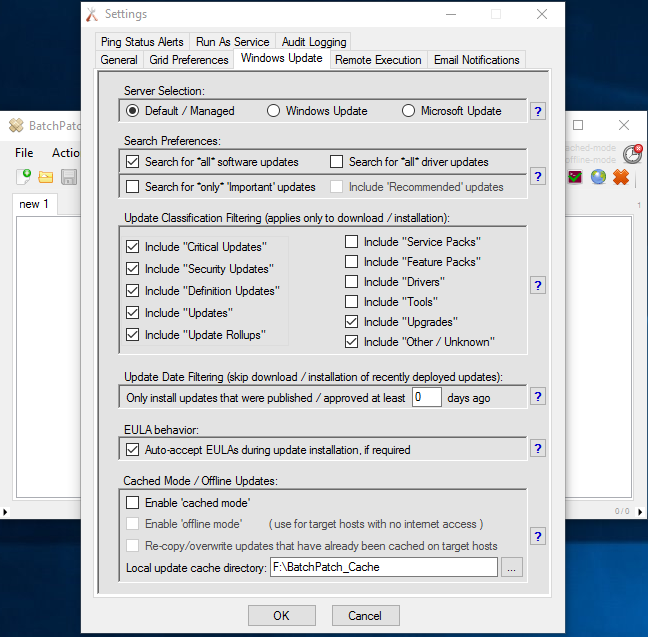
Under ‘Tools > Settings > Windows Update‘ review the ‘Search Preferences’ section. If you want to see every possible update then set your search to include all software updates and all driver updates. That is what we recommend for WSUS users because your WSUS approvals will control which updates are presented to target computers, and you want to make sure that BatchPatch sees every update that is presented. However, if you are using Windows Update or Microsoft Update as your search source, then we instead recommend limiting the search to only ‘Important‘ and ‘Recommended‘ updates. This will most closely emulate what Microsoft presents in the Windows Update control panel interface.
EDIT March 2022: HOWEVER, with regard to emulating which updates are presented in Windows, please note that starting in 2022 the newest versions of Windows (10/11/2016/2019/2022) now offer certain driver updates in the normal Windows Update control panel that do not appear in BatchPatch when selecting ‘Important’ and ‘Recommended.’ In previous versions of Windows, and in earlier versions of the aforementioned versions of Windows, driver updates were either excluded altogether from appearing in Windows Update, or they were shown in a separate tab/window categorized differently from the standard Windows Updates that Microsoft considered ‘Important’ and ‘Recommended.’ That said, at the time of this writing, driver updates that appear in the normal Windows Update control panel on a computer will still only show in BatchPatch if the ‘Search for driver updates’ checkbox is ticked in the BatchPatch ‘Search Preferences’. Driver updates will generally not be displayed in BatchPatch when selecting ‘Important’ and ‘Recommended’ in versions of BatchPatch released in or before March 2022. In the next release of BatchPatch we expect to offer a new search option that will emulate the new Windows Update control panel search settings.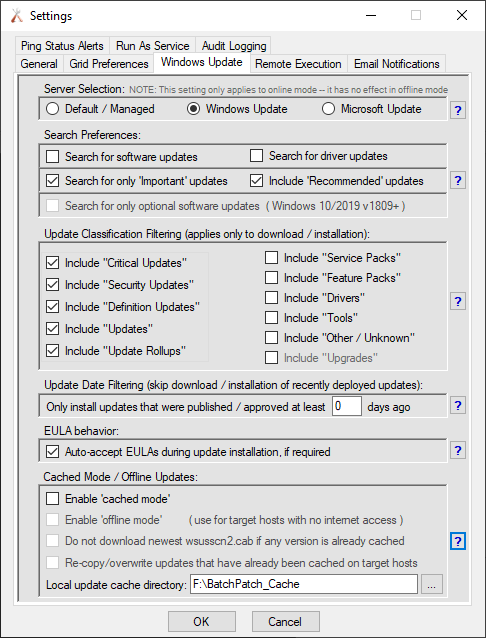
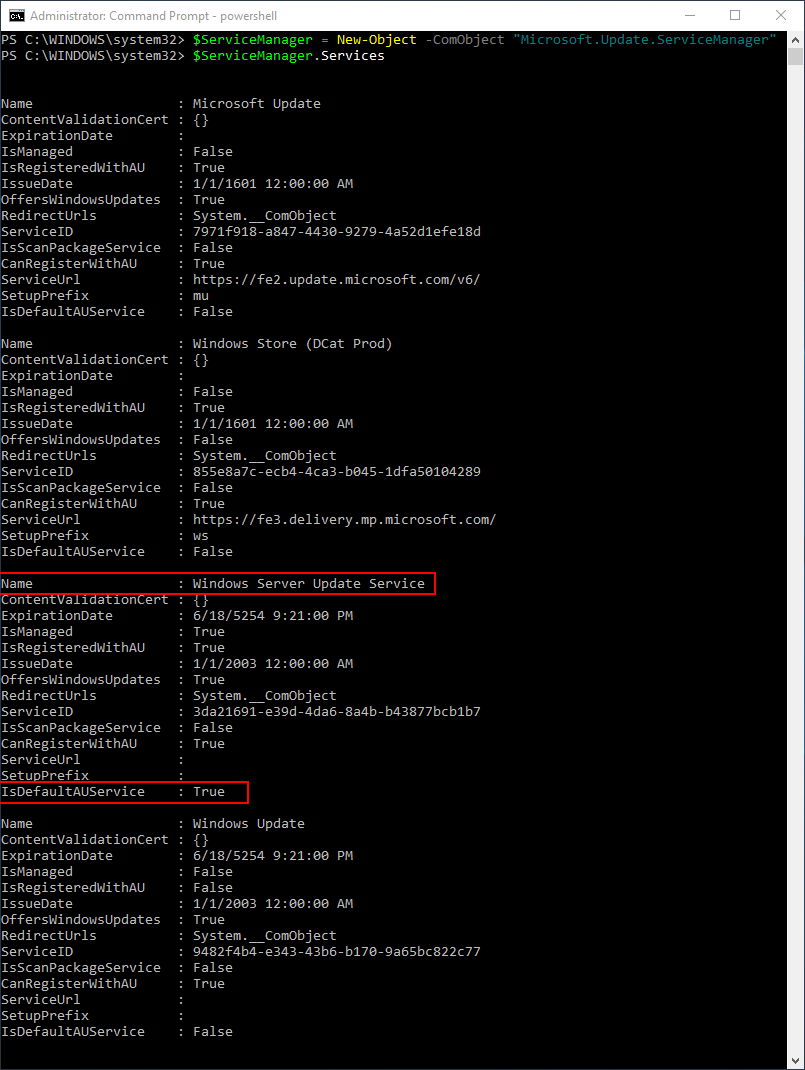
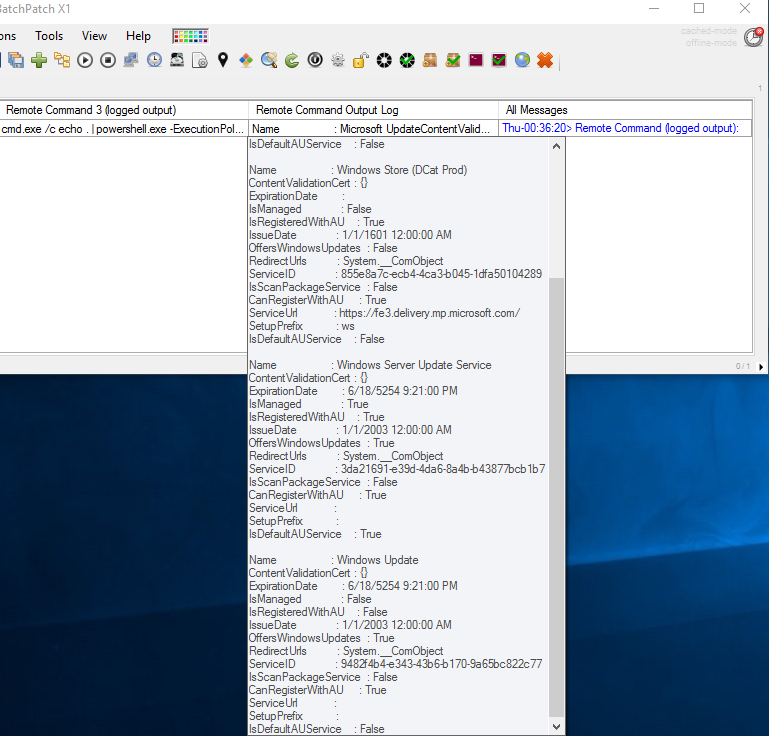
- Server Selection: It’s possible that BatchPatch is instructing the target computer to search for updates from a different source than when the computer searches for updates without BatchPatch. If you want to make sure that BatchPatch is using the same source as the target computer’s Windows Update control panel then make sure to select ‘Default / Managed‘. Selecting one of the other options in the BatchPatch settings will instruct BatchPatch to override any settings on the target computer to instead use either Windows Update or Microsoft Update as the search source.
Default / Managed: Uses the target computer’s existing configuration to determine where to search for updates.Windows Update: Bypasses the target computer’s configuration and searches for updates on Microsoft’s public server. Includes only Windows updates.
Microsoft Update: Bypasses the target computer’s configuration and searches for updates on Microsoft’s public server. Includes Windows updates AND updates for other Microsoft products. Before using Microsoft Update, target servers must be opted-in to the service. See ‘Actions > Windows Updates > Opt-in…‘
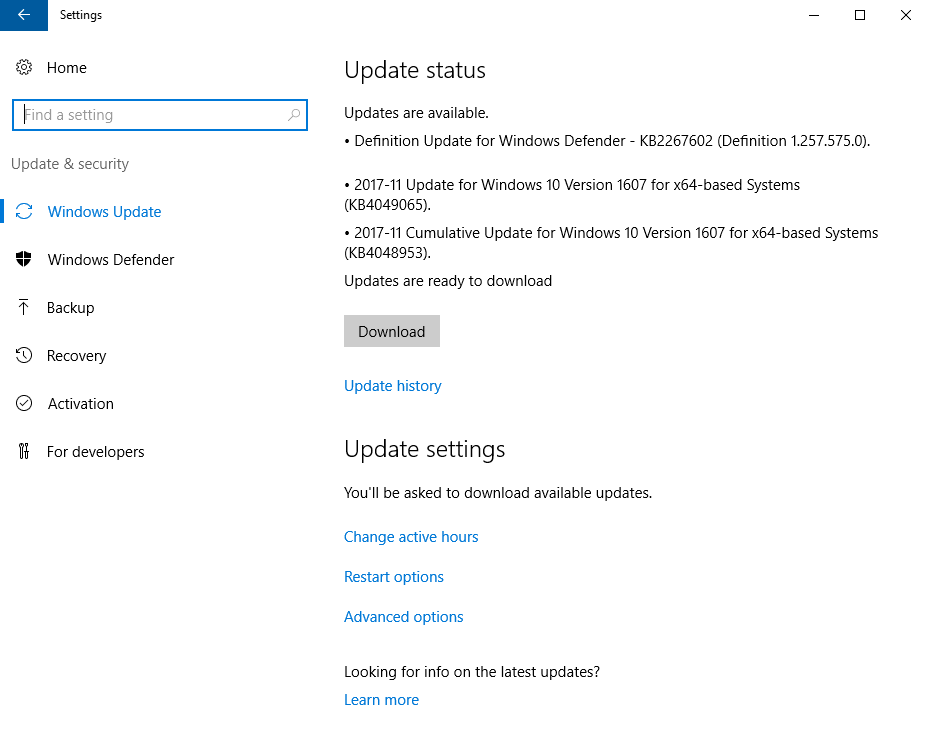
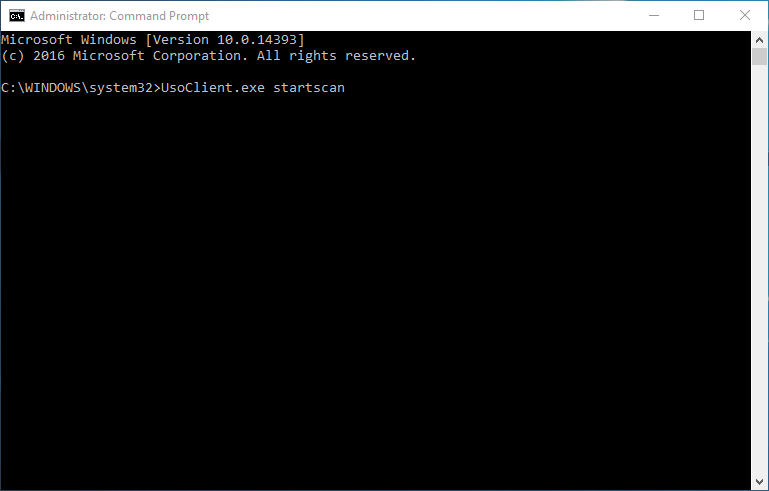
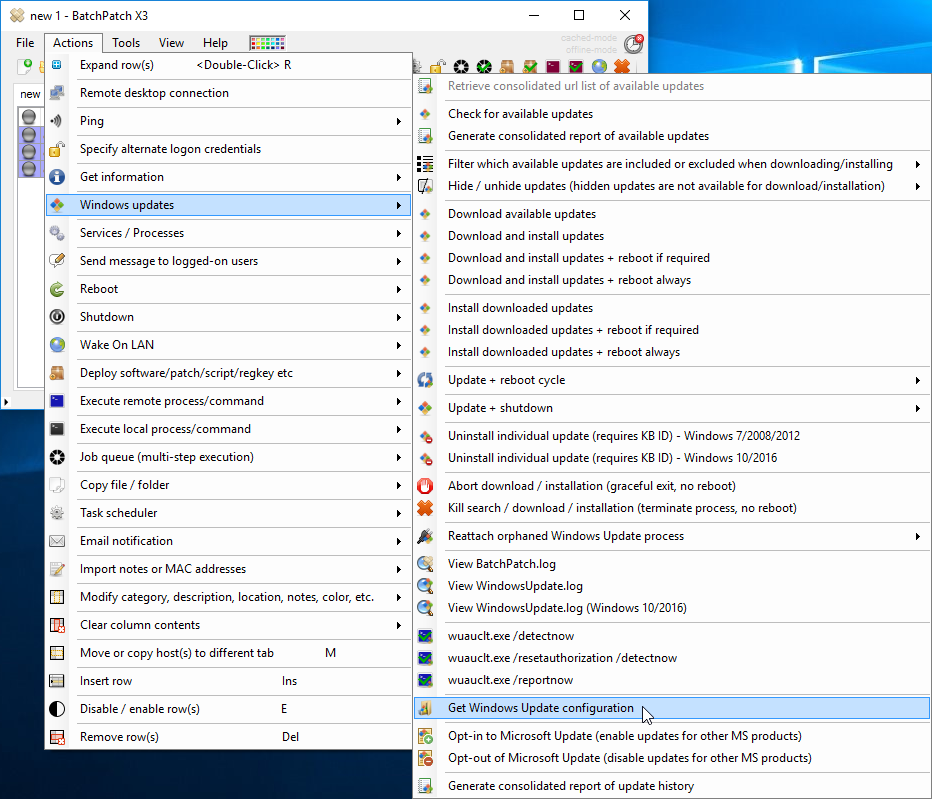
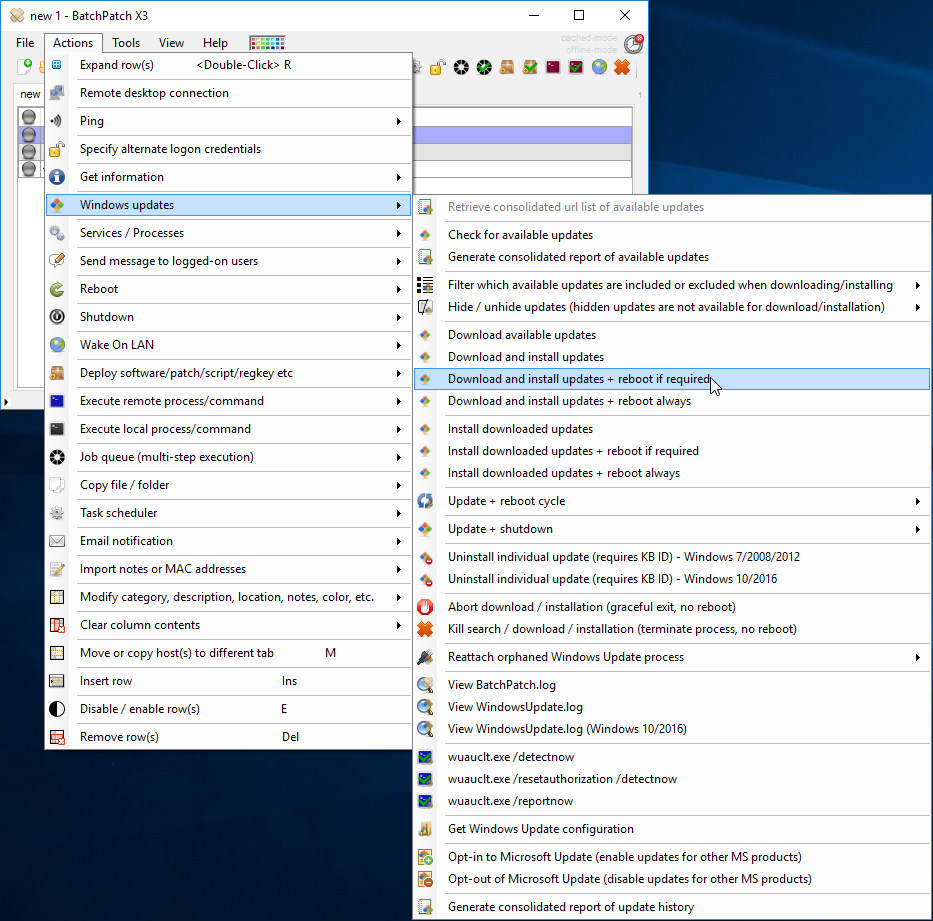
- Stale Results: The Windows Update control panel interface on the target computer might be showing stale results. Particularly in newer operating systems, the update list in the interface is cached and can frequently show results that are no longer accurate, whereas BatchPatch always performs a fresh search and will therefore never show you stale results. You might want to force the Windows Update control panel to perform a new search to make sure it’s showing results that are accurate and up to date. You can also look at the Windows Update history to see if the updates in question have already been installed (‘Actions > Windows updates > Generate consolidated report of update history‘). See this posting for more details on refreshing stale search results.
- Offline Mode: If you have enabled offline mode you will likely notice a discrepancy between the available updates that are reported in BatchPatch as compared to the available updates reported in the Windows Update control panel. This is because offline mode is designed for offline scanning when no internet or WSUS is available. An offline mode scan relies on the WsusScn2.cab file that Microsoft releases each month. First, make sure that you are always using the latest WsusScn2.cab file that is available so that you can get the latest updates. However, please also note that while this file contains all security updates as well as various other updates that Microsoft decides to include in it, the WsusScn2.cab file does not contain every single update that is published on Microsoft’s public Windows Update and Microsoft Update servers. On the other hand it’s also the case that the WsusScn2.cab file will sometimes contain updates that are actually not offered through the online channels.
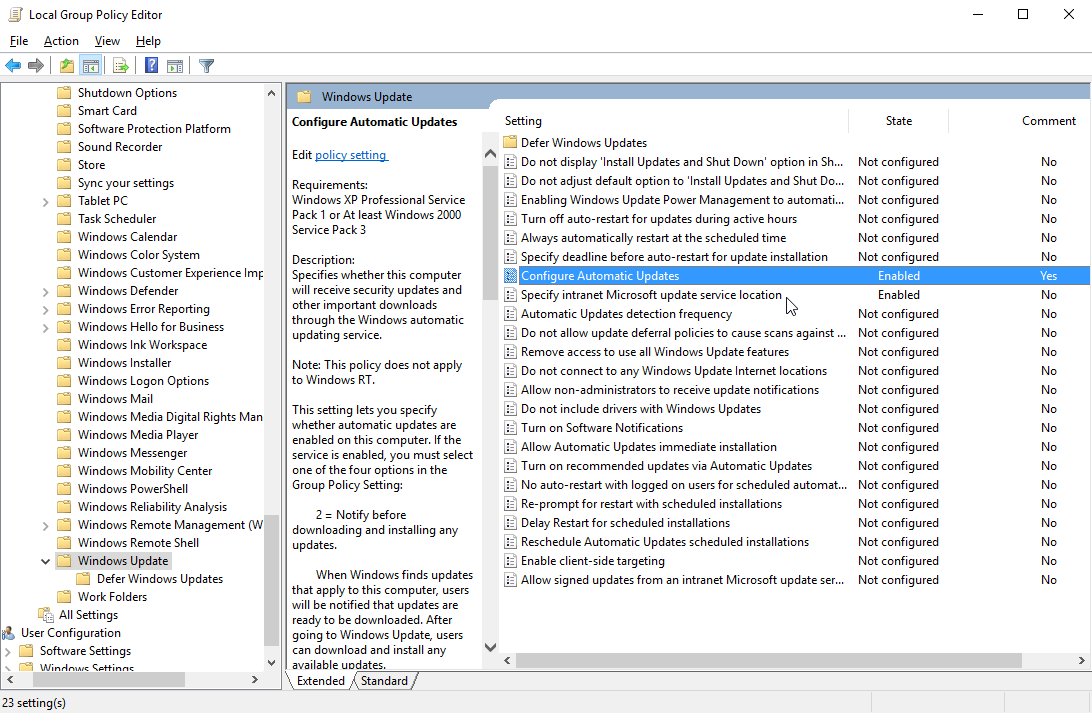
- Dual-Scan: Even if you did not specifically enable “Dual-Scan” it might already be enabled on your computers without you even realizing it, due to the way that Microsoft deployed this “feature”. In this case your Windows Update scans might be searching Microsoft’s public Windows Update servers instead of your own local WSUS server. See here for more:
**Dual-Scan Difficulties with Windows Update on Windows 10 Versions 1607 Anniversary Update and 1703 Creators Update - SCCM: If you have SCCM in your environment you need to be aware of the fact that once SCCM takes control over a WSUS, that WSUS cannot be used by a non-SCCM application like BatchPatch to search for updates. So, if your target computers are configured via Group Policy to search for updates on a WSUS that is controlled by your SCCM server, then when BatchPatch initiates a scan for available updates it will always report ‘No applicable updates’. In order to use BatchPatch with a WSUS, the WSUS must be independent and cannot be linked to or controlled by SCCM.
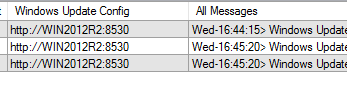
- DNS: Make sure that BatchPatch is actually connecting to the machine that you think it is connecting to. After you use BatchPatch to check for updates, the ‘Remote Agent Log’ column will include, among other things, the actual computer name of the target computer, as reported by the target computer. It’s conceivable that your DNS server is returning stale results, and this causes you to connect to a different computer than you think you are connecting to, so make sure to verify that you are definitely connecting to the correct/desired computer.
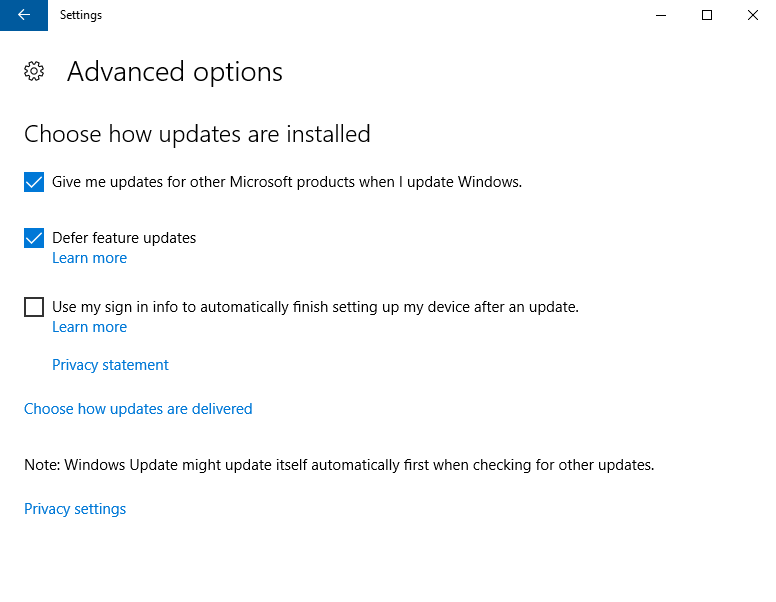
- Optional / “Seeker” Updates: In Windows 10/2019 build 1809 or newer, if you go to the Windows Update control panel on a machine that was recently updated, you may find additional optional updates available if you use the ‘Check for updates‘ button. Microsoft releases these optional updates usually toward the end of the month. While the updates do not contain any new functionality they may contain fixes for specific outstanding issues. They are released through what is essentially a completely separate channel that is only available to “seekers” who use the ‘Check for updates‘ button. At the time they are made available to “seekers” as optional updates they are not yet released to WSUS nor are they released to the normal automatic updates channel in ‘Windows Update’ or ‘Microsoft Update.’ However, Microsoft moves them from optional status into the normal release channel in the following month after they are initially released to “seekers.”
Starting with the October 2019 release, BatchPatch can find these optional updates by selecting the checkbox under ‘Tools > Settings > Windows Update > Search for only optional software updates‘
Unless you have a specific need for one of these optional updates, we generally do not recommend installing them. We believe that unless you have a specific need for a fix that is included in one of these updates, it usually makes the most sense to wait until the following month when Microsoft moves them from optional status to the normal deployment channels.