One of the questions we receive sometimes is about the local downloader. While using BatchPatch ‘cached mode’ and/or ‘offline mode’ to download and install Windows updates on target computers, it can appear sometimes that everything is queued unnecessarily. One row will be executing the local downloader while other rows sit in a queued state, apparently not doing anything. Below I will explain why this happens and why it’s intentional and also not problematic and not “slow.”
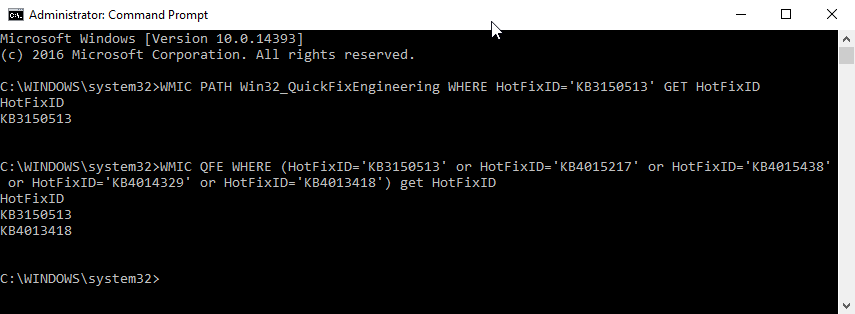
The first thing to consider is that when BatchPatch is operating in ‘cached mode’ and/or ‘offline mode’ all updates that are needed by target computers are downloaded by the computer running BatchPatch, not by the individual target computers. In contrast, when running in regular/normal mode, each target computer downloads its own updates, independently, from the source update server, whether that be a local WSUS or directly from ‘Windows Update’ or ‘Microsoft Update.’
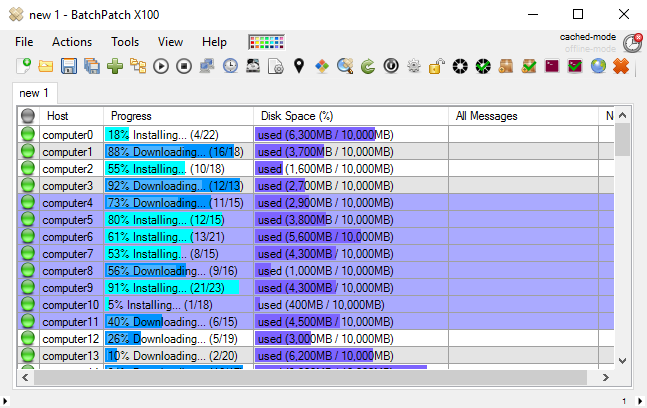
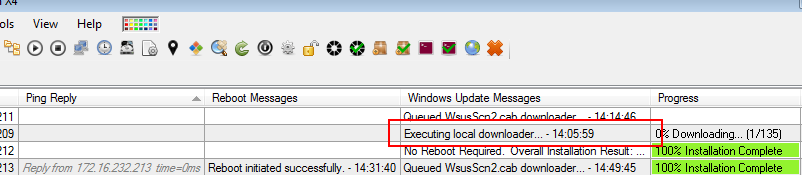
When BatchPatch is operating in ‘cached mode’ you will see ‘Executing local downloader’ appear sometimes in one of the BatchPatch rows where you executed ‘Download available updates’ or ‘Download and install updates.’ You will usually *not* see this appear in every row, and in fact it usually won’t even appear in most rows. Additionally, while one row displays ‘Executing local downloader’ you will notice that other rows might be put into a ‘Queued…’ status.
This behavior is expected / intentional, and it will not slow down your process. The reason for this behavior is because when BatchPatch operates in ‘cached mode’ the BatchPatch computer is responsible for downloading all required updates to its local cache before it can push those updates out to target computers. We intentionally do not execute more than one local downloader at any given time because we do not want the BatchPatch computer to unnecessarily download the same update more than one time. After all, this is one of the primary purposes for using ‘cached mode’ in the first place. If you are downloading/installing updates on numerous computers, in most cases you are going to be applying the exact same update to more than one computer. If each row in BatchPatch executed the local downloader simultaneously, then in the large majority of cases each row would instruct BatchPatch to download many of the same updates that are already being downloaded by another row. The most effective way to handle this situation is to prevent more than one local downloader from executing at any given time.
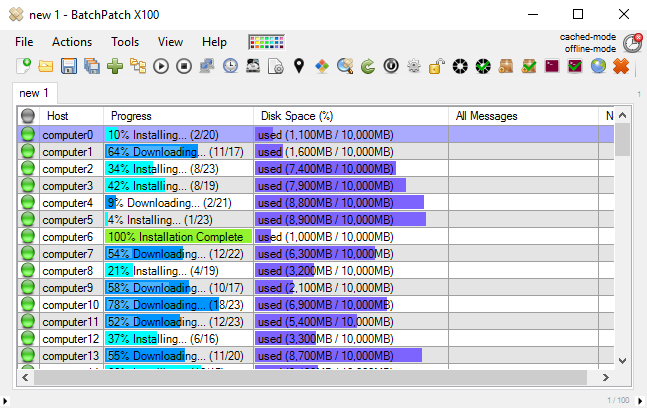
Imagine that you have 100 computers all requiring mostly the same updates to be installed. It’s possible that the list of applicable updates is not identical for each computer, but generally speaking when dealing with a group of computers on a network, in most cases there will be a lot of overlap in terms of which actual updates are required for computers. If you select all 100 rows/hosts and then initiate ‘Download and install updates’ with ‘cached mode’ enabled, the first row that starts executing will be the one to execute the local downloader. Other rows will be queued while the local downloader executes. The BatchPatch local downloader will then download all of the updates needed for that particular host to the local cache directory. As soon as the local downloader completes for that row, the next row will check the cache directory to see if the updates it requires are already downloaded. If it finds the updates that it needs, then it will not execute the local downloader because the updates it needs are already downloaded to the cache. The process for it to check the cache and move on to the next step happens almost instantaneously if the updates already exist in the cache. However, if one or more updates has yet to be downloaded, then this row will also initiate the local downloader just as the previous row did, and then BatchPatch will download any needed updates that do not yet exist in the cache.
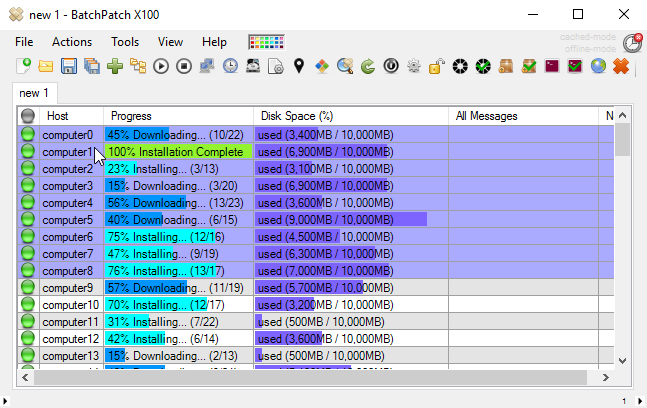
When the process outlined above is executing, typically what you see in the BatchPatch console is a period at the beginning of execution where most rows are doing nothing and show ‘Queued’ while just one row executes the local downloader. However, once the first row completes the local downloader process, all other rows will begin processing. This is the most efficient way to handle this process while ensuring reliability. So, while it may seem at first like things could take forever, since it appears at the onset that only one row is doing anything, in fact things will not take forever and will actually move quickly once the first local downloader completes. If you encounter this situation, please be patient and wait for the local downloader to finish downloading updates to the local cache. Once that process has been completed, in most cases you can expect everything else to move quickly from that point forward.