

Recently someone asked us how they could use BatchPatch to replace the ‘hosts’ file on all target computers in their network with a customized ‘hosts’ file that had been created by the IT department. BatchPatch can do this very quickly and painlessly.
First, let’s briefly discuss the ‘hosts’ file for those of you who aren’t familiar with it. Essentially it’s just a text file that Windows uses to map host names to IP addresses. The functionality is similar to the primary functionality of DNS, but instead of requiring a full DNS server, it’s literally just a file on your computer. And if you are using a ‘hosts’ file in conjunction with DNS, the entries in your computer’s ‘hosts’ file will actually override any mappings in DNS for the same hosts.
In Windows, the ‘hosts’ file is located in:
C:\Windows\System32\drivers\etc\hosts |
The default file has the following contents:
# Copyright (c) 1993-2009 Microsoft Corp. # # This is a sample HOSTS file used by Microsoft TCP/IP for Windows. # # This file contains the mappings of IP addresses to host names. Each # entry should be kept on an individual line. The IP address should # be placed in the first column followed by the corresponding host name. # The IP address and the host name should be separated by at least one # space. # # Additionally, comments (such as these) may be inserted on individual # lines or following the machine name denoted by a '#' symbol. # # For example: # # 102.54.94.97 rhino.acme.com # source server # 38.25.63.10 x.acme.com # x client host # localhost name resolution is handled within DNS itself. # 127.0.0.1 localhost # ::1 localhost |
Perhaps you have a reason to add some custom mappings to all of the computers in your network, like shown in the hosts file below:
# Copyright (c) 1993-2009 Microsoft Corp. # # This is a sample HOSTS file used by Microsoft TCP/IP for Windows. # # This file contains the mappings of IP addresses to host names. Each # entry should be kept on an individual line. The IP address should # be placed in the first column followed by the corresponding host name. # The IP address and the host name should be separated by at least one # space. # # Additionally, comments (such as these) may be inserted on individual # lines or following the machine name denoted by a '#' symbol. # # For example: # # 102.54.94.97 rhino.acme.com # source server # 38.25.63.10 x.acme.com # x client host # localhost name resolution is handled within DNS itself. # 127.0.0.1 localhost # ::1 localhost 172.16.45.46 mail.yourdomain.com 172.16.45.47 sql.yourdomain.com 172.16.45.48 file.yourdomain.com |
Here is how to deploy your custom hosts file to multiple computers in your network:
- Prepare your hosts file and save it to any location on your computer.
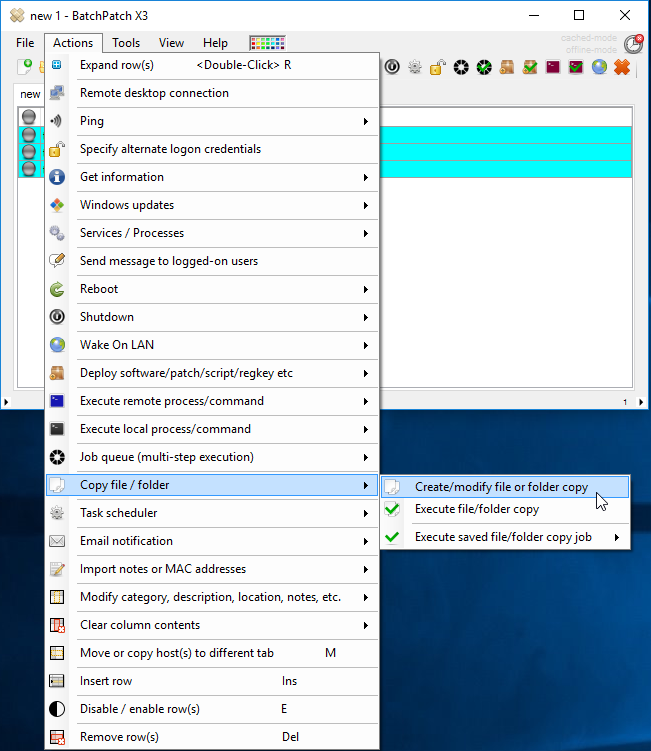
- In BatchPatch select ‘Actions > Copy file/folder > Create/modify file or folder copy
- Select or input your source file’s full path. The destination folder will be:
C:\Windows\System32\drivers\etc
Make sure to check the ‘Overwrite’ box so that the hosts file on the target computer will be overwritten with your new/custom hosts file.
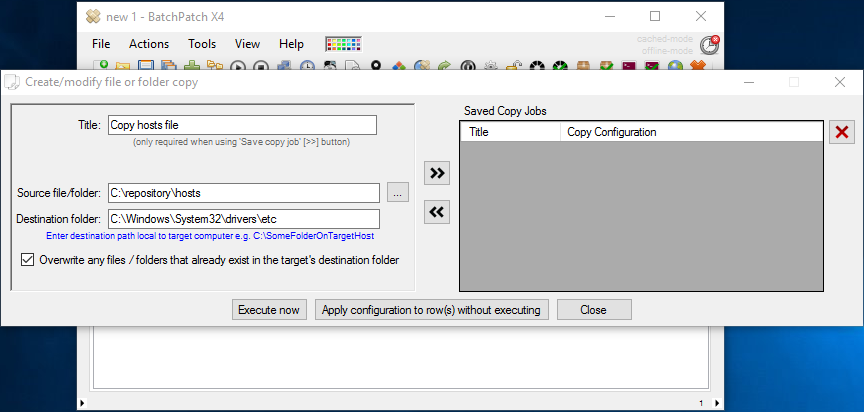
- Finally click the ‘Execute now’ button to copy the file to the selected target computers.