Today I want to spend some time clarifying the answer to a question that we commonly receive. Some BatchPatch users want to simply deploy a particular Windows KB update to target computers. They essentially want to be able to just enter a KB ID number into the BatchPatch GUI, with BatchPatch then handling the rest of the process. However, this is not quite how it works. Below I will explain your options for deploying a specific Windows KB update.
Why Can’t I Simply Enter a KB ID Number and Have BatchPatch Handle the Rest?
Well, actually you *can* enter a KB ID directly into BatchPatch, but you need to first understand what this accomplishes in the software so that you are not confused if/when the update KB ID that you specified does not get installed.
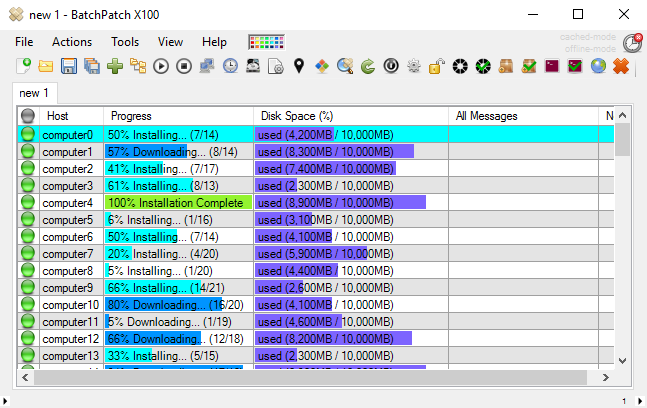
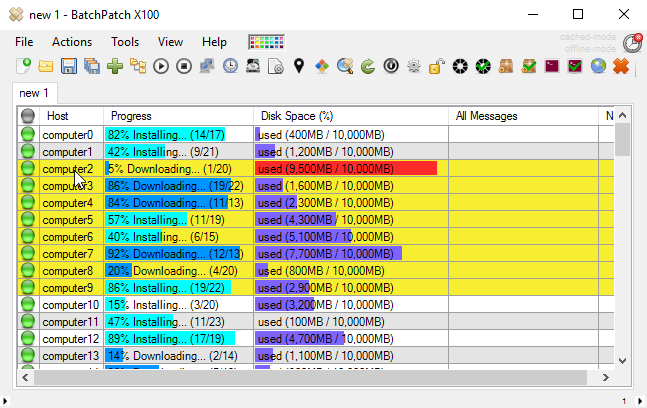
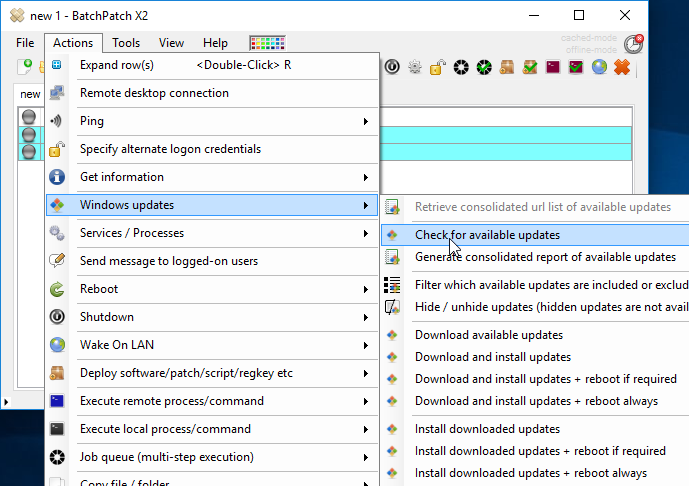
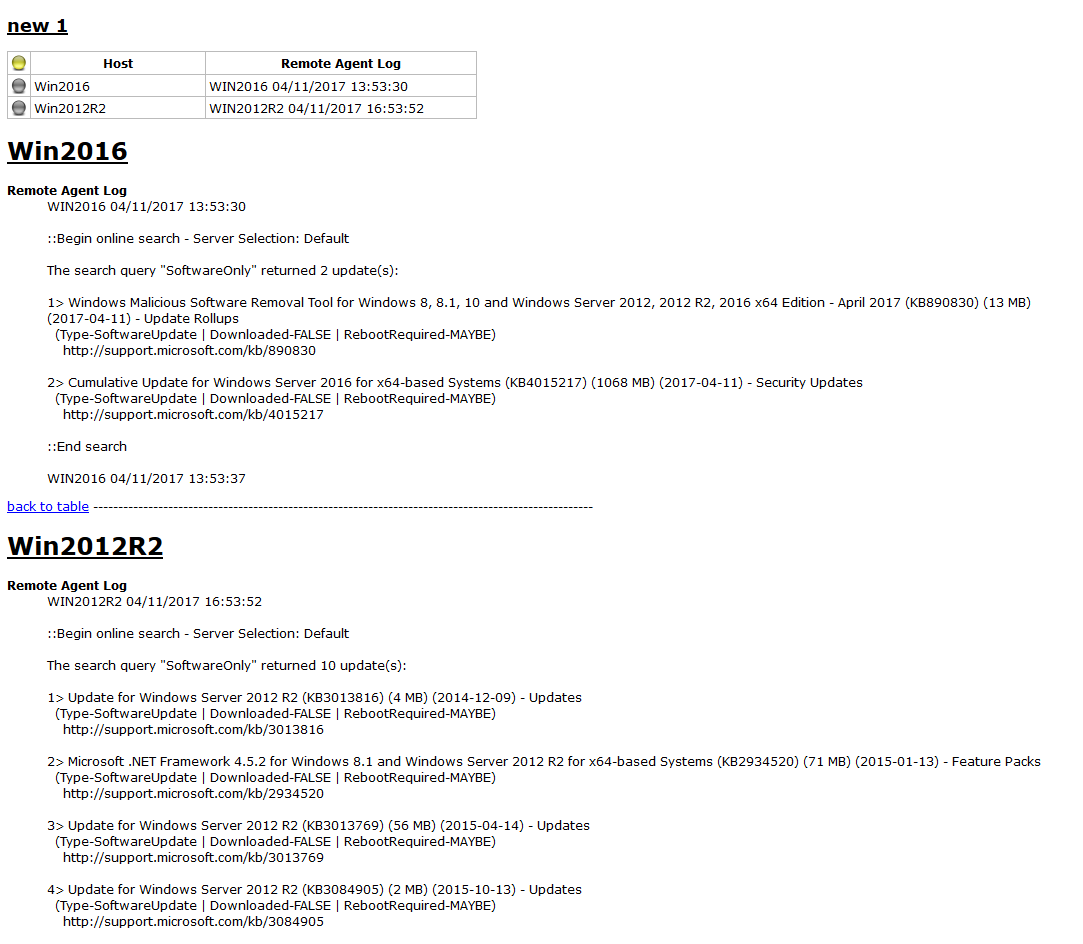
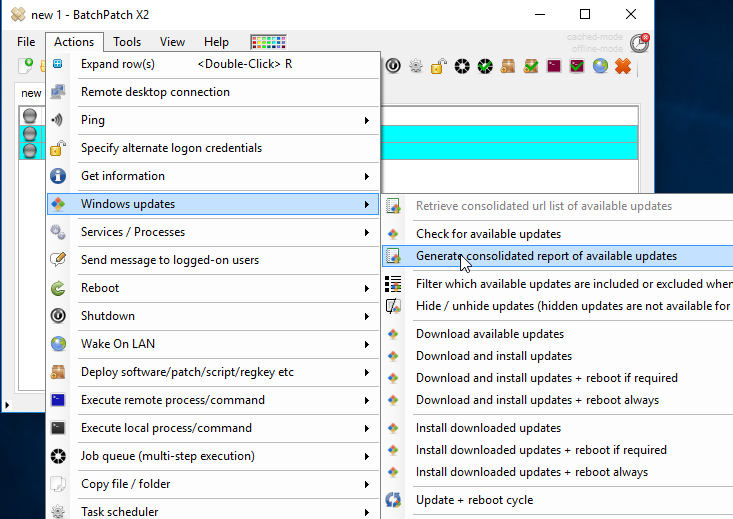
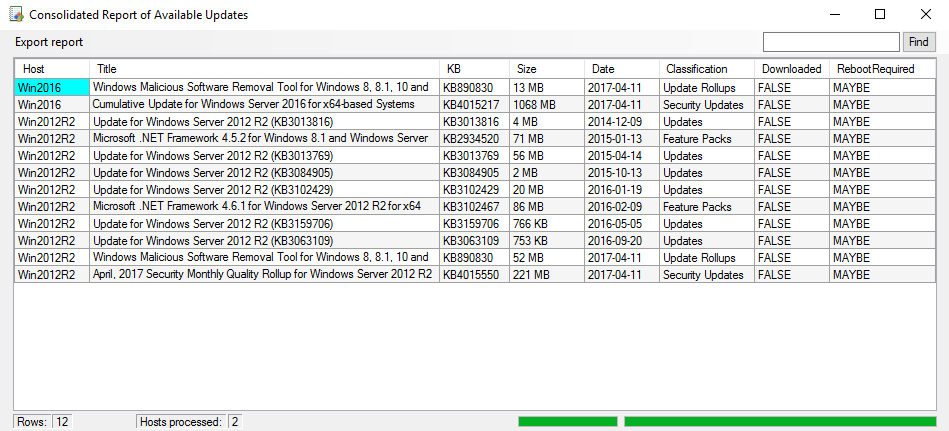
If you use BatchPatch to initiate a Windows Update action on target hosts, BatchPatch first has to initiate a scan for available updates, and then once it finds updates that are available to the particular computer, it will download and install those updates based on any preferences and filters that you have previously configured in BatchPatch.
That said, BatchPatch allows you to enter a filter list of KB ID numbers that you want to be included during the download/install process. When the ‘include’ filter list is utilized, only updates that are on that list will be installed. Any other update that BatchPatch finds as “available” that is *not* also on the ‘include’ filter list will simply not be downloaded/installed. However, it’s also the case that if a KB ID is on the ‘include’ list but that KB ID is not found as “available” to the computer, then that KB update will *not* be installed.
The primary issue that users are sometimes confused by is that they expect if they enter a particular KB ID into the ‘include’ filter list that it will automatically always be installed. However, that is simply not the case. The ‘include’ filter list lets the administrator filter the list of “available” updates so that only a subset of those available updates are installed. If an update is not available to the computer then it does not matter if it’s in the filter list or not, it cannot and will not be installed via this method.
We demonstrate how to use the filter lists in this tutorial: Remotely Install Only a Subset of Available Windows Updates
Is It Possible to Directly Install a Specific KB ID Without First Scanning for Available Updates?
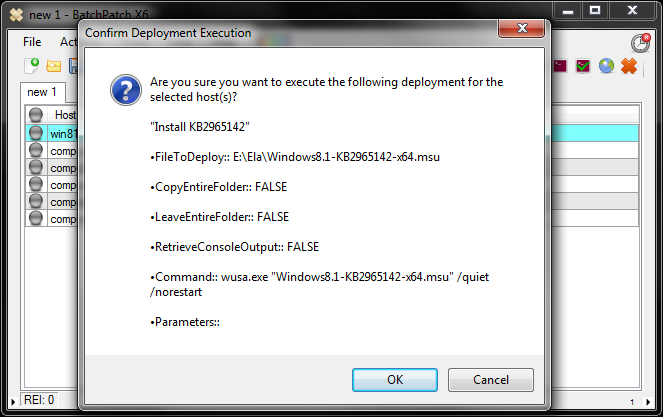
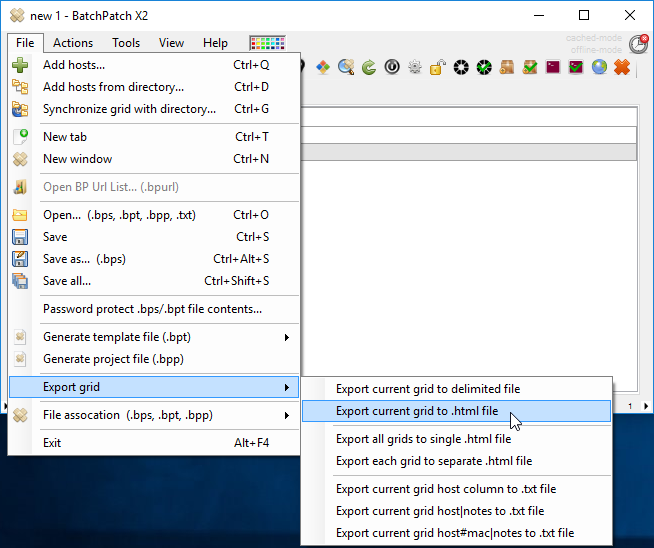
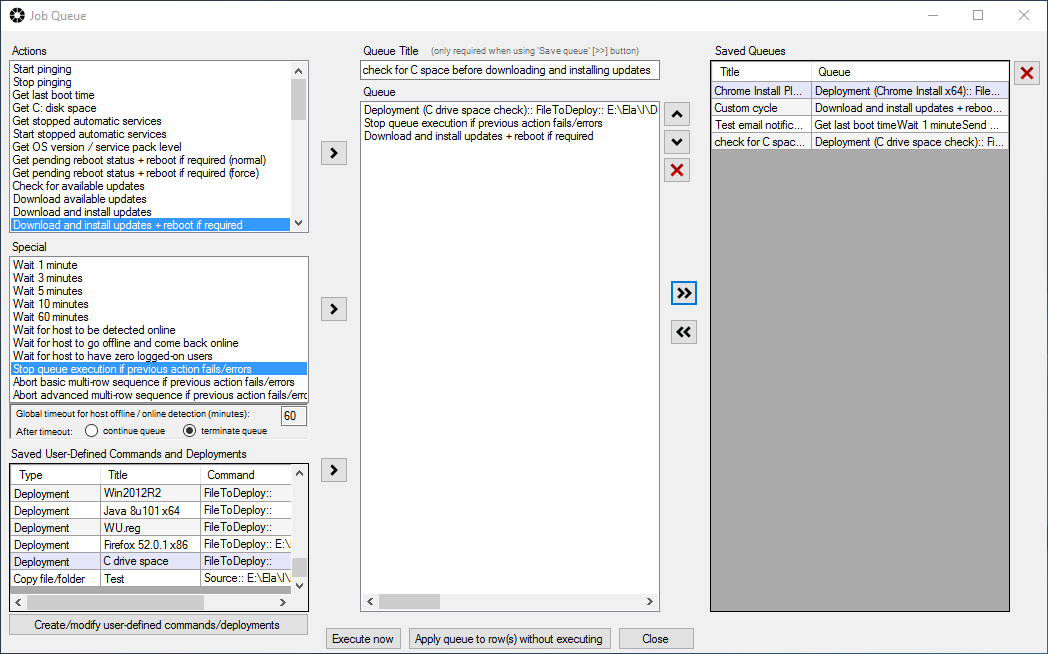
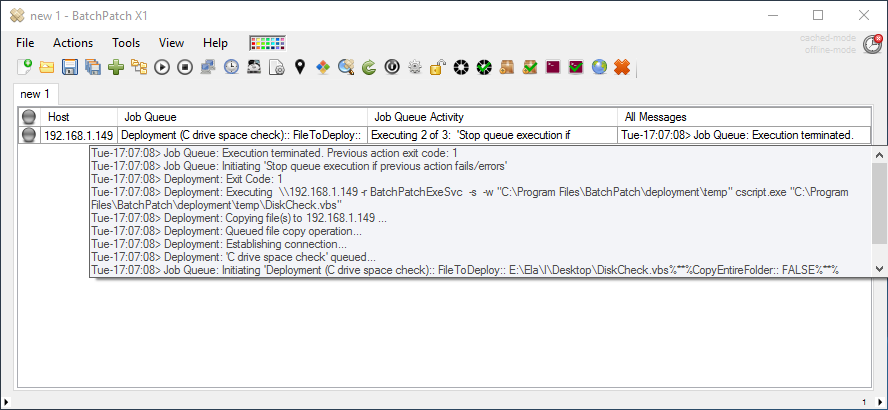
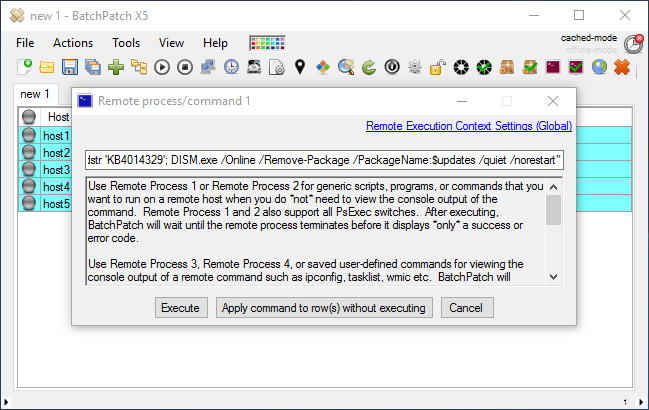
You may, in fact, do a direct KB update deployment, if you desire. However, in this case you would then have to make sure that you not only have the correct update file for the target computer’s operating system, but you would also have to make sure that the target computer actually needs the update. If it does not need the update or if it’s the wrong OS, the deployment will fail. To deploy a standalone KB update file you would first need to download the update file from Microsoft. Usually the standalone updates come in the .MSU flavor, but they could also be packaged as .EXE, .MSI, or .MSP in some cases. You might even occasionally find a different package type altogether.
Once you have downloaded the desired KB update, you may follow the tutorial at the following link to deploy it directly to target computers:
Remote Script Deployment – Install Multiple .MSU Files in a Single Action on Remote Computers