We released a new version of BatchPatch at the end of last week. Below I’ll explain some of the updates that we made.
- Added Task Scheduler option to ‘Add/subtract days/hours/minutes to/from next scheduled run time‘
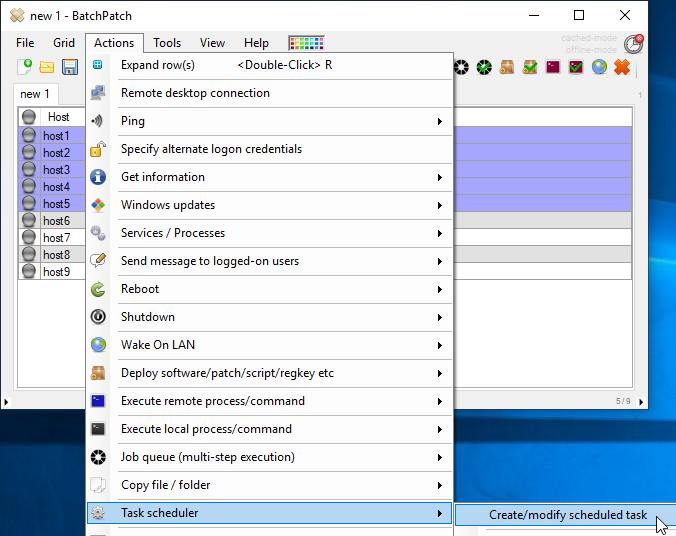
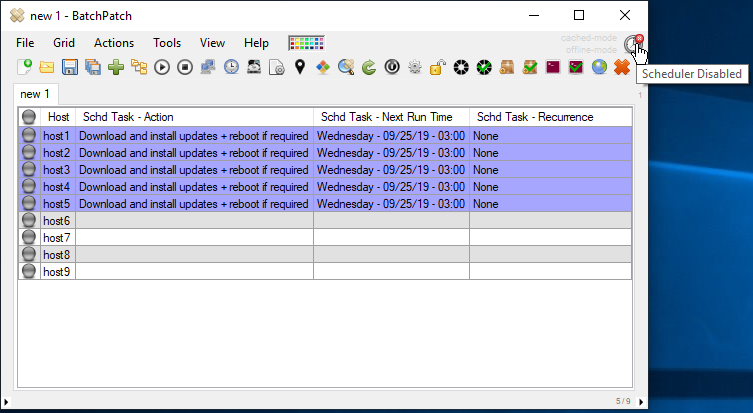
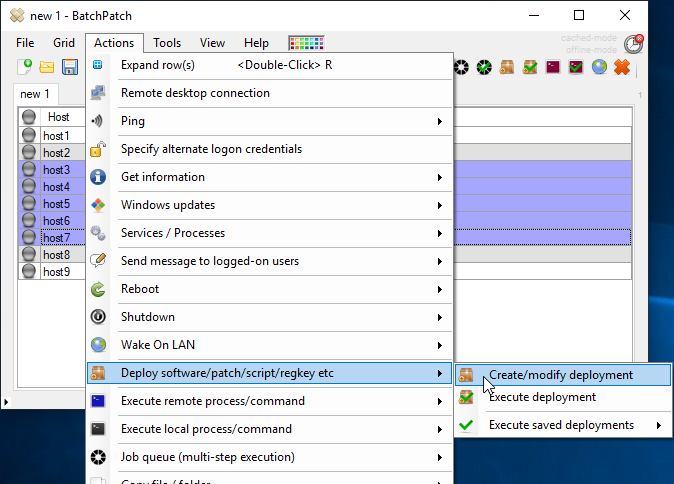
We’ve had a lot of requests from users who want to more easily be able to modify existing scheduled task run-times on large numbers of hosts, particularly in cases where they simply need to push back their entire maintenance window due to a scheduling change. The challenge previously was that if they had lots of scheduled tasks configured with various different start times, if they then wanted to push the entire maintenance back by and hour or a day or whatever, there was no easy way to modify all of the different start times without dealing with each separate start time individually. Now BatchPatch includes an option that lets you select the desired hosts and just add or subtract days/hours/minutes to them, thereby enabling you to modify them all at once while still preserving the relative differences between each individual start time. You’ll find this option under ‘Actions > Task scheduler > Add/subtract days/hours/minutes to/from next scheduled run time’.
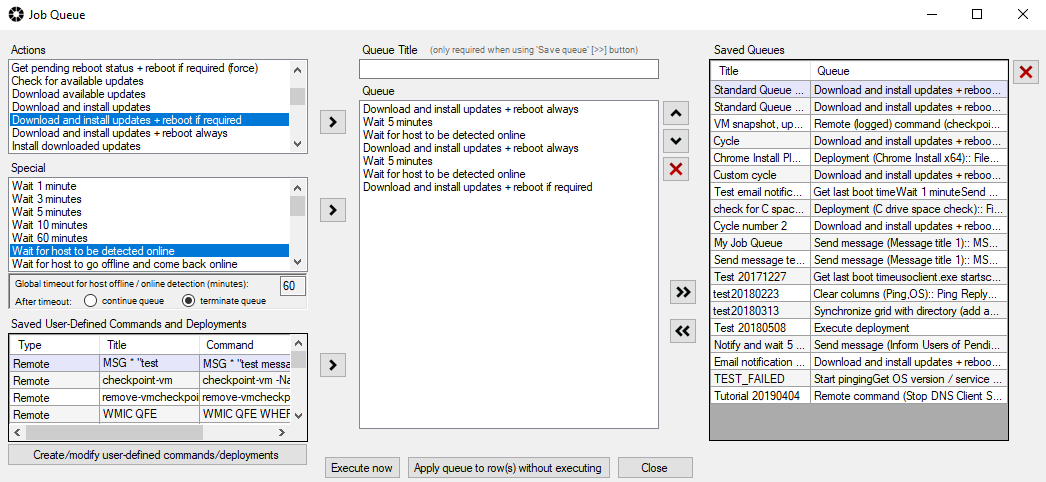
- Added the following job queue special items:
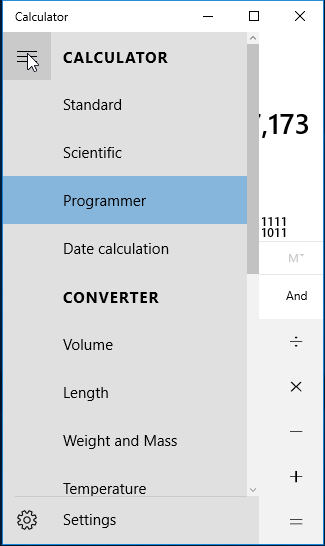
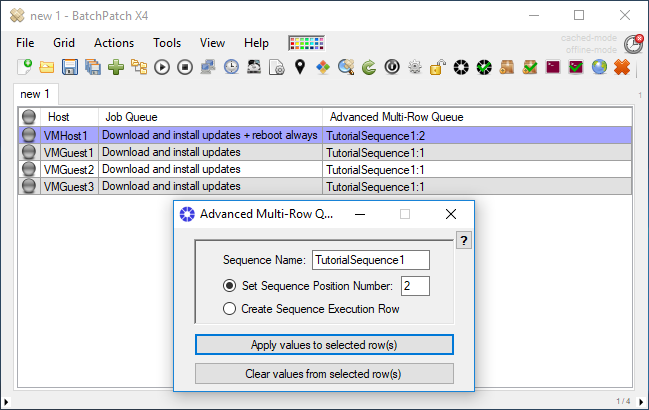
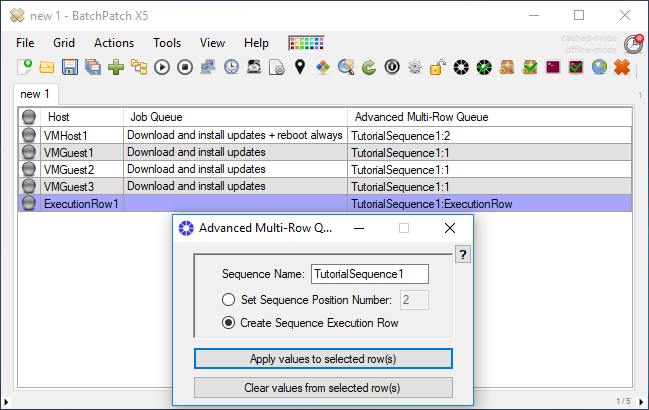
*Enable online cached mode (override global setting for this queue only)
*Enable offline cached mode (override global setting for this queue only)
*Disable cached mode (override global setting for this queue only)Most of our users operate BatchPatch in either the default operating mode or in offline mode. However, we do have some people using online cached mode. At some point in the not too distant past, Microsoft made a change to how the Windows Update Client works that caused the large cumulative monthly update to no longer download successfully when using online cached mode. One workaround for this problem is to use offline cached mode to install the cumulative update each month. However, for online cached mode users this creates more work because then they have to run BatchPatch on each target in both online and offline cached modes in order to get all the updates installed. By adding the ability to change the mode inside of the job queue on a per-target basis, it’s now possible to automate the process of downloading/installing updates using one mode followed by the other mode inside a single job queue.
- Added ‘Search for only optional software updates‘ to Windows Update settings
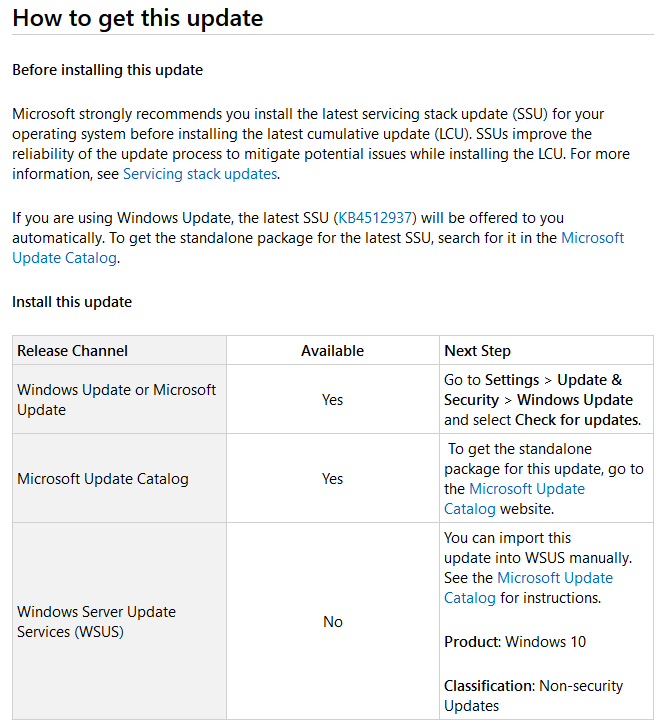
Microsoft made a change not too long ago that enables “seekers” (their term, not ours) to download/install updates that are not otherwise available through normal update channels. These updates would only be available when manually going into the Windows Update control panel on a given computer to click the “Check for updates” button a couple of times. However, the new version of BatchPatch now enables BatchPatch users to download/install these optional “seeker” updates using BatchPatch, if desired. Read more on this topic here. To find these optional “seeker” updates when using BatchPatch, go to ‘Tools > Settings > Windows Update‘ and tick the box for ‘Search for only optional software updates‘
- Added recursive file search to BP cache folder methods for downloading and copying files so that users can re-organize previously cached files into subdirectories, if desired
This is another commonly requested feature by people who use cached mode. A lot of folks want to be able to re-arrange the update files in the cache folder, but up until now if they were to create subfolders to organize the files, BatchPatch wouldn’t find the files because BatchPatch would only look in the defined cache folder and not in any subfolders. However, now if you want to re-arrange the update files in subfolders you may do so without issue. BatchPatch will search for available updates in the top level cache folder as well as all subfolders, recursively.
- Added the following menu items:
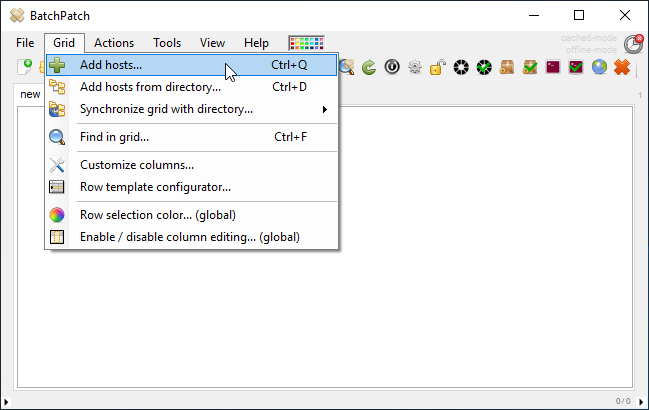
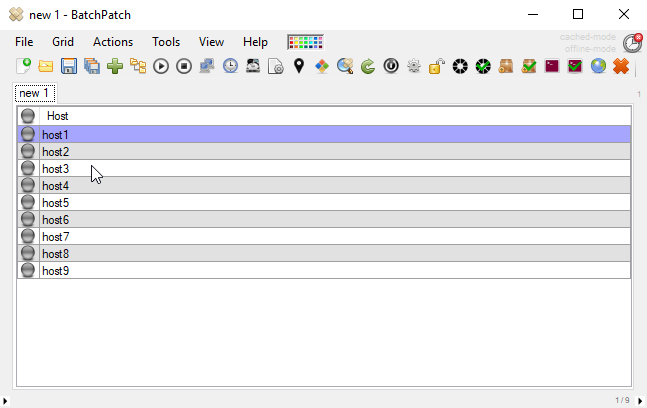
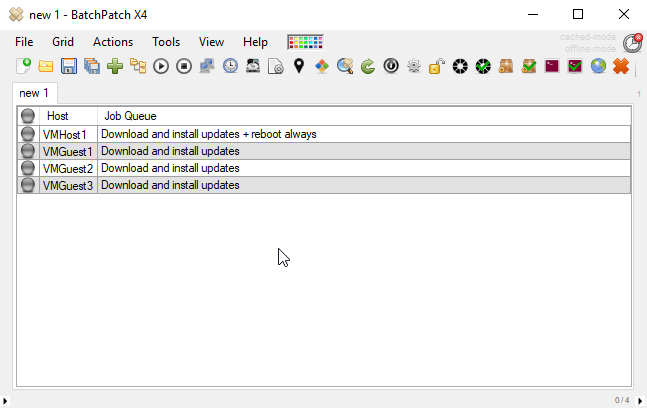
*Get list of VMs on Hyper-V host + add to grid directly under host
*Get list of VMs on Hyper-V host + add to grid at bottomI know that most of you virtual machine users are probably using VMWare, not Hyper-V. However, for the Hyper-V people out there, you can now instruct BatchPatch to automatically add the guest VMs that reside on a particular VM host to the BatchPatch grid.
To view the complete list of changes/updates/fixes in the October 2019 release, check out the changelog inside the software under ‘Help > Check for updates > View changelog‘.