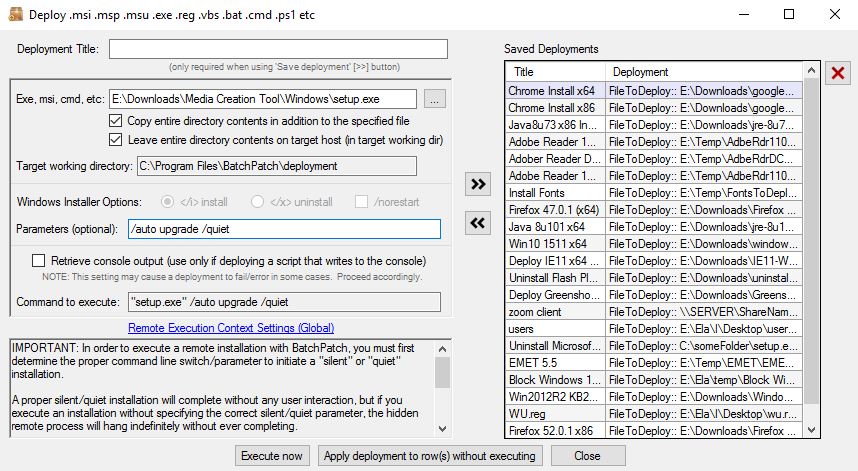
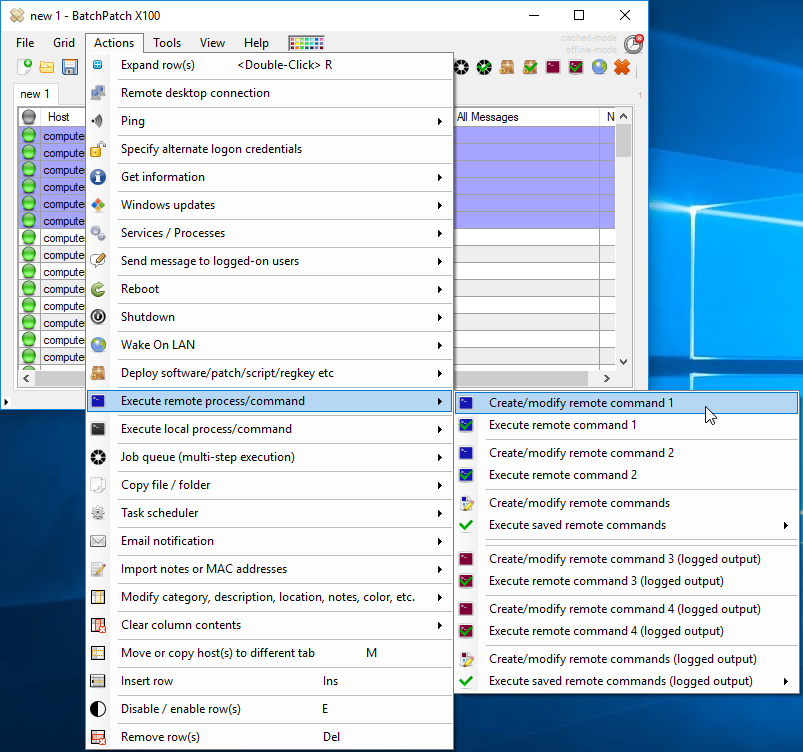
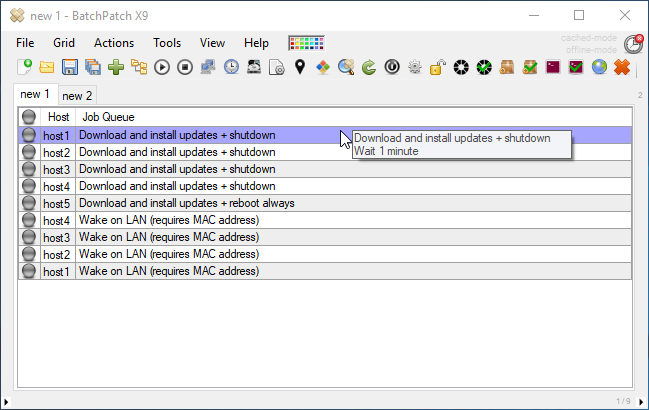
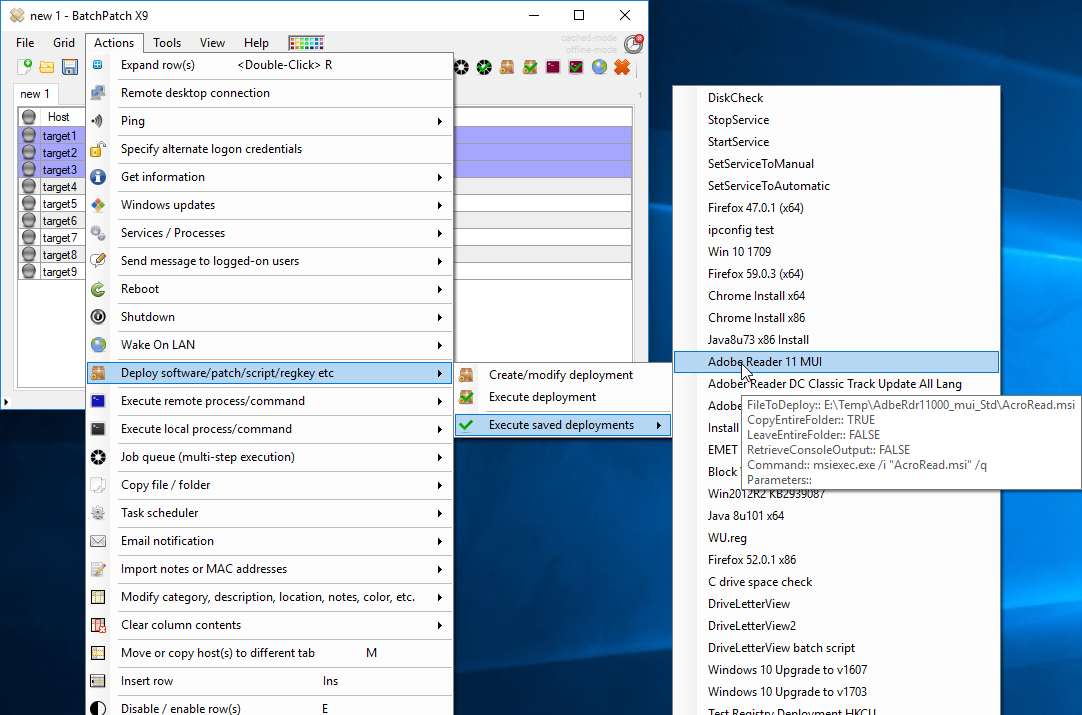
In addition to being a great tool for initiating Windows update processes on remote computers, BatchPatch can also simplify the task of deploying / installing third-party software on numerous target computers. The process is generally very simple with three basic steps:
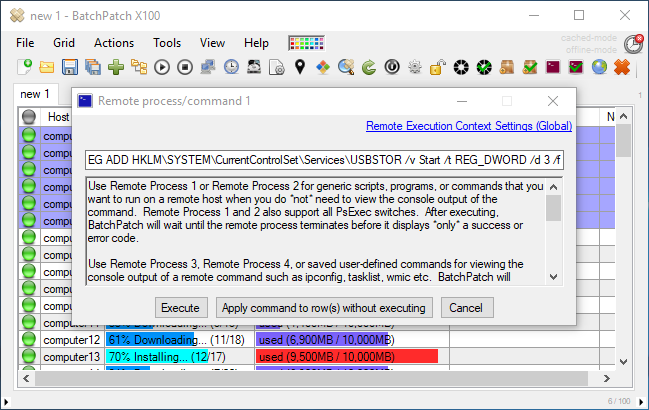
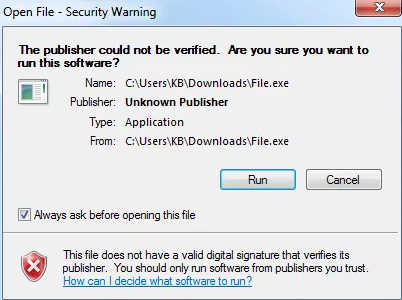
- Identify the silent / quiet parameter for the installer package that you plan to deploy. In order to perform a remote installation, you need to determine the proper command for making that installation occur without any user interaction. These types of installations are generally called silent or quiet because the user doesn’t get prompted to respond to any dialog windows. Instead, the administrator is able to execute a command to install the software without any additional interaction. We have more details and information at the following link about silent parameters for software deployments and how to determine what the silent parameter is for a given software installer package.
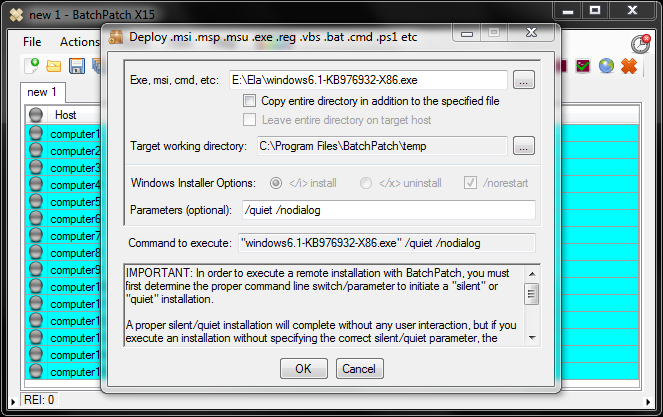
Understanding and Discovering the Silent Parameters Required to Remotely Deploy Software with BatchPatch - Create your deployment configuration in BatchPatch. At the following link you’ll find numerous tutorials that demonstrate how to create and execute BatchPatch software deployments. Regardless of whether your installer setup package is in the form of .exe, .msi, .msp., .msu, or some other format, we’ve got you covered. You can use BatchPatch to deploy software like Firefox, Chrome, Adobe Flash or Reader, Skype, Notepad++, 7-zip, and virtually any other application. You can even use BatchPatch to deploy and execute scripts on remote computers or apply registry keys or retrieve system information as well as perform numerous other tasks.
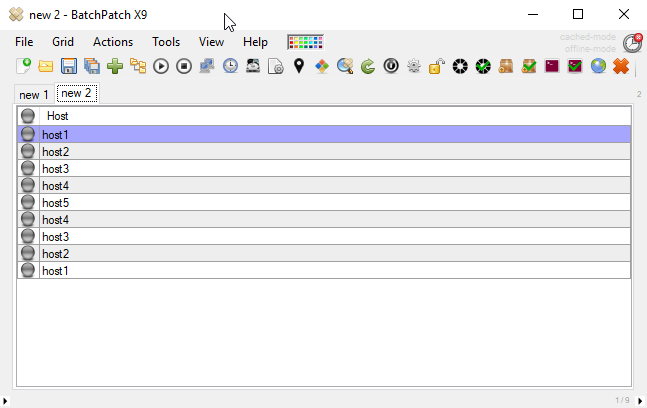
Software Deployment with BatchPatch - Execute your deployment. After you create the deployment configuration in BatchPatch all you really need to do is select the desired target computers, and then execute the installation. Each of the tutorials listed in this link includes complete instructions for creating and executing a deployment. We also have a video tutorial that demonstrates creating and executing a deployment in BatchPatch.