It seems like in the past year or so there has been a pretty significant need to remotely uninstall Windows Updates after discovering that a particular update has caused a problem in one’s environment. Unfortunately it’s often the case that even after testing updates in a lab environment, upon final deployment to production there are unexpected issues that can occur. Inevitably, at one point or another, most systems administrators end up having to remove updates that have been previously installed. While this isn’t necessarily always a huge deal, the reality is a problematic Windows Update can wreak havoc in certain situations. When it’s discovered that a particular update is causing major problems, usually it needs to be removed as quickly as possible. Sure, it’s easy enough to manual remove an update from each computer one at a time, but who has time for that, especially when management is breathing down your neck to rectify a major problem rapidly? That’s where BatchPatch comes in.
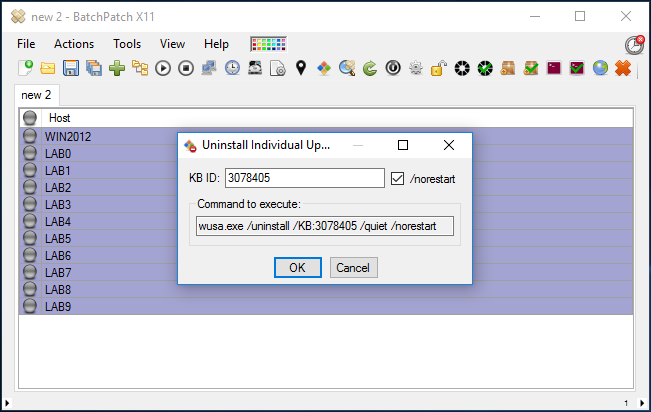
- Identify the KB number of the update that you want to remove. For this example we will uninstall KB3078405
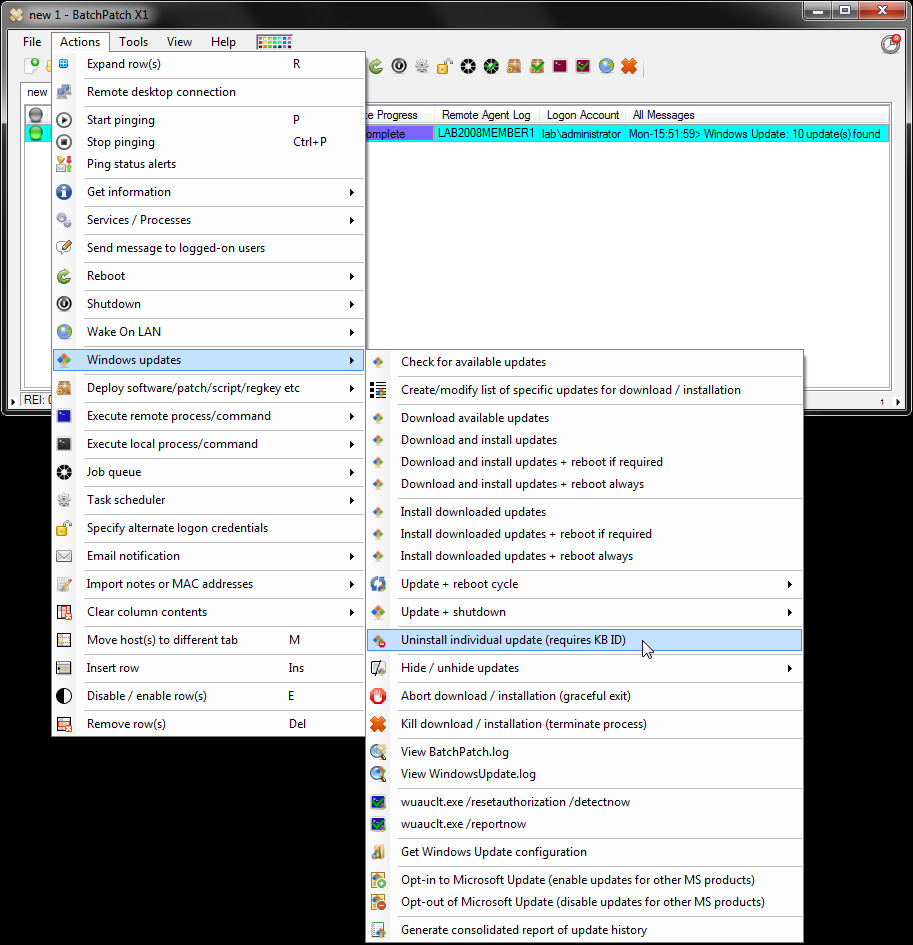
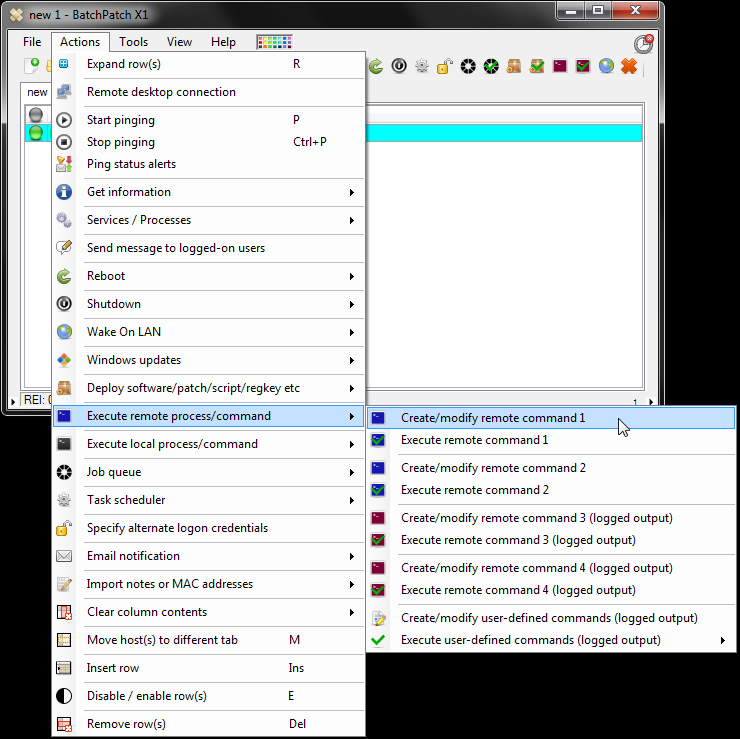
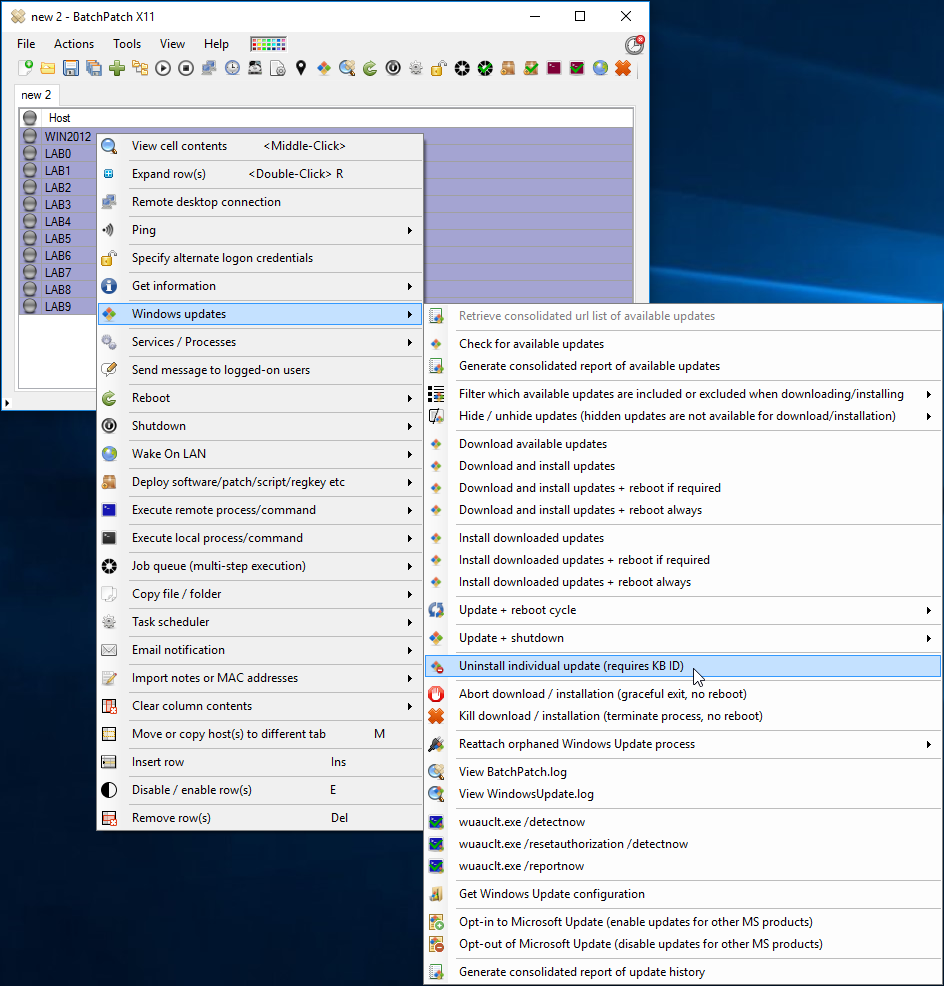
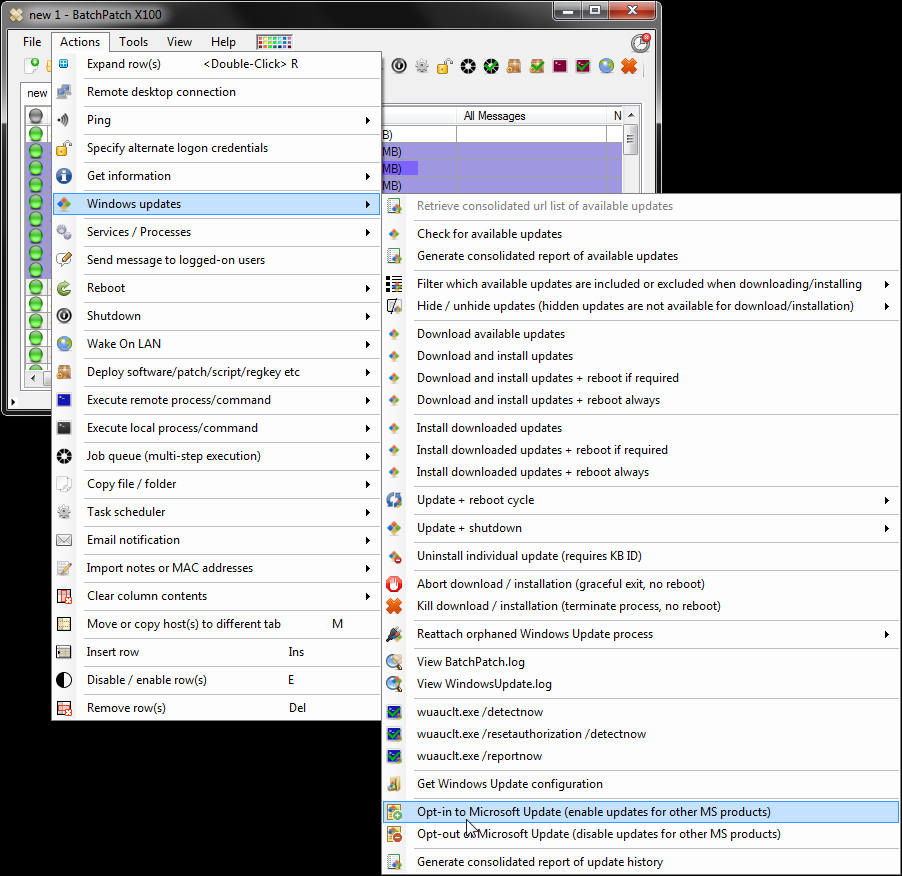
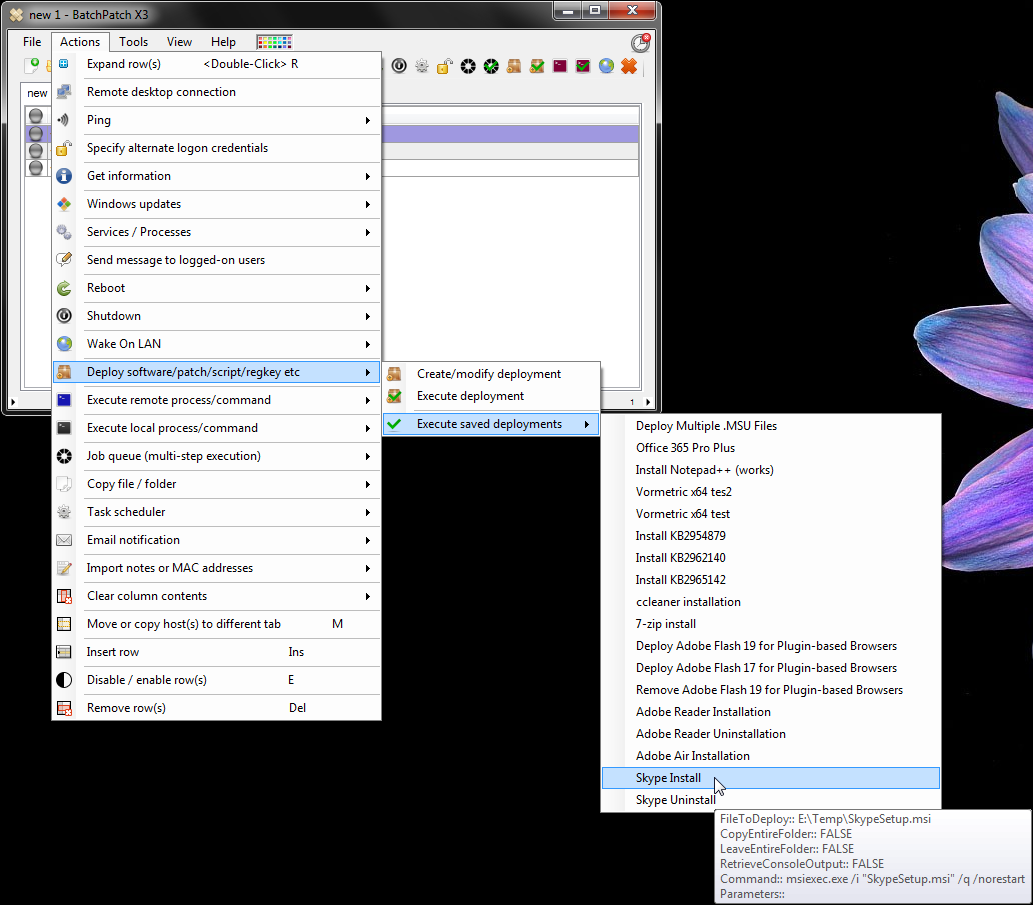
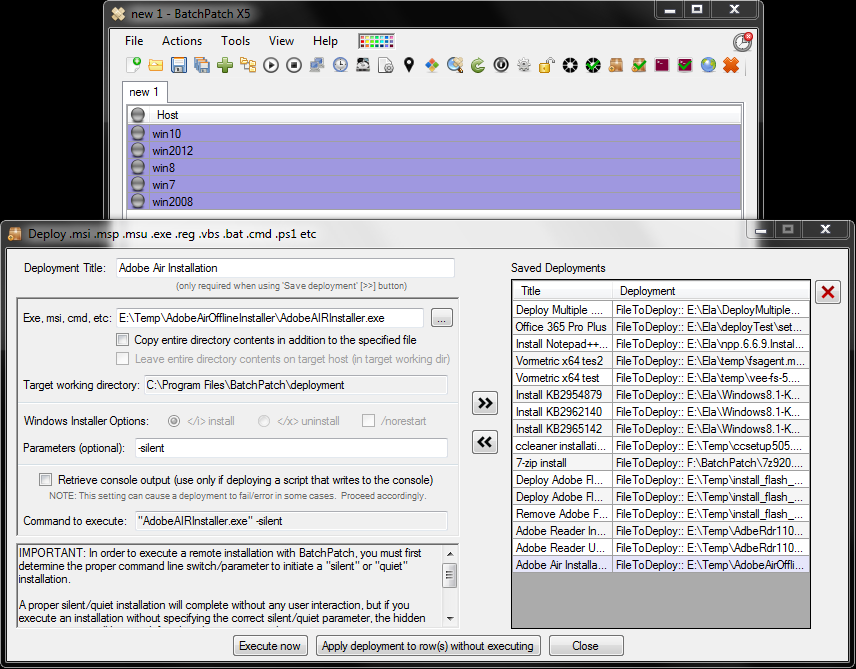
- In BatchPatch highlight all of the computers that need to have the update removed, and then select ‘Actions > Windows Updates > Uninstall individual update.’
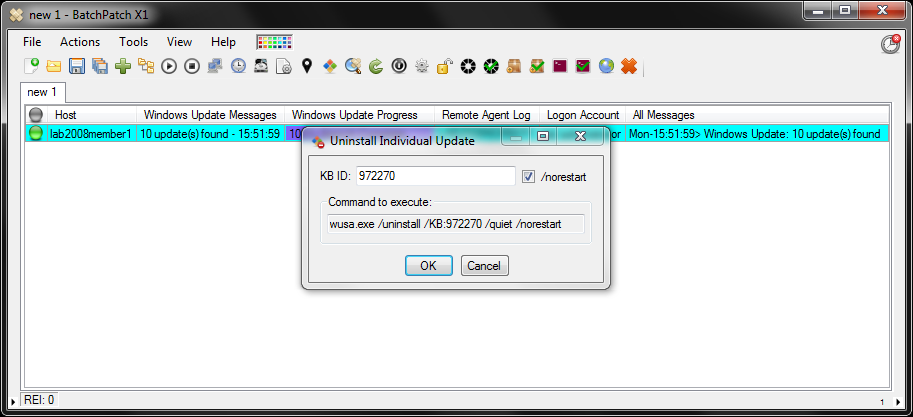
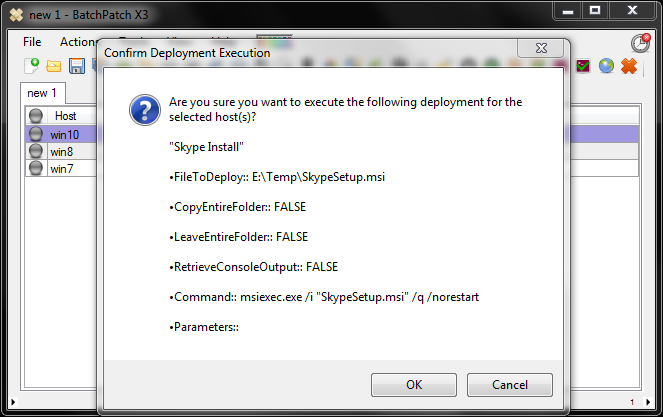
- In the form that appears, enter the KB number for the update you wish to remove. Optionally uncheck the “norestart” checkbox. In general I prefer to leave “norestart” checked. Then after the update has been removed BatchPatch will report if it requires a restart, and then I can use BatchPatch to initiate the restart and monitor the computers as they go offline and come back online. If “norestart” is unchecked, then the target computers will be able to reboot themselves at the end of the uninstallation, rather than BatchPatch initiating the reboot. Having BatchPatch initiate the reboot at the moment I give the command allows me to have a bit more control over the exact timing of the process, making it easier to monitor and confirm completion.
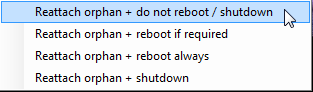
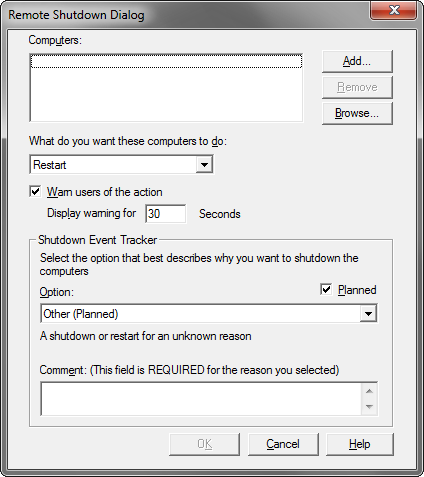
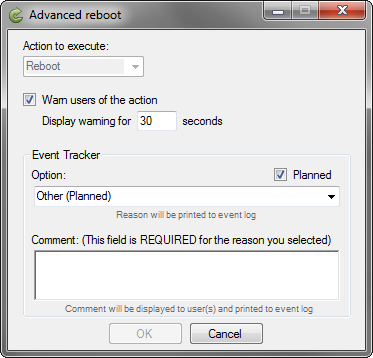
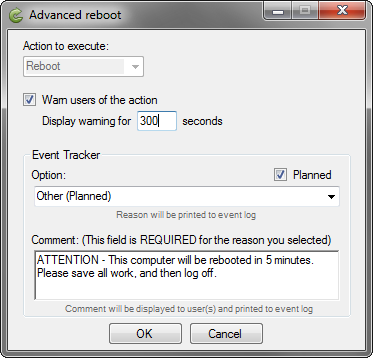
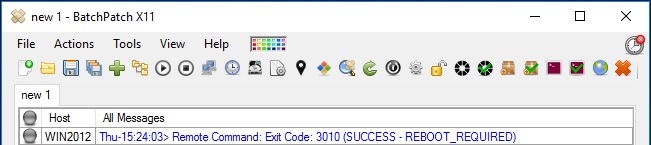
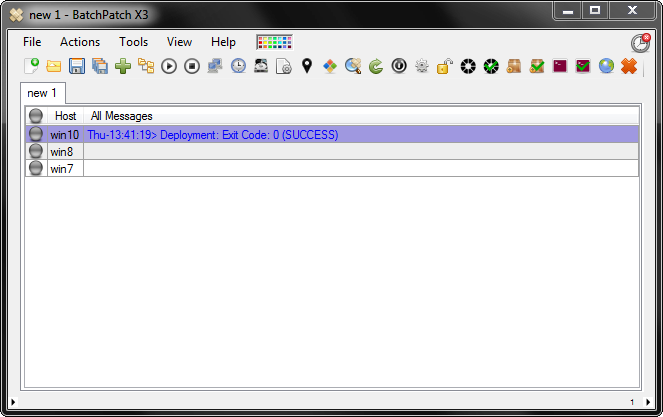
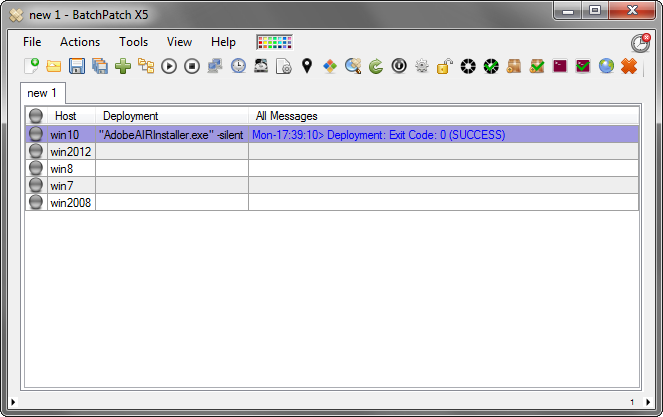
- In this case the update uninstallation completed successfully, but the exit code indicates that a reboot IS required. And so now we can simply initiate a reboot within BatchPatch (‘Actions > Reboot > Reboot (force, if required)’).


![2015-12-28 17_43_49-Win10 (Snapshot 1) [Running] - Oracle VM VirtualBox](/wp-content/uploads/2015/12/2015-12-28-17_43_49-Win10-Snapshot-1-Running-Oracle-VM-VirtualBox.png)