In some cases when you’re dealing with Windows Update problems on a target computer, you might find recommendations on the web that suggest to rename the Windows SoftwareDistribution folder ( C:\Windows\SoftwareDistribution ) in order to reset the Windows Update components. The purpose of renaming that folder is to cause Windows to re-create it from scratch. The process is to stop the Windows Update service, then rename or delete the folder, and then start the Windows Update service again. When the Windows Update service starts up again and sees that there is no longer a C:\Windows\SoftwareDistribution folder (because it has been renamed to something like C:\Windows\SoftwareDistribution.old ), Windows then just creates a brand new C:\Windows\SoftwareDistribution folder. The reason why it’s recommended to rename rather than delete the folder initially is because if you rename it, you could then always revert back to that renamed folder at any time. Whereas if you delete it altogether, there will be no going back, of course. This most likely isn’t going to be the end of the world in most situations, but at the very least when you trigger Windows to create a new SoftwareDistribution folder, you’re going to lose any visibility into update history on that computer since the update history database is stored in that SoftwareDistribution folder. That said, I’m not making an explicit recommendation here to perform this operation. I’m just explaining to you how you can do it from within BatchPatch if you’ve decided, at your own risk, to perform this operation.
Recently someone asked us how to perform this operation from within BatchPatch. First let me say that in general, if you’re going to be renaming the SoftwareDistribution folder, it doesn’t really strike me as an operation that should necessarily be done from within BatchPatch. I say this only because typically you’re going to be troubleshooting Windows Update issues on just a single computer at a time. And since BatchPatch really shines when you need to perform an action on numerous computers (as opposed to on just one computer), executing this operation from within BatchPatch on a single computer doesn’t solve a particular problem since it’s easy enough to just manually perform the operation on the machine that you’re troubleshooting. However, there might be some edge cases where you would want to perform this operation on numerous target computers, or you might find yourself performing this operation repeatedly to the point where you want to have it hard-coded into BatchPatch for one-click execution, like the customer who recently asked us how to do it. If you want to perform the SoftwareDistribution rename operations from within BatchPatch, here is how:
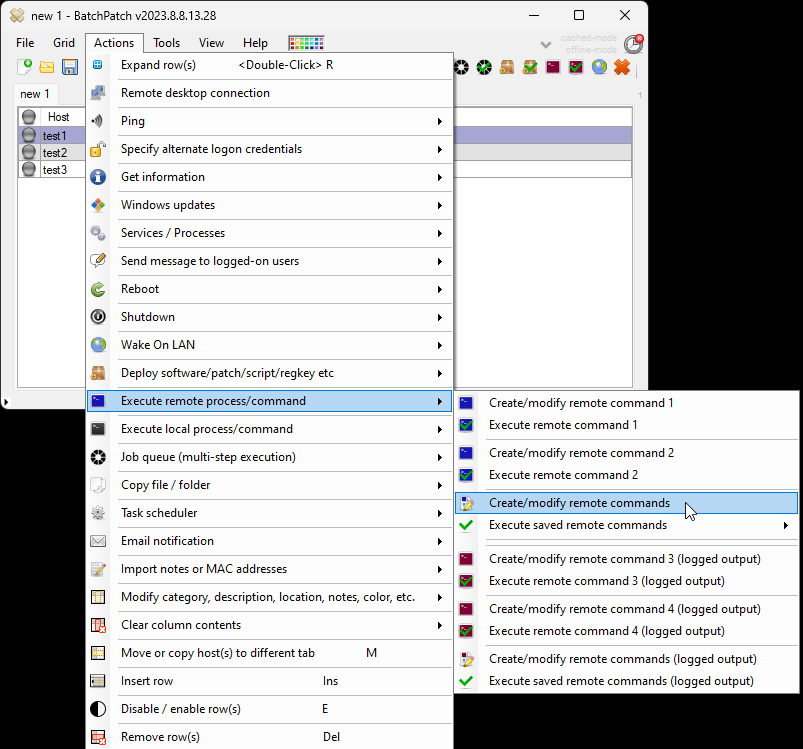
- In BatchPatch create a Remote Command by selecting Actions > Execute remote process/command > Create/modify remote commands
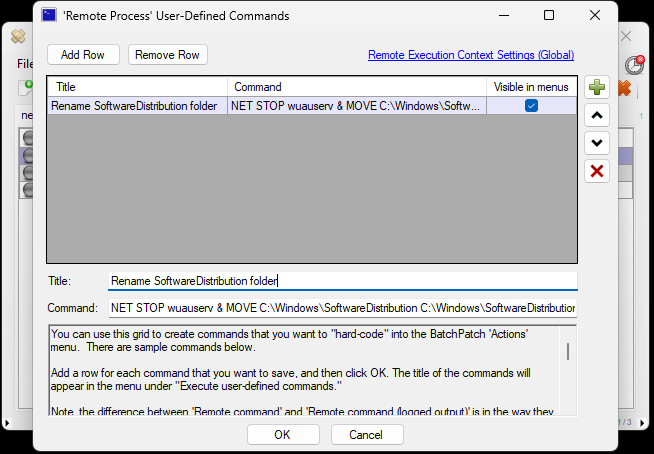
- Create a command with the following syntax:
NET STOP wuauserv & MOVE C:\Windows\SoftwareDistribution C:\Windows\SoftwareDistribution.old & NET START wuauserv
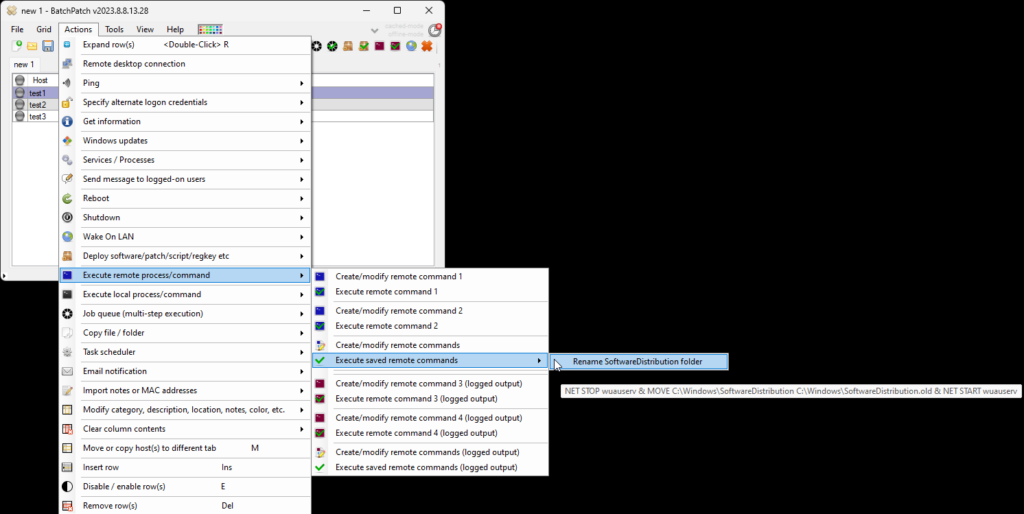
- After you’ve created the command it will become available to execute under Actions > Execute remote process/command > Execute saved remote commands like in the screenshot below. You can then simply select the desired target computers in your grid, and then click on the new menu item that you just created for this action. BatchPatch will then trigger the target computer to stop the Windows Update service, rename the SoftwareDistribution folder to SoftwareDistribution.old, and then finally start the Windows Update service again.