One of the challenges that administrators often face is getting things done on user computers that rarely connect to the network. For example, part of your job might be to update Java, Adobe Flash, or Adobe Reader on all of your users’ computers. Inevitably it seems that you are able to get 90% done immediately while the other 10% take many days or even weeks (sometimes months!) simply because the users aren’t in the office frequently. And then when they are in the office, you don’t learn about it quickly enough to perform the update, so they’re back on the road before you get it done! Wouldn’t it be nice if you could just setup a job that would automatically run the update the moment the traveling users come back to the office and attach their computers to the network? Fortunately with BatchPatch this is actually very easy to accomplish.
In the BatchPatch task scheduler there is an option to “Run task immediately upon detecting target computer online.”
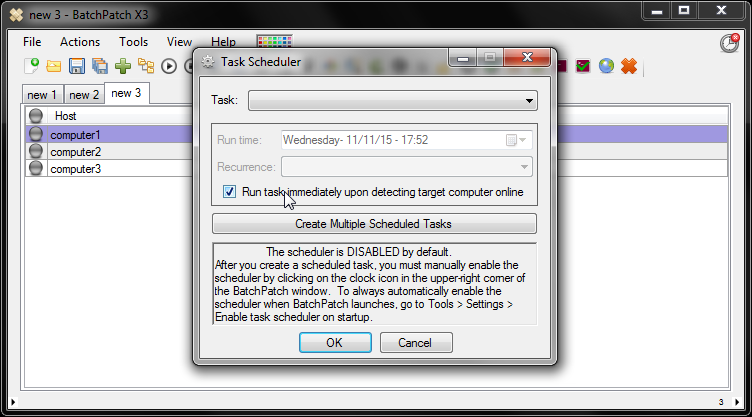
This scheduled task option works exactly as it sounds. It’s as simple as selecting any BatchPatch task such as downloading/installing Windows updates, deploying software, or executing a custom script or job queue, and then ticking the box to “Run task immediately upon detecting computer online.” BatchPatch will constantly monitor the network for the desired computer. As soon as BatchPatch detects that the computer is online, the task is executed. Below is a step-by-step tutorial.
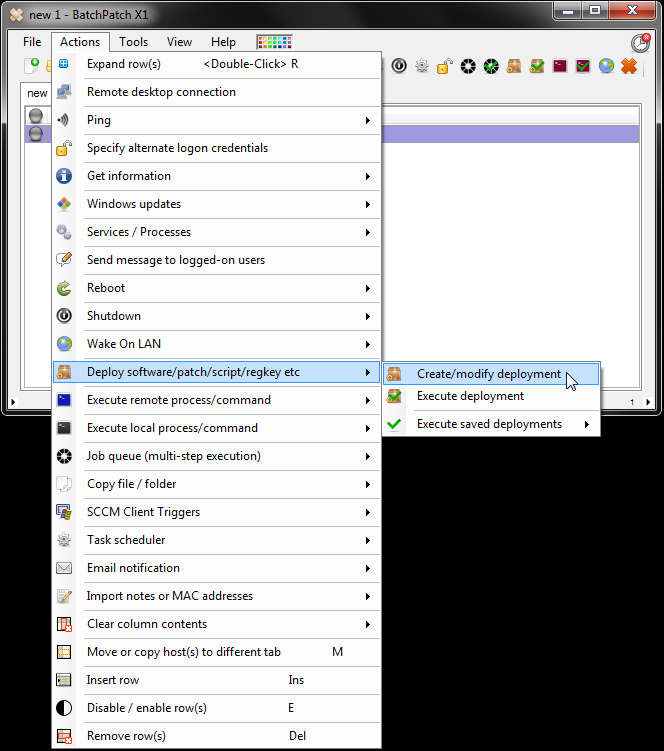
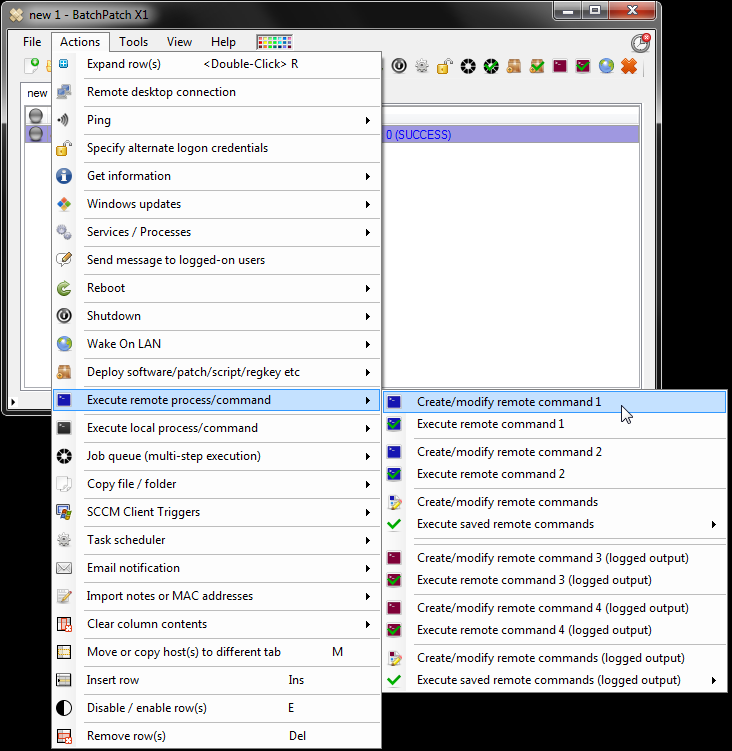
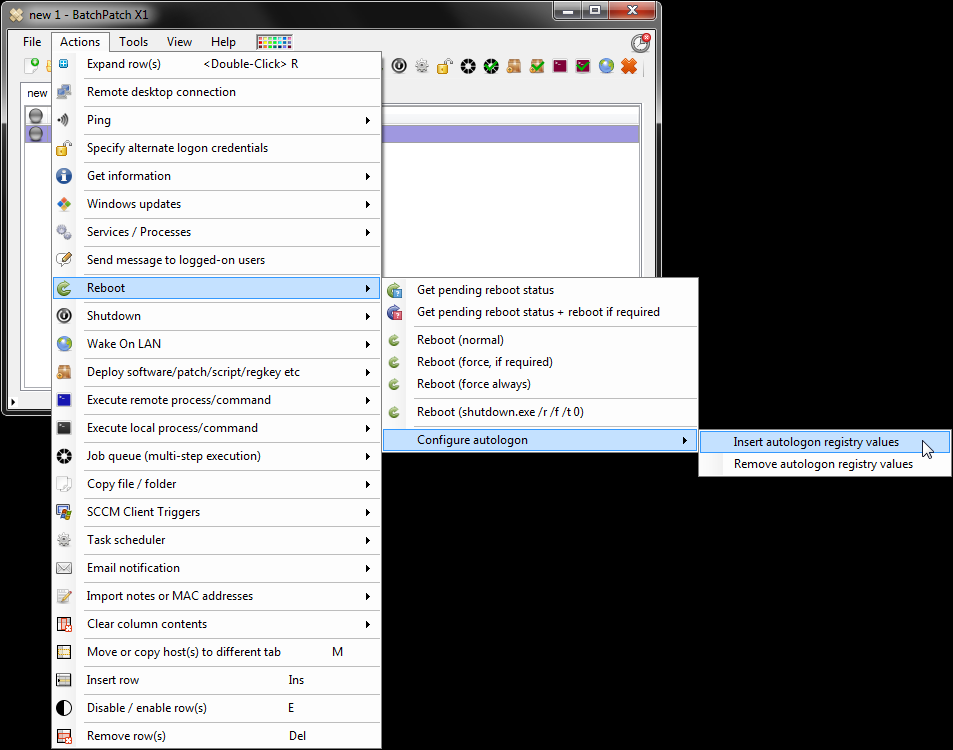
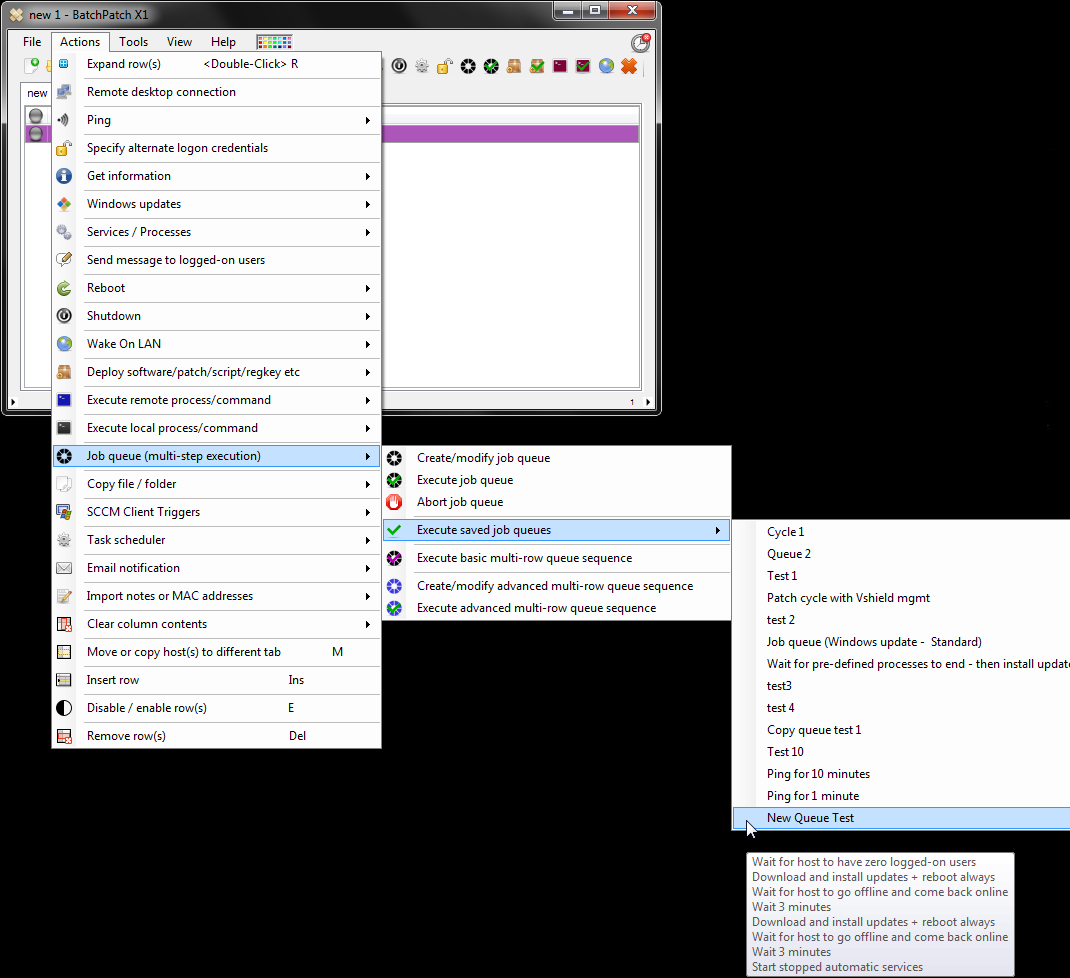
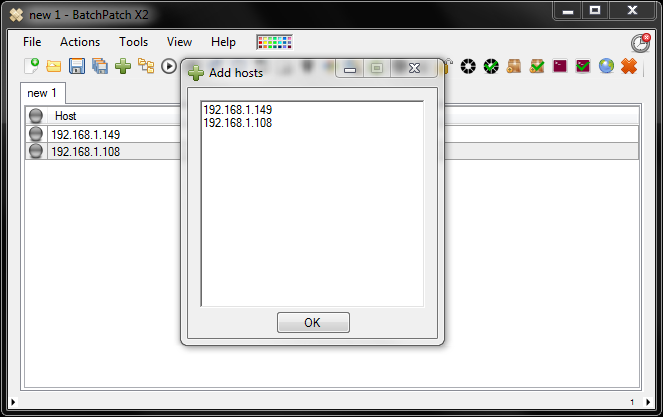
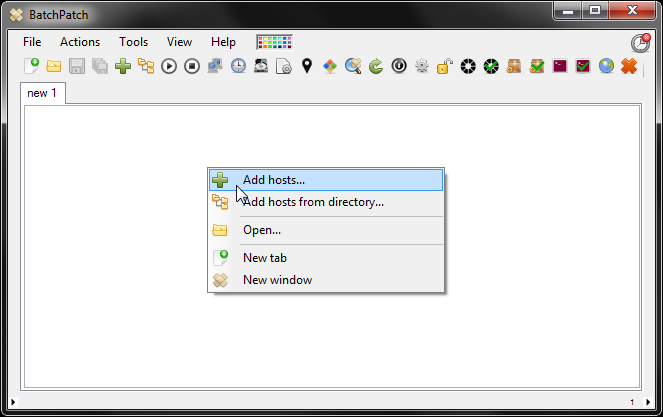
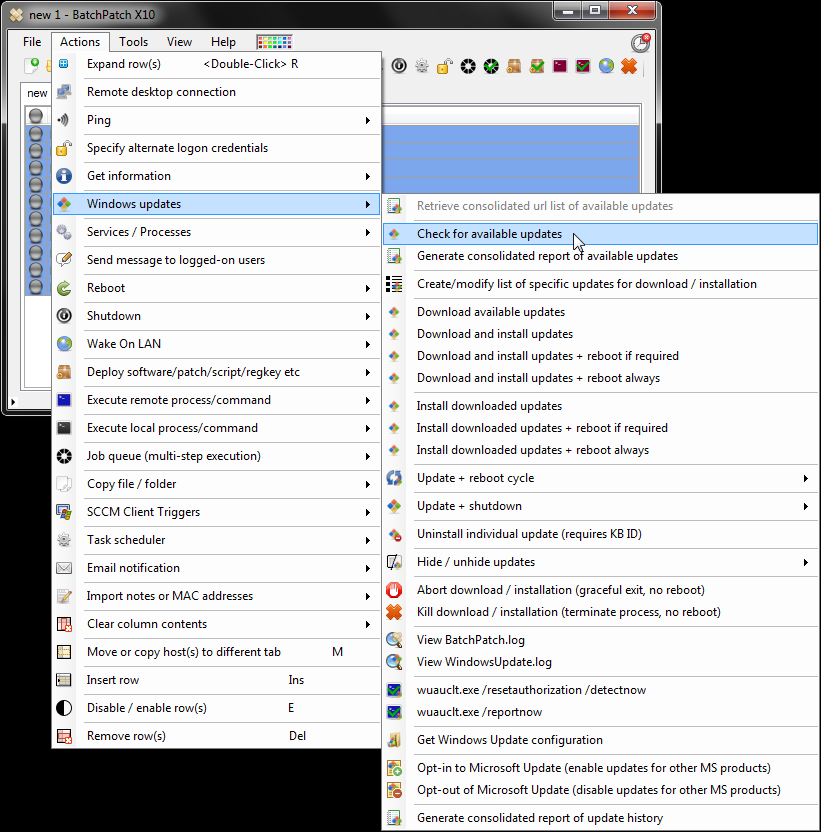
- Select the desired hosts in the BatchPatch grid, and then select ‘Actions > Task Scheduler > Create/modify scheduled task.’
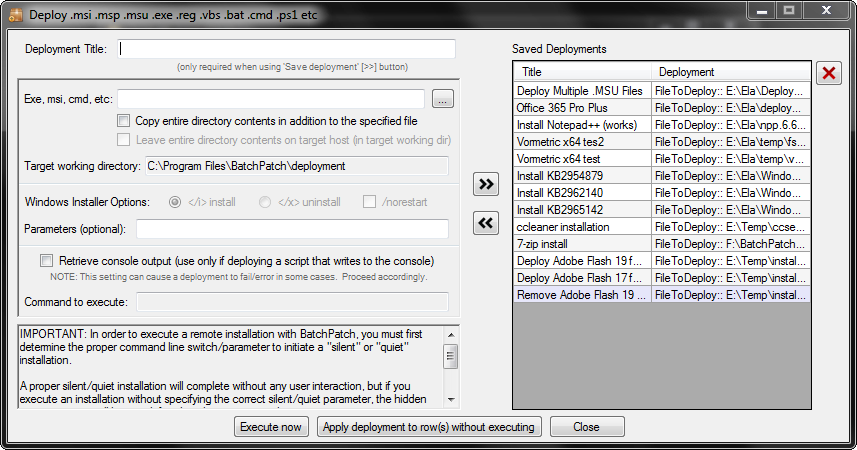
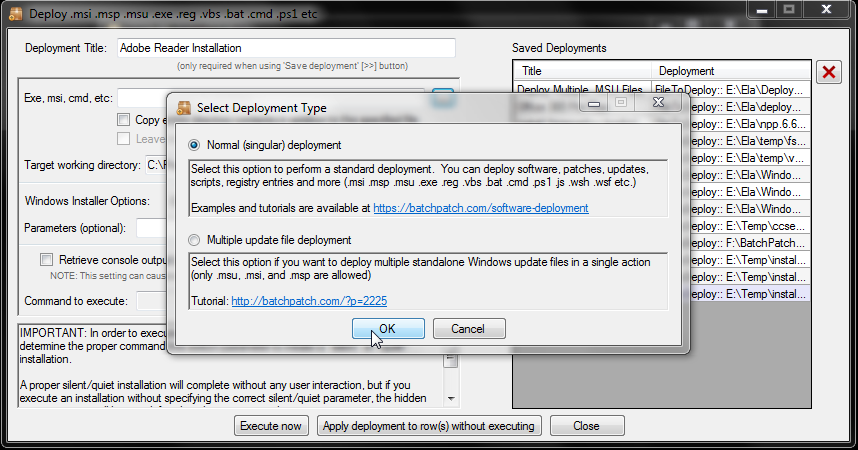
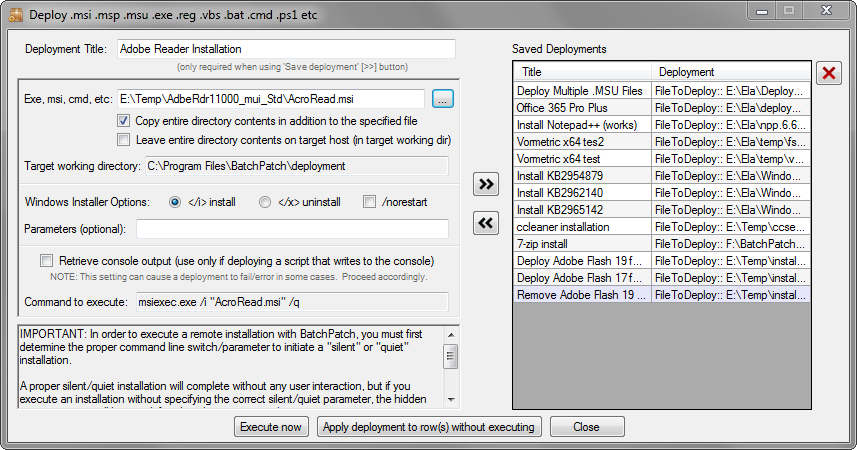
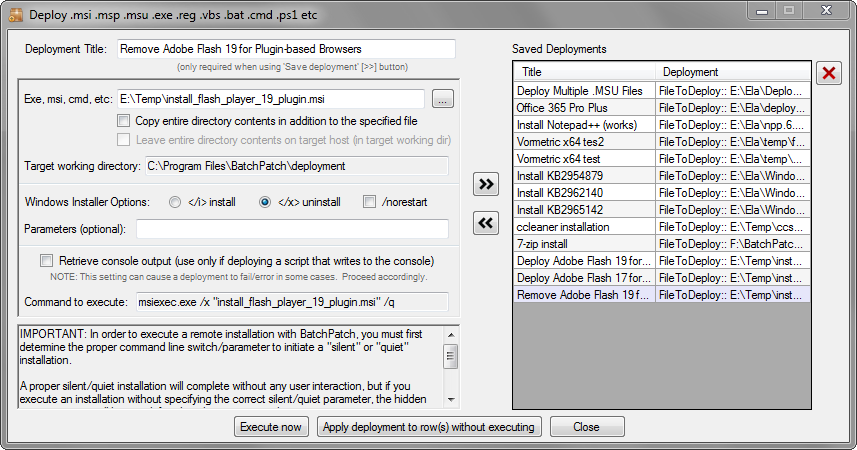
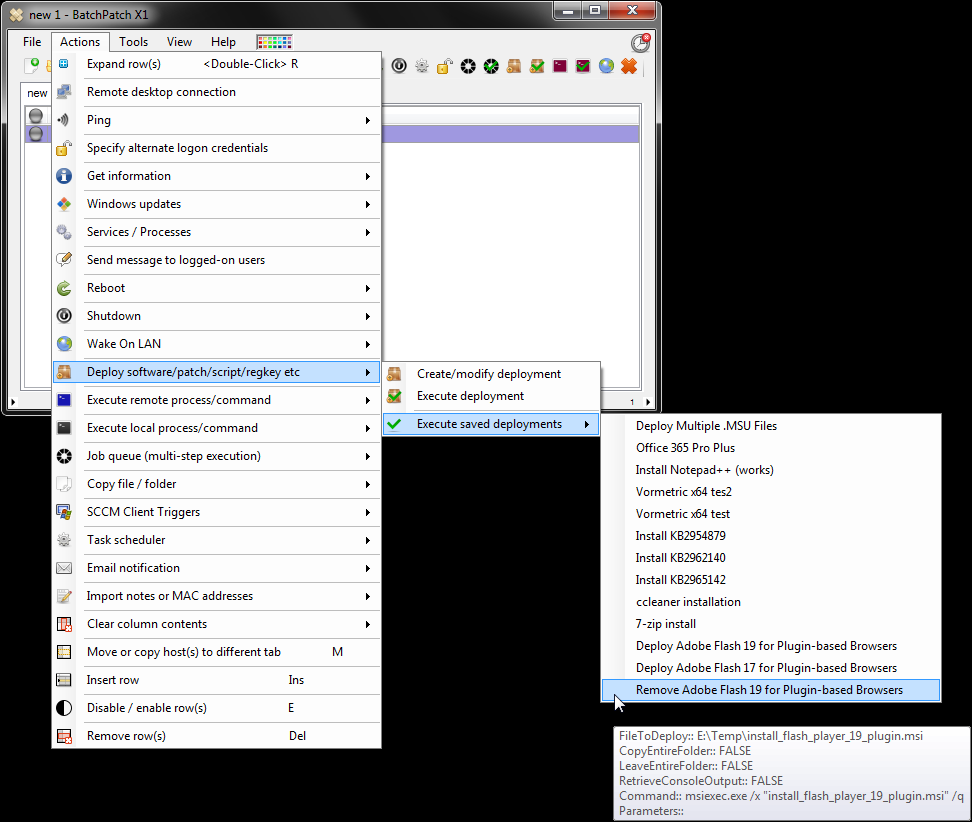
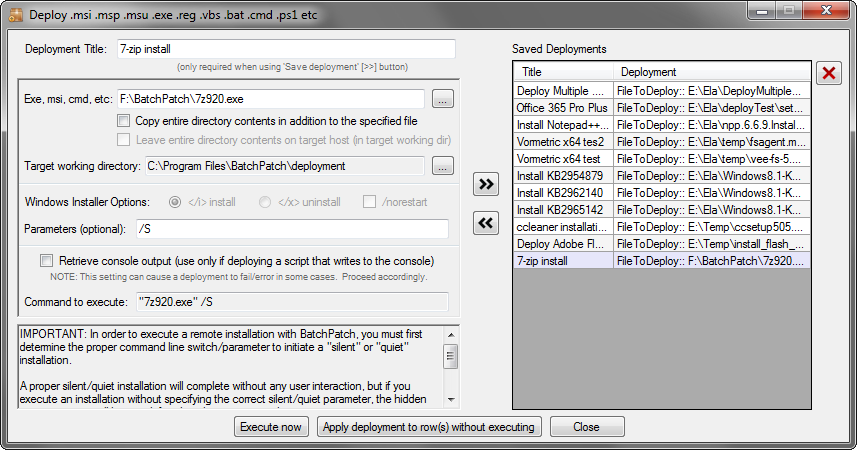
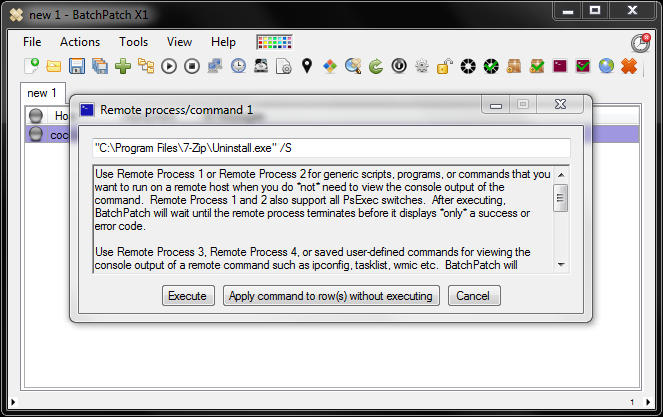
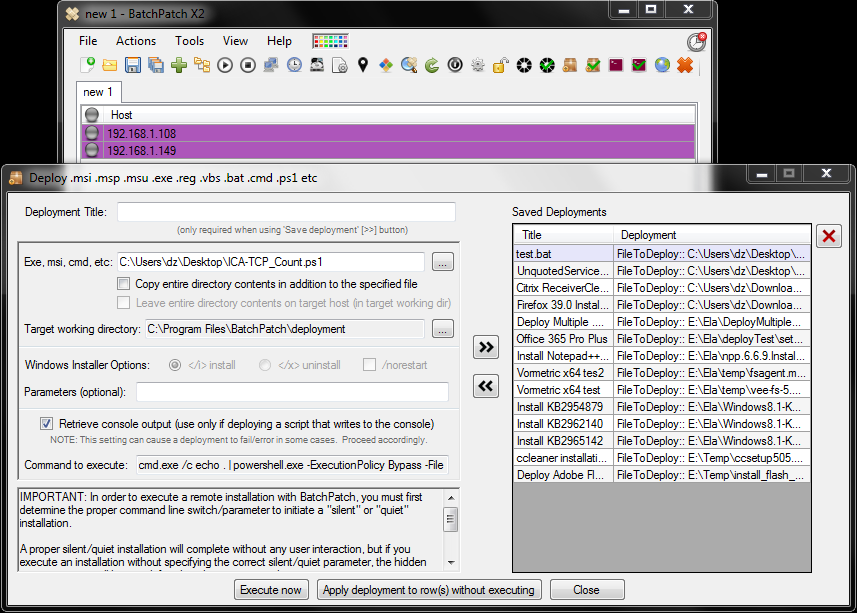
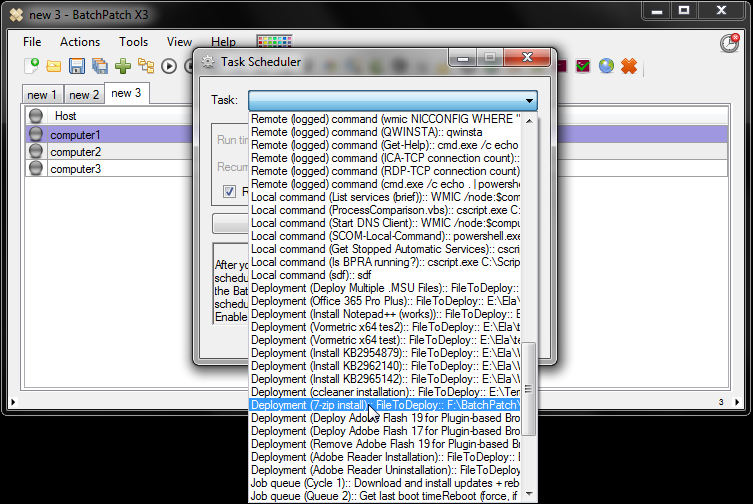
- In the task scheduler window select from the drop-down menu the desired task. In this case I’m going to choose a previously saved software deployment task that installs 7-zip (any deployment that you create in the ‘Actions > Deploy > Create/modify deployment’ window can be saved in that same interface).
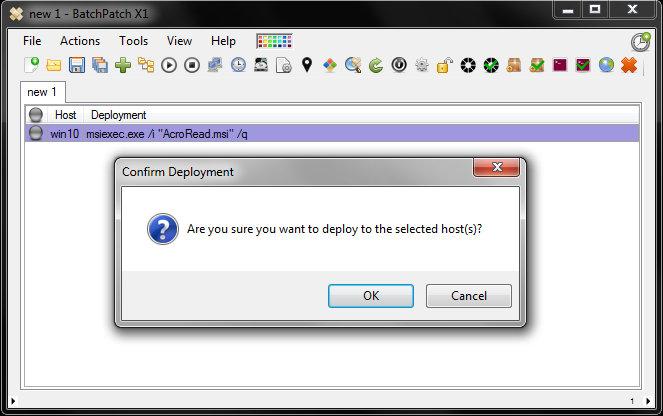
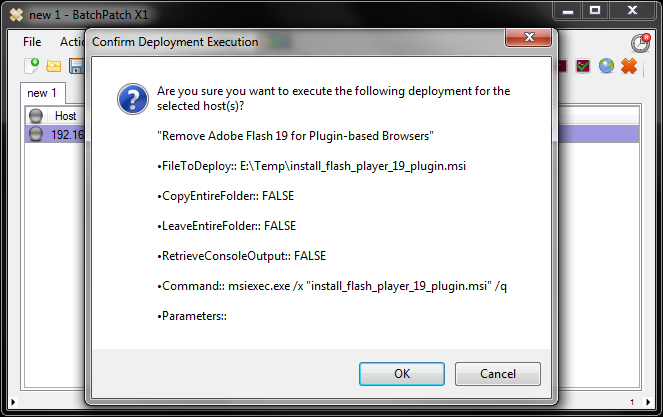
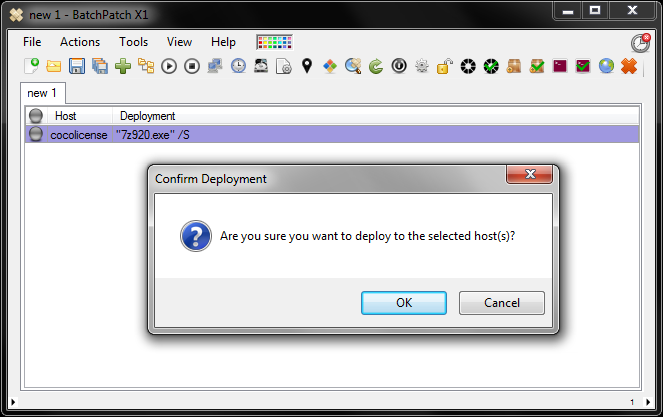
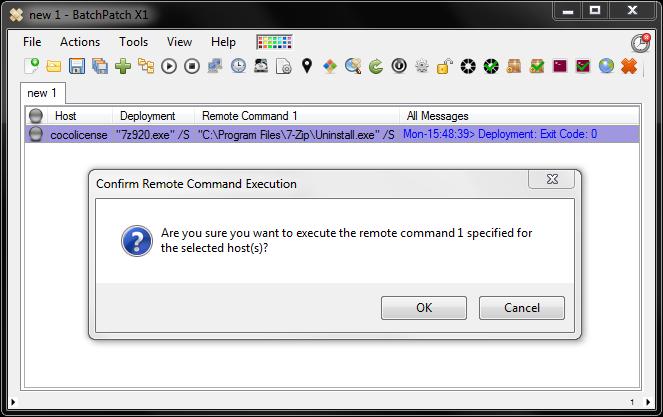
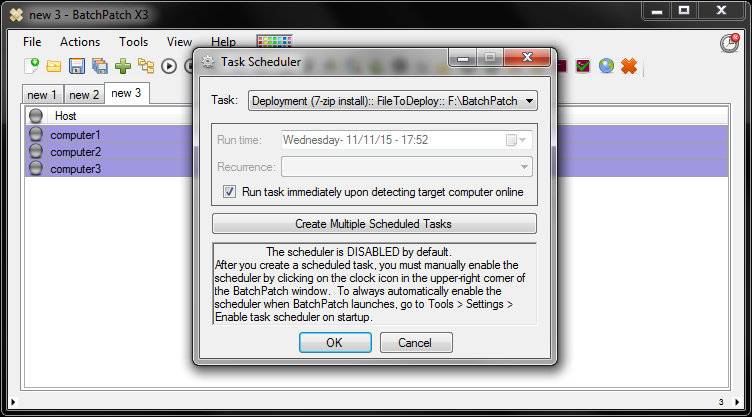
- Make sure that you have ticked the “Run task immediately upon detecting computer online” checkbox. Then click OK.
- Lastly, make sure you enable the scheduler if it isn’t already running. Do this by clicking on the smaller clock icon in the upper right portion of the BatchPatch window.
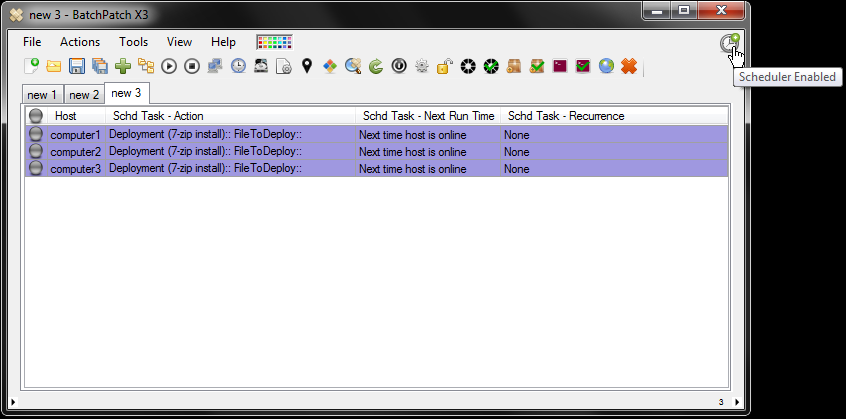
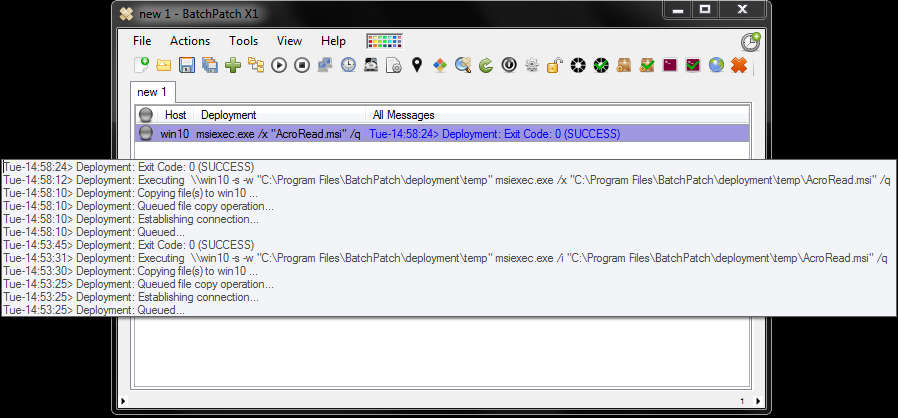
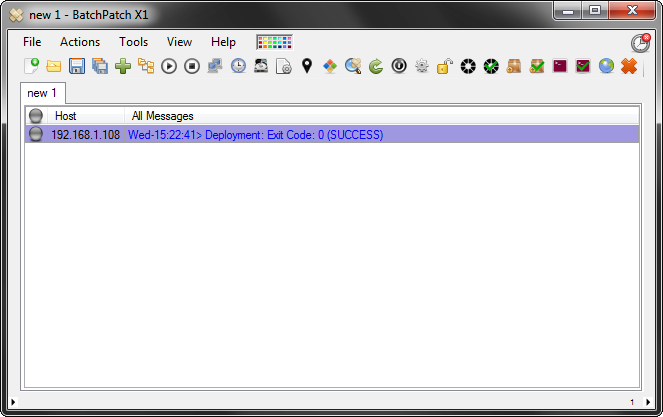
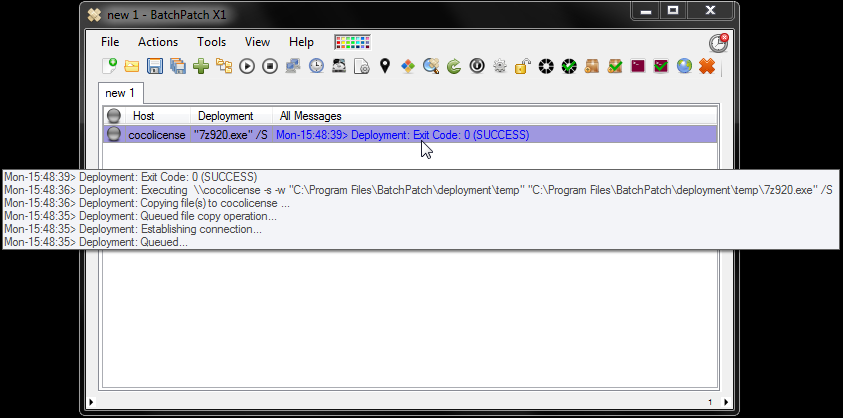
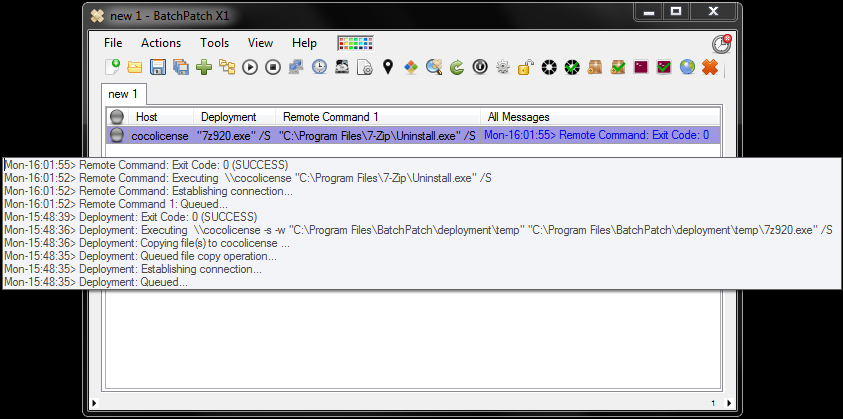
- That’s all there is to it! At this point you can simply go on about your other regular duties and just check back every now and again to see which computers have come online and received the update. Or if you prefer to receive an email notification each time a machine is updated, then instead of executing the software deployment directly from the task scheduler, setup a two-step job queue with the software deployment as the first step, and an email notification as the second step. Then from the task scheduler you can just execute that job queue with the same “Run task immediately upon detecting computer online” checkbox!