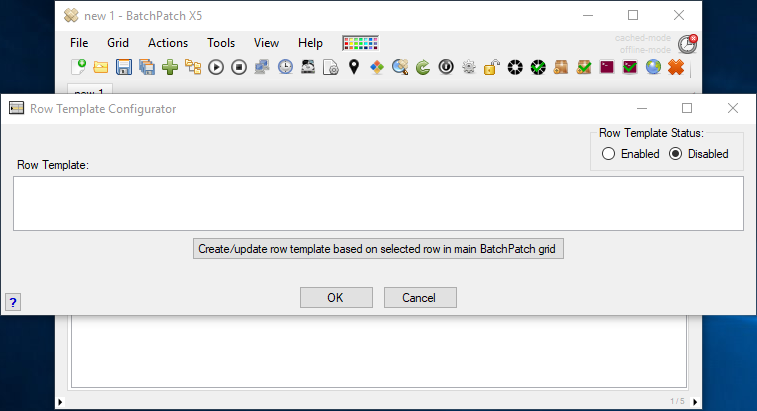
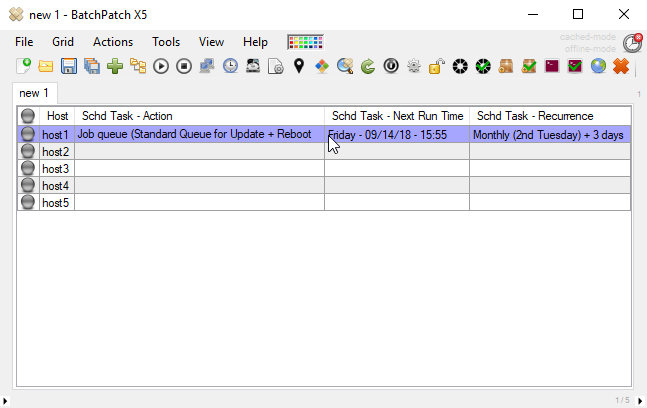
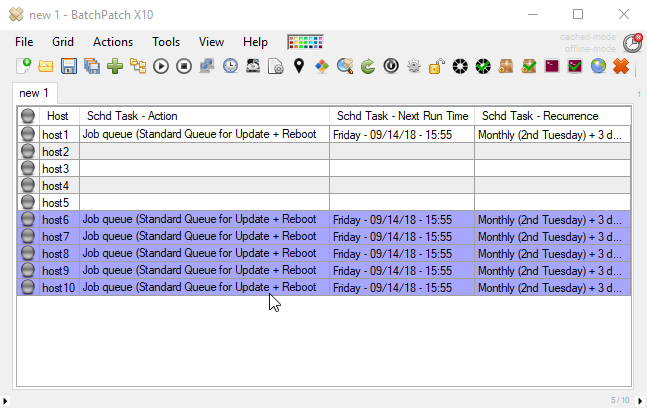
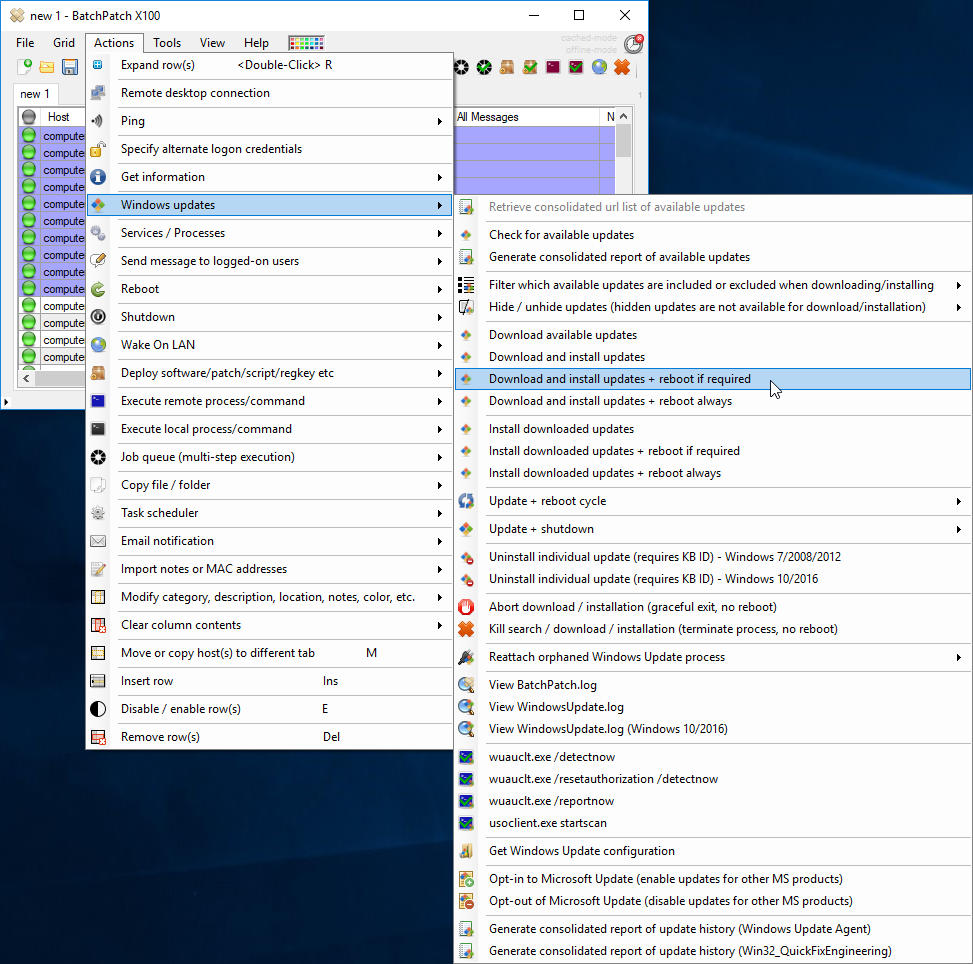
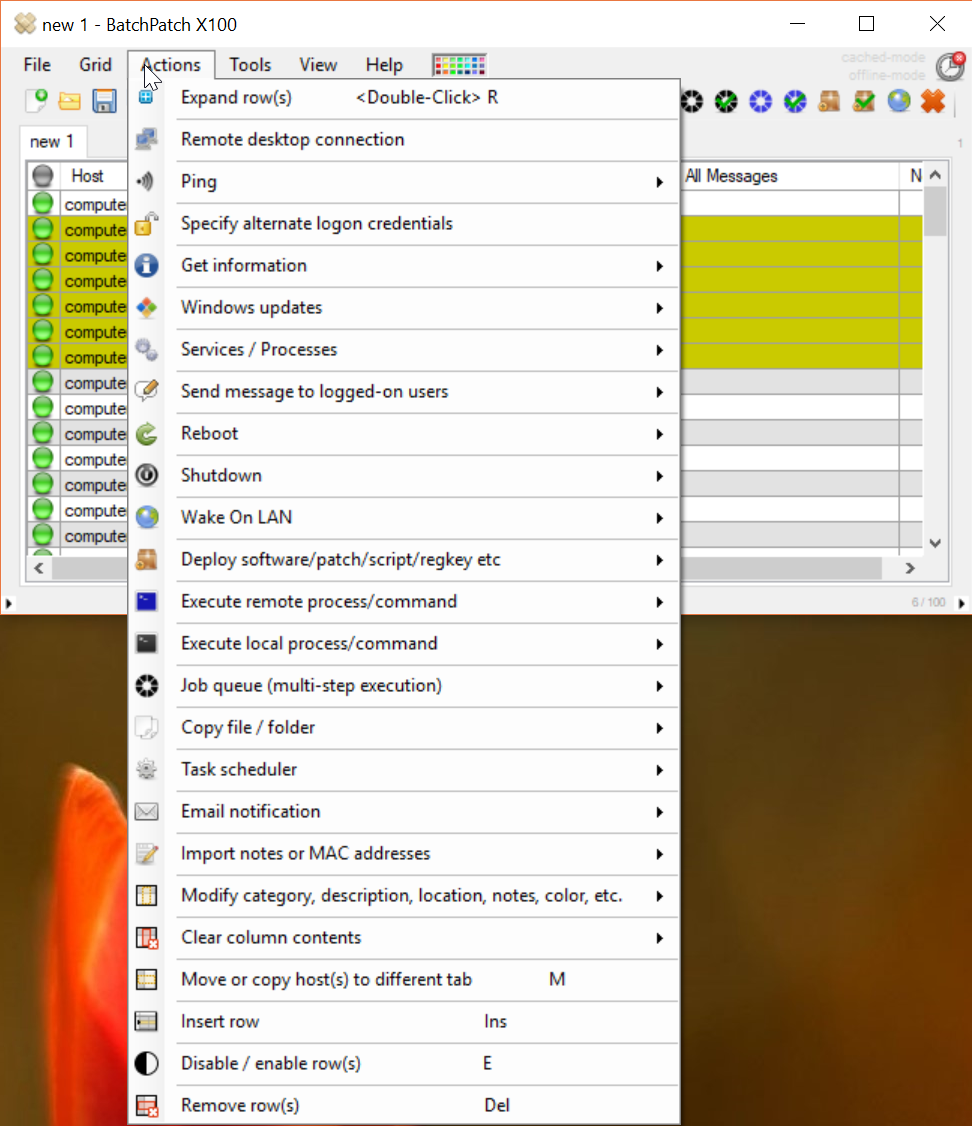
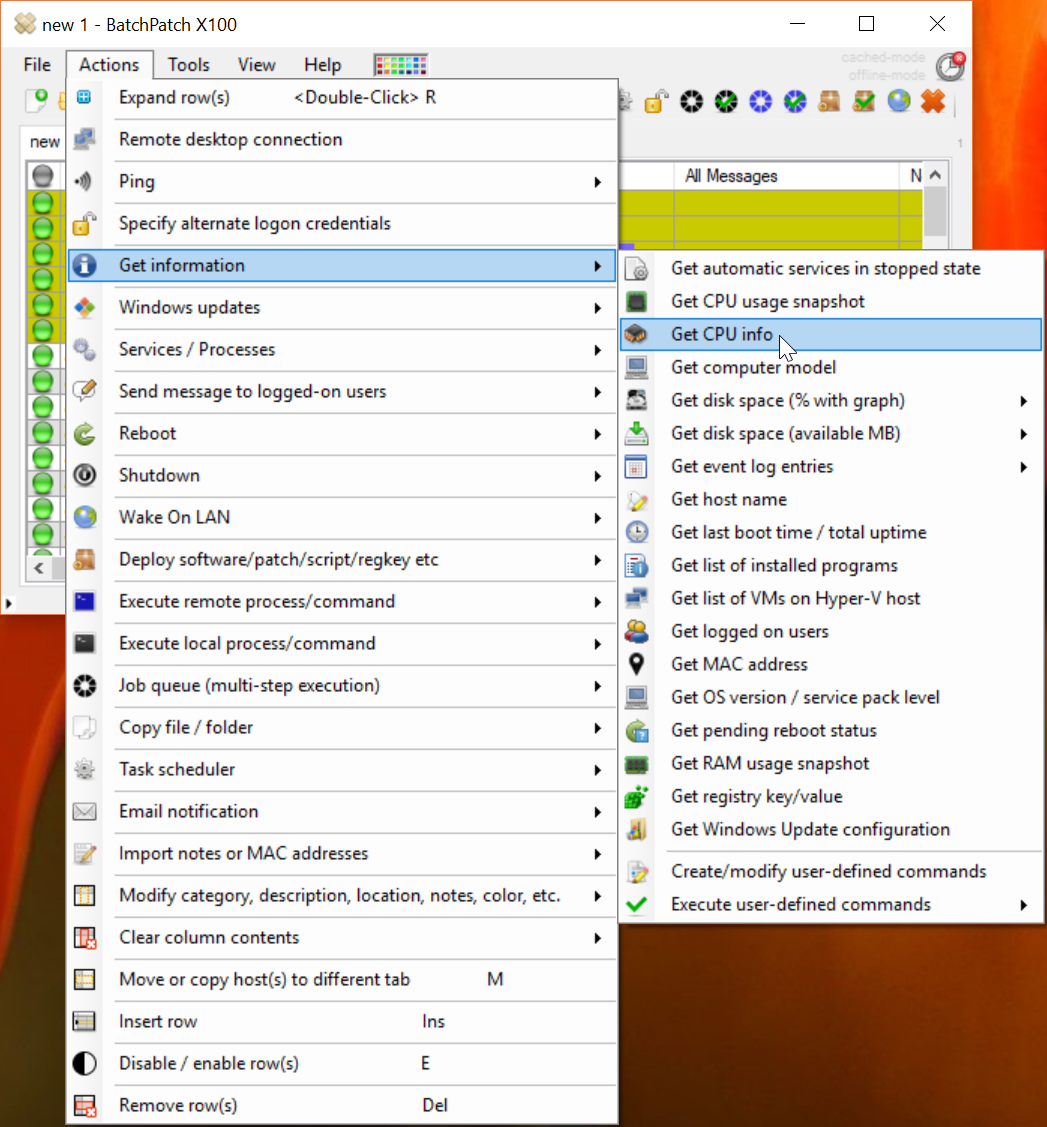
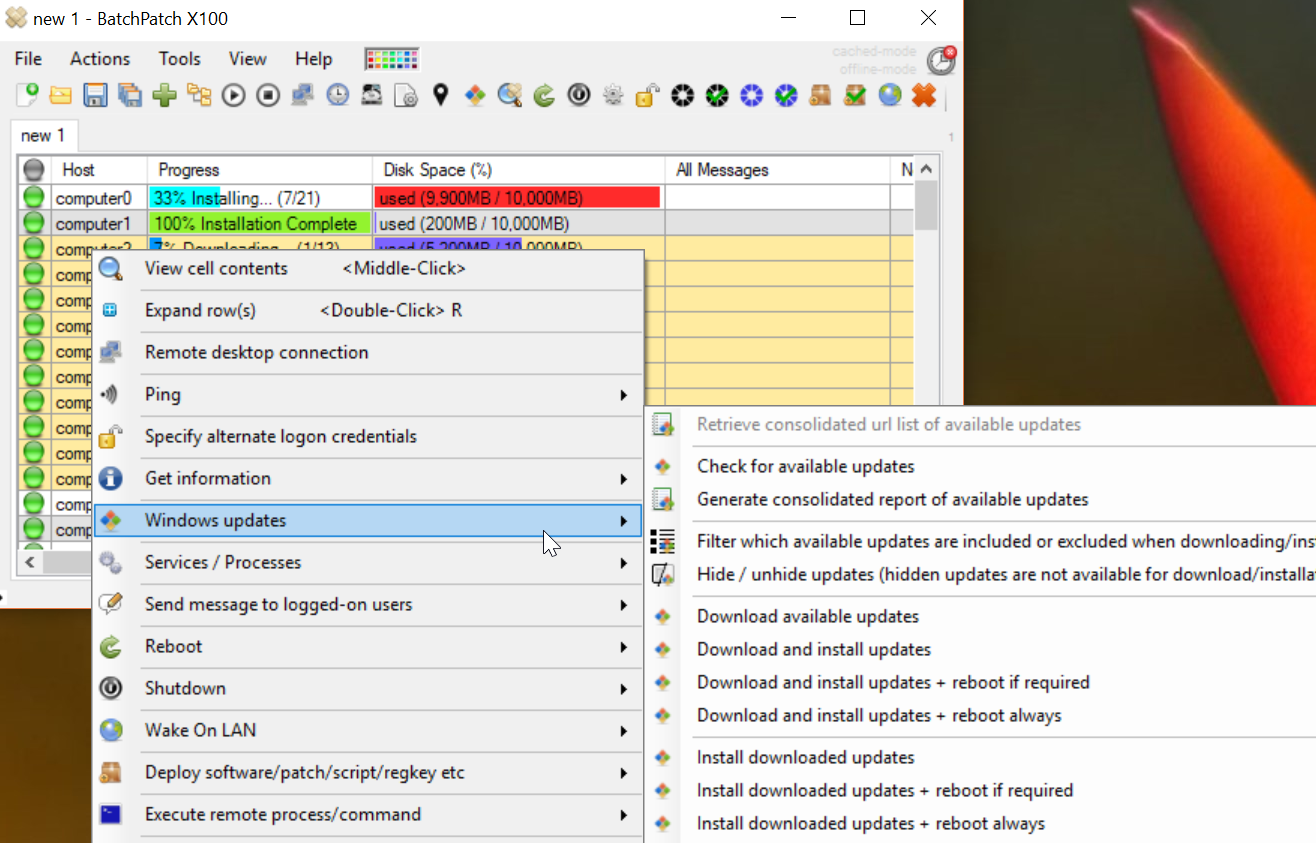
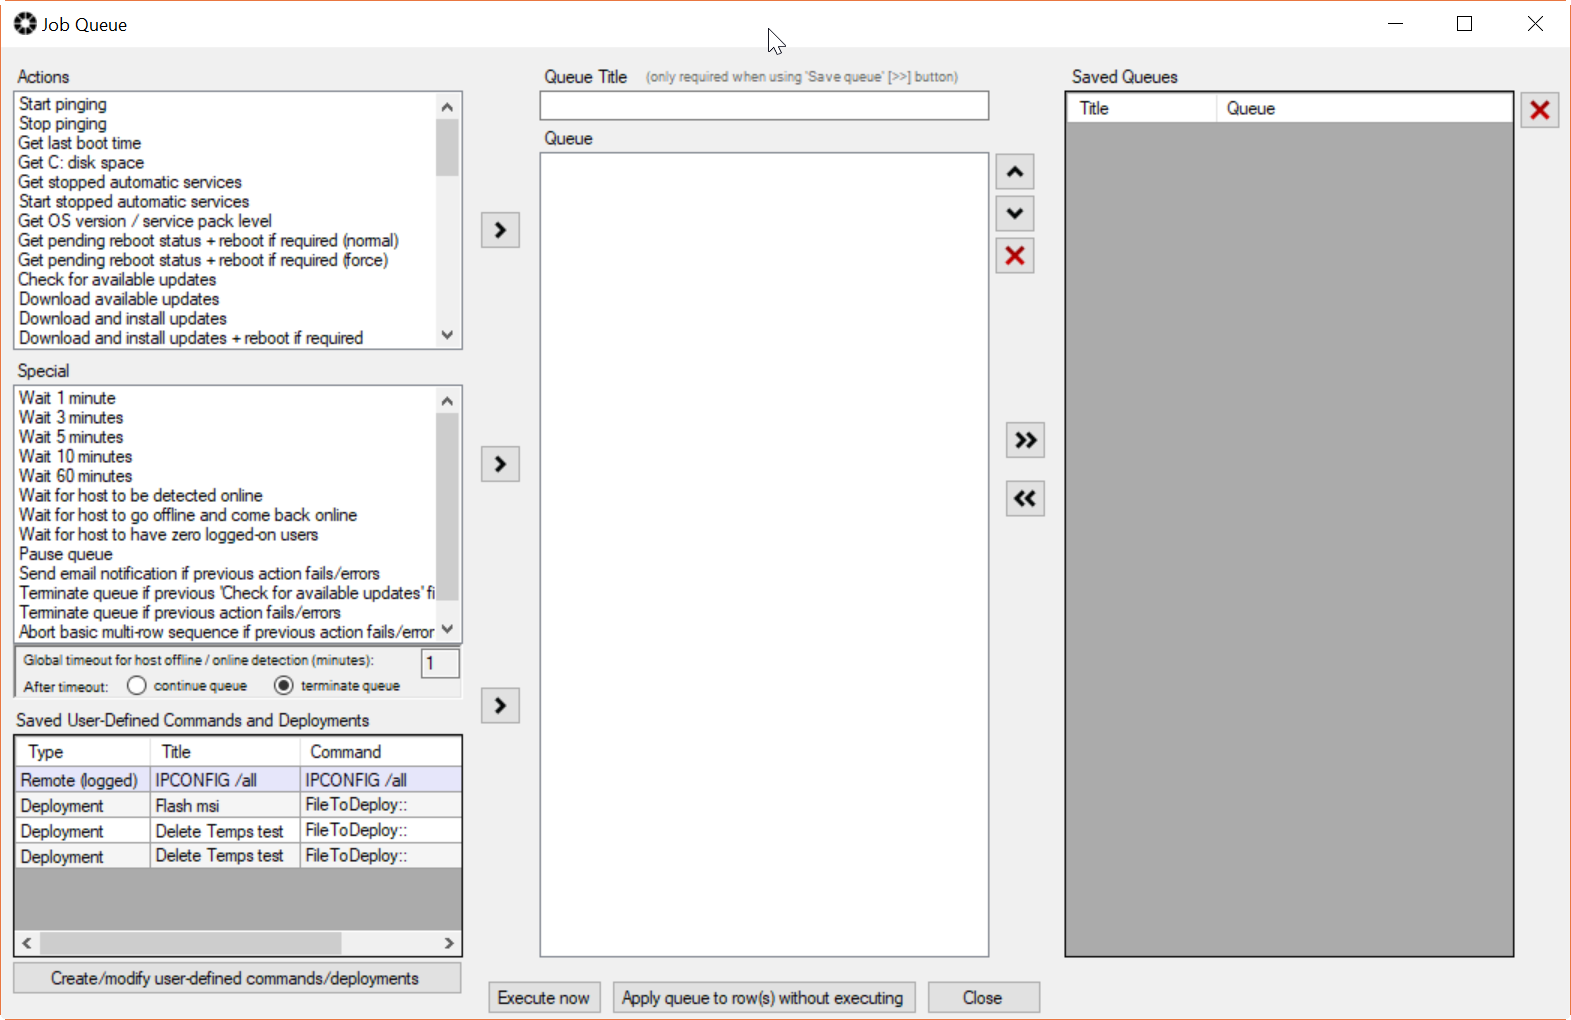
BatchPatch provides multiple different options for applying Windows Updates to numerous target computers simultaneously. In all cases the process involves loading a list of computer names or IP addresses into a BatchPatch grid, selecting/highlighting the desired target computers in the grid, and then choosing an action from the BatchPatch Actions menu to execute on the selected computers.
BatchPatch can initiate the Windows update process on numerous computers simultaneously. They can be instructed to retrieve updates from your local WSUS, Microsoft’s public ‘Windows Update’ server, or Microsoft’s public ‘Microsoft Update’ server. Additionally, it’s possible to “push” the updates to target computers from the BatchPatch computer rather than having the target computers “pull” updates from an update server. And finally, updates can even be applied to target computers that do not have any interest access.
In BatchPatch’s default/normal mode, when BatchPatch triggers a group of target computers to initiate the download and installation of Windows updates, the target computers will search for updates on a local WSUS or on Microsoft’s public Windows update server, depending on the existing configuration of the target computers. In this default mode BatchPatch will utilize the pre-existing configuration on each target computer to determine where each target computer will search for updates to download and install. However, BatchPatch can also be instructed to override the target computer’s default configuration so that, for example, updates are downloaded directly from Microft’s public update server rather than from an internal/local WSUS server. The different Windows Update options that BatchPatch offers can be viewed under ‘Tools > Settings > Windows Update’
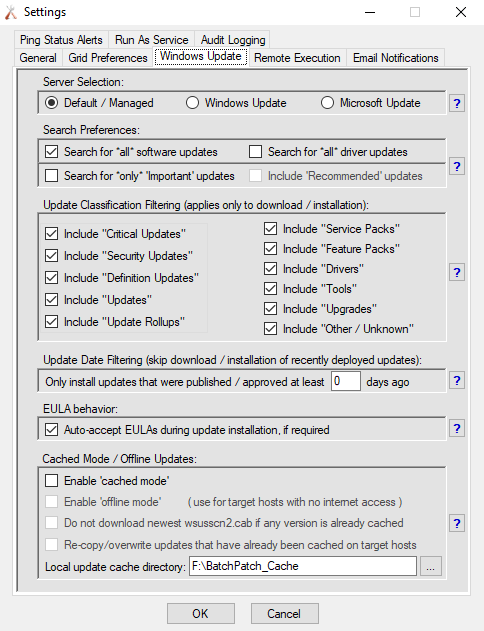
When BatchPatch’s ‘cached mode’ is enabled, the administrator is provided with even more options for distributing Windows updates to target computers. The following page goes into detail about all of the different cached mode options including ‘offline mode’ which provides functionality to deploy Windows updates to computers that don’t have internet access.
BatchPatch Cached Mode And Offline Windows Update
Excerpt:
- When ‘cached mode’ is enabled, the computer that is running BatchPatch will download all updates directly to its own local repository. Once downloaded to BatchPatch’s local repository, BatchPatch will handle distributing the updates to target computers. Target computers will not download their own updates from Microsoft, thus significantly reducing the overall amount of internet bandwidth used to retrieve Windows Updates.
- When ‘cached mode’ is enabled without also enabling ‘offline mode’, target computers still require internet access because each target computer will perform its own online search for updates against Microsoft’s server. However, the actual download process will take place on the BatchPatch computer, not on the target computers, thus saving internet bandwidth since any available update will only be downloaded one time by the BatchPatch computer rather than being downloaded one time by each target computer. Once BatchPatch has downloaded updates to its cache, it is able to distribute them to target computers.
- When ‘offline mode’ is enabled in conjunction with ‘cached mode’ each target computer does an offline search for available security updates, utilizing the offline scan file (wsusscn2.cab) that Microsoft provides, which means that target computers do not need to have internet access. The actual update download process will only take place through the BatchPatch computer. Once BatchPatch has downloaded updates to its cache, it is able to distribute them to target computers. With ‘offline mode’ it is also possible to download updates on a BatchPatch computer that has internet access, and then manually move the entire update cache repository to a computer or network that has no internet access, enabling you to distribute Windows Updates security updates to computers on a completely offline network.