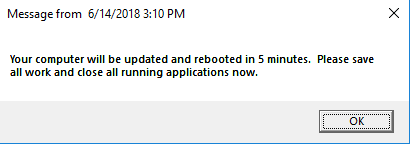
BatchPatch has a feature ‘Send message to logged-on users’ that enables the administrator to quickly and easily produce a pop-up message on the interactive desktop of target computers, so that a logged-on user will see the message. The message text is completely customizable, and the message can even be set to go away after X seconds. Used in conjunction with BatchPatch job queues and/or scheduled tasks means that you can setup a routine where at a scheduled time BatchPatch will automatically notify end-users with a pop-up message on their computers that in X seconds or minutes their computers will be updated and rebooted. Let’s go over how to set this up.
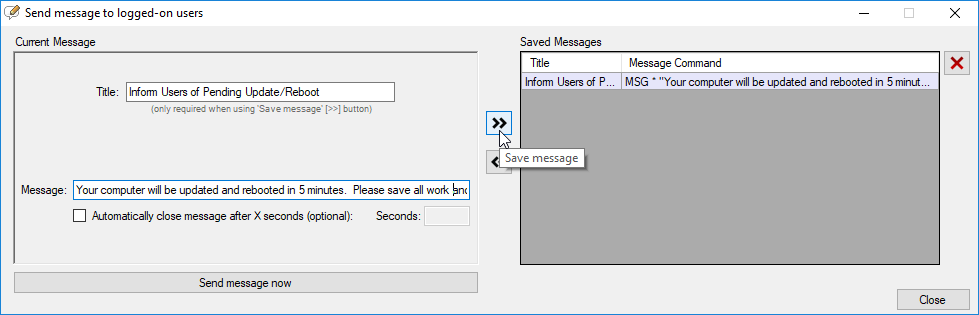
- Create a message to send to logged-on users. Go to ‘Actions > Send message to logged-on users > Create/modify messages’. In the window that appears, create a message, give it a title, and optionally set the message to auto-close after X seconds. Then click the double-right-arrow button (>>) to save the message.
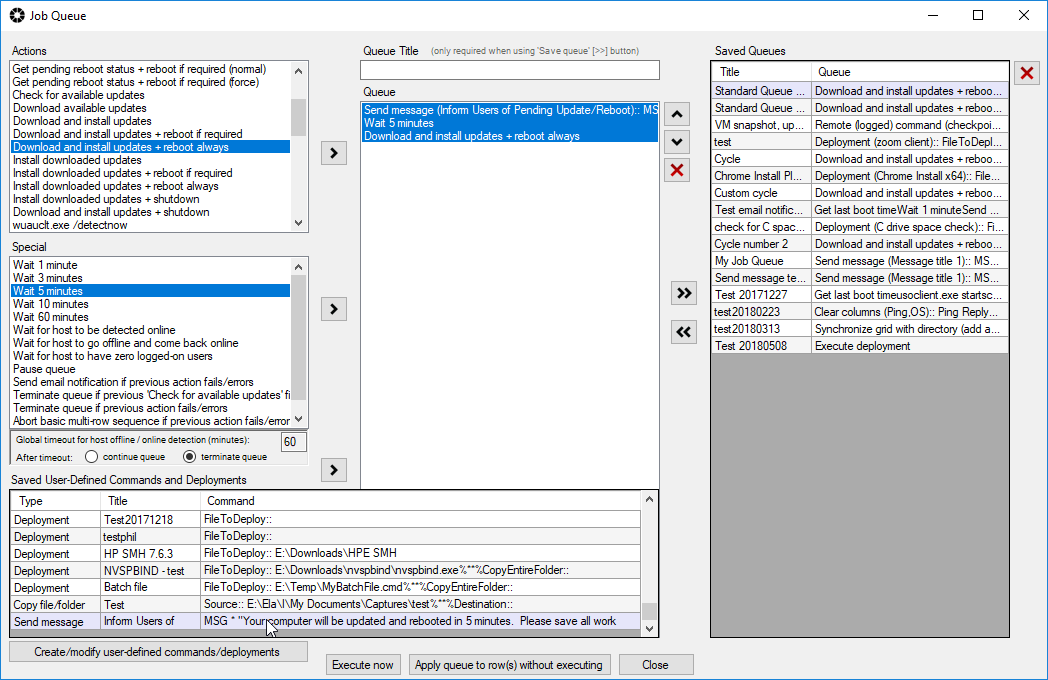
- Create a job queue. The purpose of this job queue will be to send the message that was created in the previous step to target computers, then wait 5 minutes, then initiate an update/reboot task. Go to ‘Actions > Job Queue > Create / modify’. In the window that appears we’ll create a job queue with those steps. Note, since we saved our message to logged-on users, it now appears in the ‘Saved User-Defined Commands and Deployments’ grid in the lower-left portion of the job queue window. Give the job queue a title, and click the double-right-arrow (>>) button to save the queue.

- Create a scheduled task. Now that we have a job queue saved, we can set it to be executed by the BatchPatch task scheduler at a desired time on a desired day. Highlight the desired rows/targets in your BatchPatch grid, and then select ‘Actions > Task scheduler > Create / modify scheduled task’. From the drop-down menu select the job queue that you created in the previous step. Then set a day/time for the task to be executed.
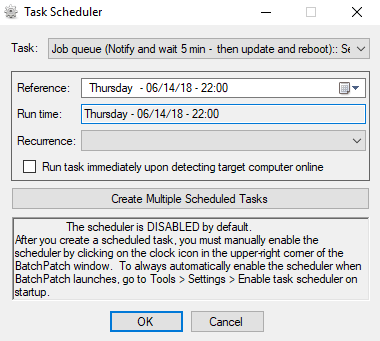
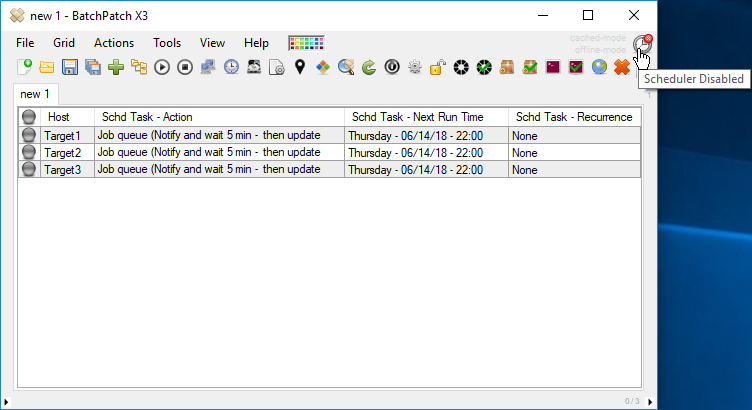
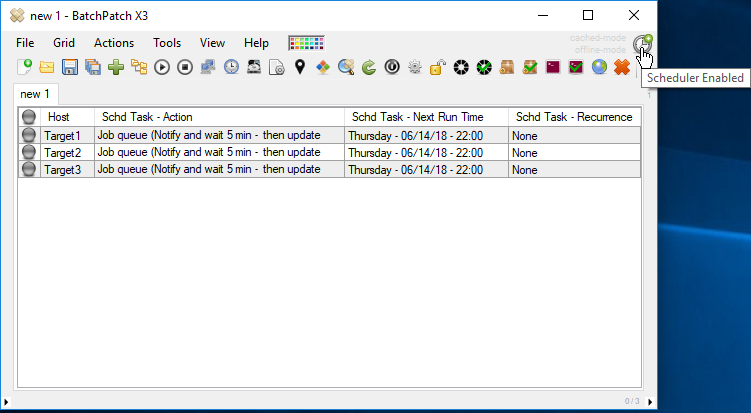
- Enable the task scheduler. Now that the scheduled task has been created, the last thing that needs to be done is to enable the scheduler, which by default is not running. Click on the small red clock icon in the upper right corner of the screen. Upon clicking it will turn from red to green, indicating that the scheduler has been enabled.