It’s becoming increasingly common for companies and organizations to segregate at least some of their servers (and even non-server computers sometimes too) so that they don’t have any internet access. The goal in eliminating internet access for computers is virtually always to increase security by decreasing the attack surface or vector. However, while it’s true that removing internet access for computers will in many ways dramatically decrease the exposure for attack, it can be a bit of a catch-22. On the one hand when a system does not have internet access, it’s not going to be as vulnerable to as many attacks. On the other hand when machines are offline it’s more difficult to keep them up to date, and when an operating system or an application running on the OS is not up to date, the system becomes more vulnerable. An attack might be less likely to occur on an offline network, but if the computers on that network are not kept up to date and are subsequently attacked in one way or another, the attack has a much higher likelihood of being successful than it would if the computers were patched/updated regularly.
How to Deploy Windows Updates to Offline Computers
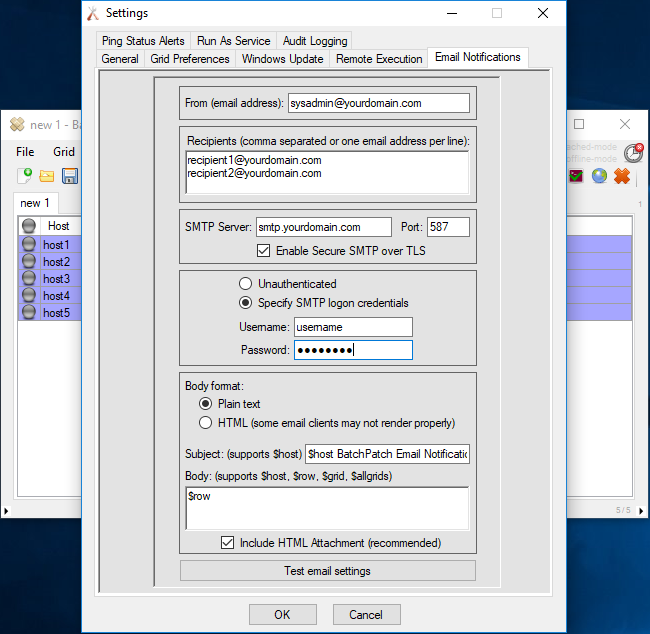
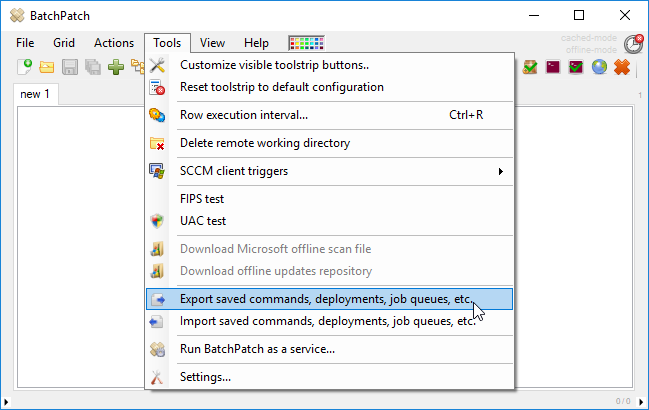
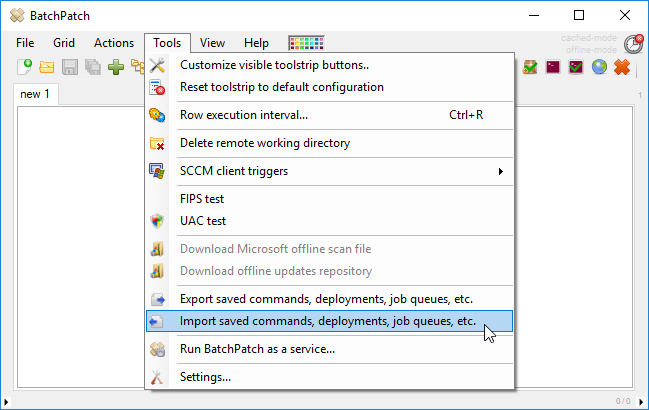
There are a number of ways to accomplish this task, but unless you want a heavy monthly burden that eats a lot of human-hours, you really need to use a patch management application that’s going to do most of the work for you. You don’t necessarily have to use BatchPatch for this purpose, but even though I’m obviously biased I’m just going to come right out and say that despite my bias BatchPatch is still likely to be the easiest, most efficient, and least expensive option that you have for applying Windows Updates to numerous offline computers.
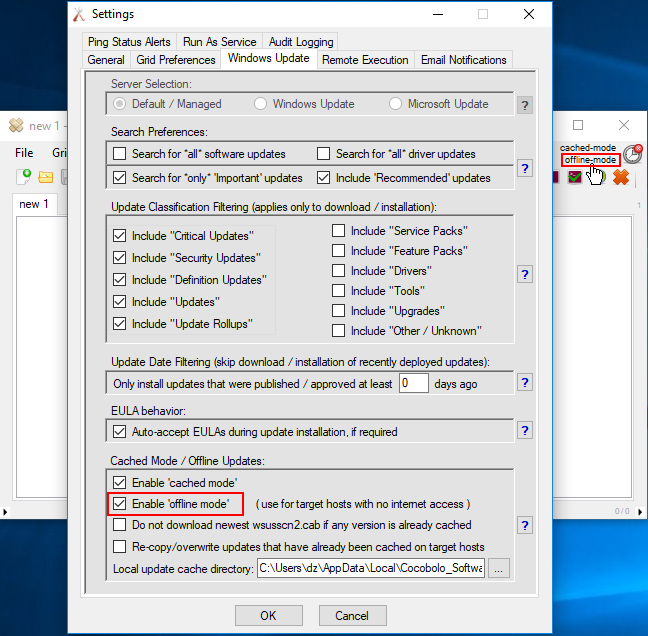
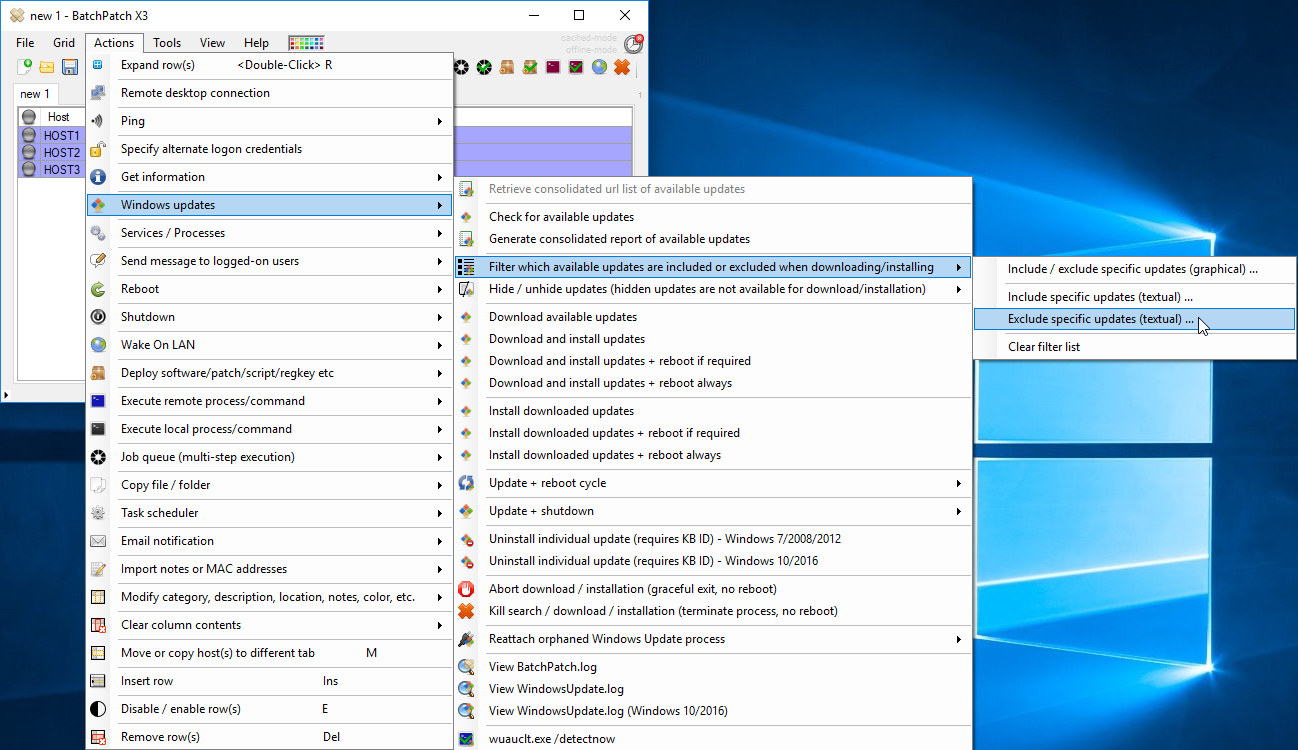
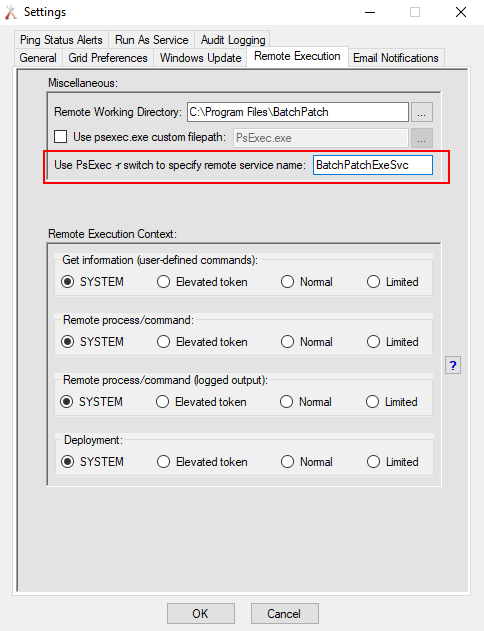
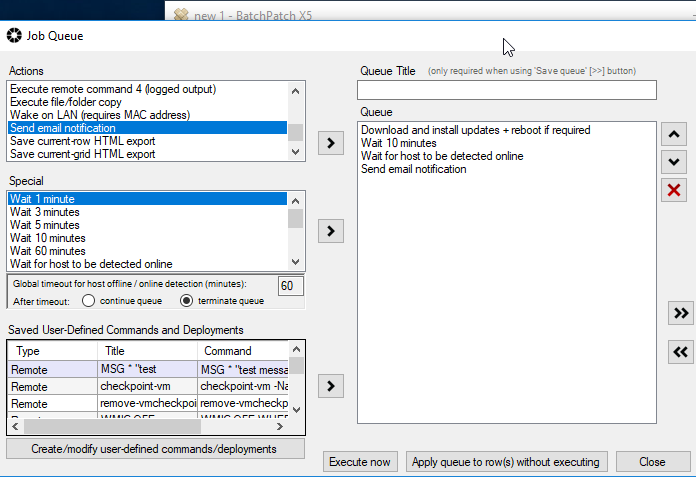
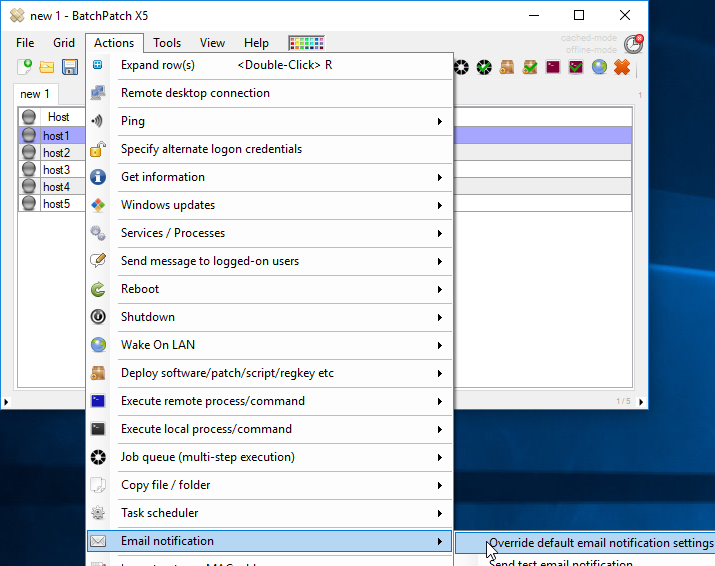
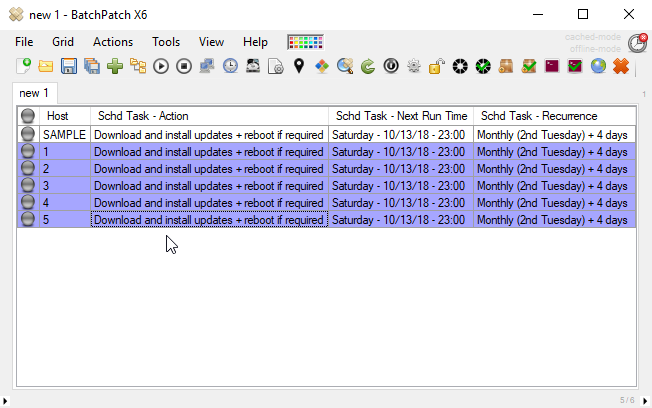
BatchPatch has two primary modes of operation (or three, depending on how you look at it). The default mode that BatchPatch operates in requires target computers to have internet access or access to a WSUS server, but if you switch BatchPatch to ‘offline mode‘ you can use it to scan offline computers for needed updates, and then deploy the updates to those computers. And you can do it efficiently so that all of the offline computers can be updated at the same time.
At the following link I have described the three different scenarios for using BatchPatch in ‘offline mode’. Note, they are ordered from least stringent to most stringent offline network scenarios. There is always a balance between security and convenience. The offline networks with the most stringent rules will generally be the least convenient or least efficient to patch. The offline networks with the least stringent rules will usually be easier or more efficient to patch but of course it always depends on the particulars of your environment. That said, when choosing which BatchPatch ‘offline mode’ approach/method to use, start at the top and work your way down until you see the method that will work for your environment. If you choose the method that is designed for the absolute most secure environments, you might be decreasing your own efficiency for patching your network if your network’s requirements are not quite so strict.
Offline Patch Management with BatchPatch
More Details on BatchPatch Cached Mode and Offline Updates