We’ve been doing our best to get new features and functionality added to BatchPatch as quickly as possible, and there’s still a lot more to come. However, today I wanted to take some time to discuss how to get the most out of what’s currently available. Below are some tips for general BatchPatch usage to help an administrator work as efficiently as possible.
Organization:
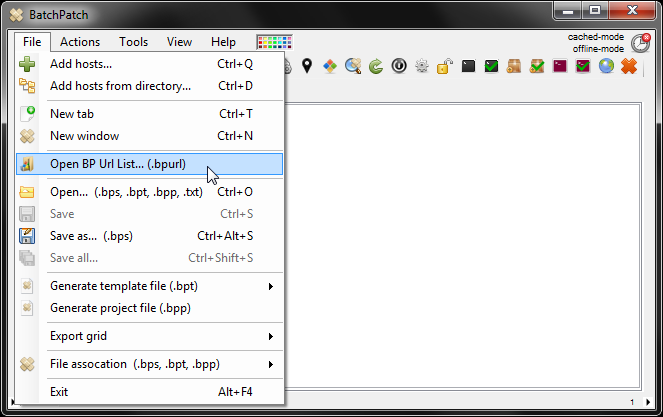
Using BatchPatch Project (BPP) Files
When you’re managing a large number of hosts it’s likely that you’ll have them divided into groups. For example, you might have production SQL servers in one group, testing SQL servers in another, email servers in another, and so on. Aside from being able to load different groups of computers into different BatchPatch tabs, you might find that creating .bpp files helps you streamline your process. A .bpp file is simply a text file with a .bpp extension that contains a list of filepaths, with each filepath pointing to a different .bps or .bpt file. The nice thing about .bpp files is it gives you another level of organization. So, let’s say you have 5 tabs of database servers… DatabaseGroup1, DatabaseGroup2, DatabaseGroup3… DatabaseGroup5. And let’s also assume you have saved each tab to its own .bps file. Well, if you create a .bpp file either through ‘File > Generate project file’ or by manually editing a text file, you can easily group all of your database servers into a single project. If you launch the single .bpp file in BatchPatch, it will automatically populate the 5 grids with each database server group. You can take this a step further and create one .bpp file for each instance of BatchPatch that you want to run. Then if you launch multiple .bpp files at once, each .bpp file will create a brand new instance of BatchPatch. Each instance will contain one tab for each filepath specfied in the corresponding .bpp file. So, if you have 5 .bpp files, and each .bpp file contains 5 filepaths to different .bps or .bpt files, then when you launch all 5 .bpp files you’ll end up with 5 separate instances of BatchPatch. Each instance will contain 5 tabs.
Using BatchPatch Template (BPT) Files
.bpt files are another convenient way for staying organized when it comes to setting up your BatchPatch instances. A .bpt file is identical to a .bps file in every way except for the file extension which is .bpt instead of .bps, of course. You can create a .bpt file by either manually renaming a .bps file or by using the ‘File > Generate template file’ option in BatchPatch. .bpt files are nice because they allow you to create a template grid that BatchPatch will never overwrite. So, let’s say you want to start your patching run this week/month/quarter, and you load several .bpt files into BatchPatch. Each file might contain entries in the ‘host’ column and the ‘notes’ column. If you execute actions on the hosts in the grid and then go to save the grid, you will be prompted to save a new .bps file rather than overwriting the existing .bpt file. There’s nothing more to it, but this simple task can make it easier to repeat tasks each week or month without having to copy and paste, and without having to worry about accidentally overwriting a .bps file that you were using as a template.
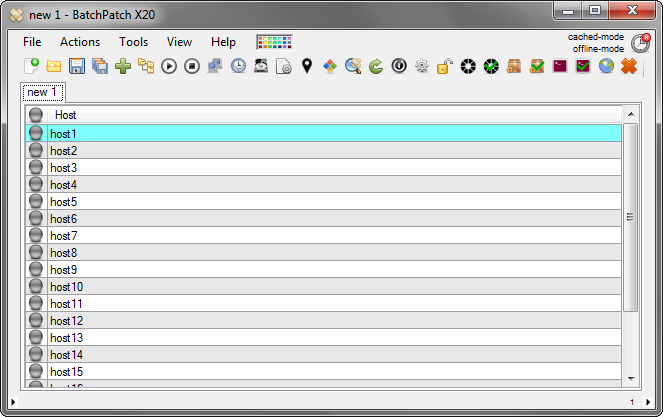
Row Separators
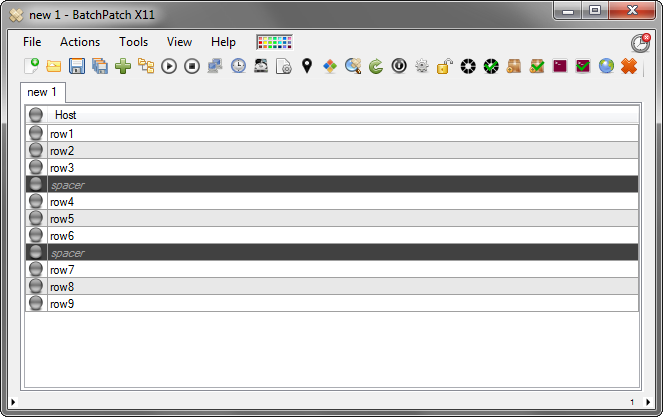
What if you have a need/desire to have only a single tab of computers, but you want to create some visual separate between the servers in that single grid? You can create a “spacer” row using the “Enable/disable” feature. Create a “dummy” row and then use ‘Actions > Enable/disable’ to disable the row, which will color it dark gray. Voila! Now it functions as a visual separator.
Efficiency:
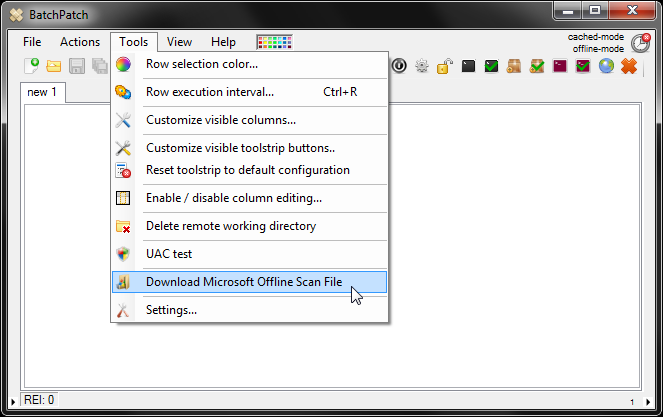
Customizing Toolstrip Buttons:
Did you know that you can customize the buttons that are displayed on the toolstrip, thereby enabling you to have almost any BatchPatch action be available with a single click. Click on ‘Tools > Customize visible toolstrip buttons.’ From there you can simply select any action that you want to appear on the toolstrip.
Hard-coding User-defined Commands Into the BatchPatch Menu:
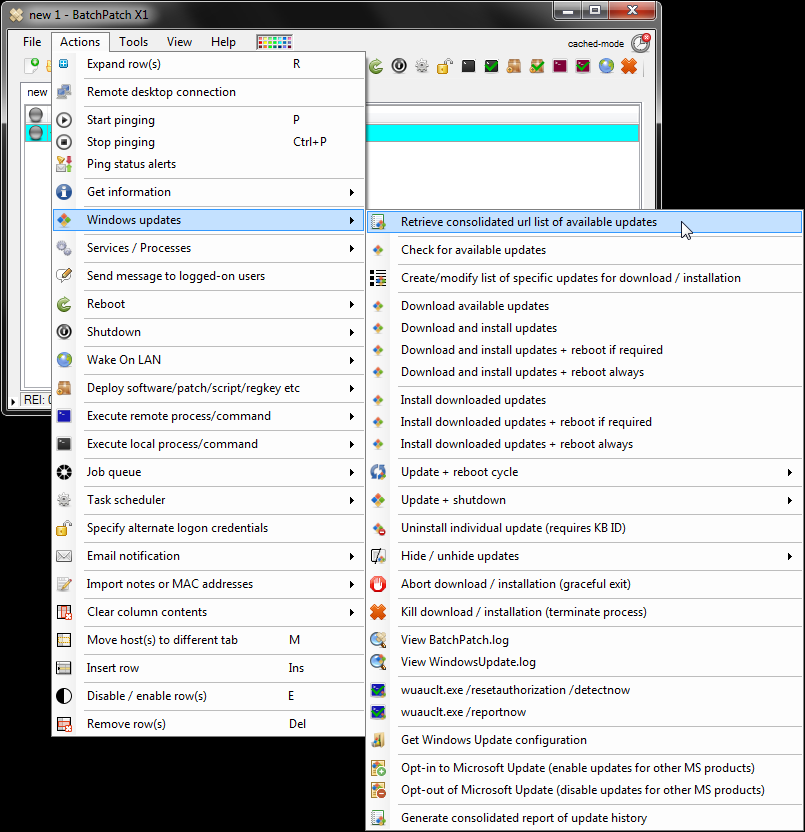
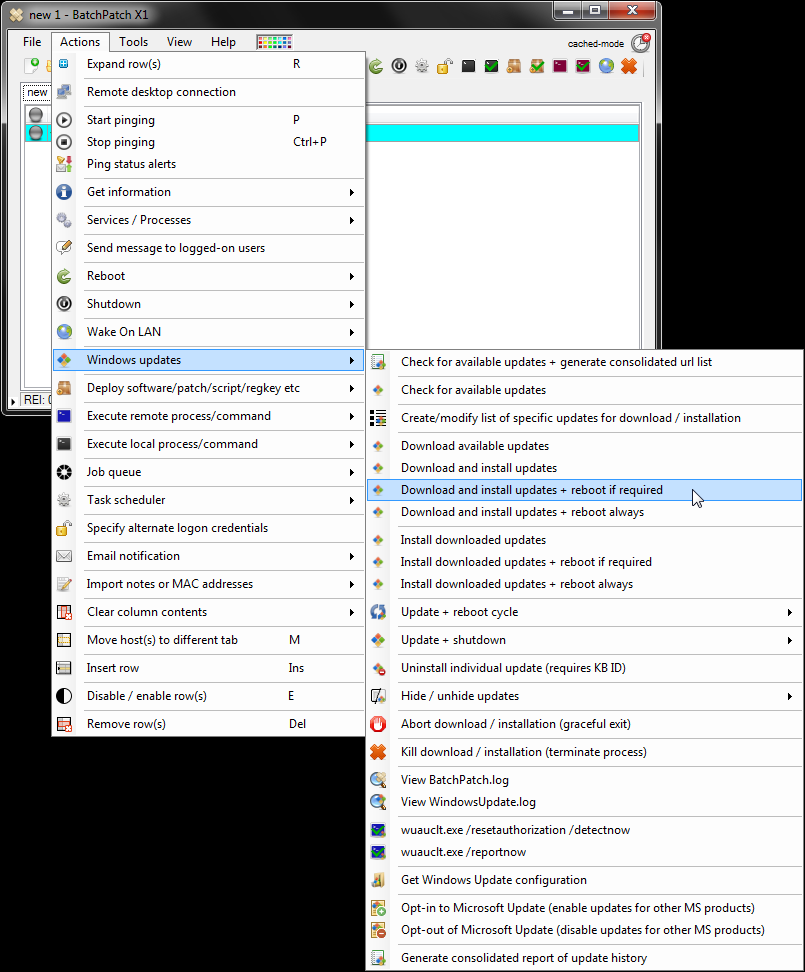
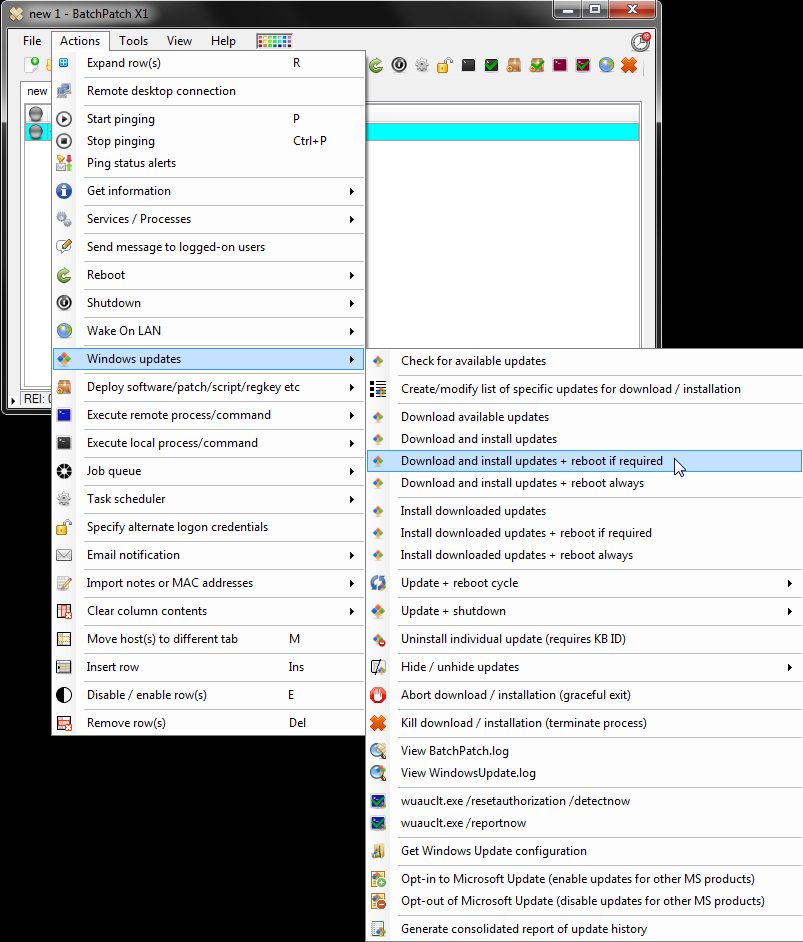
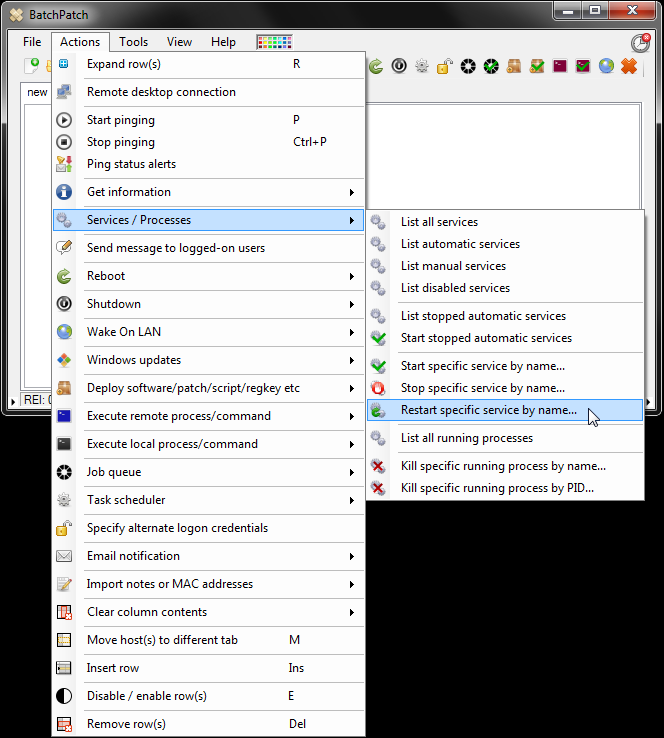
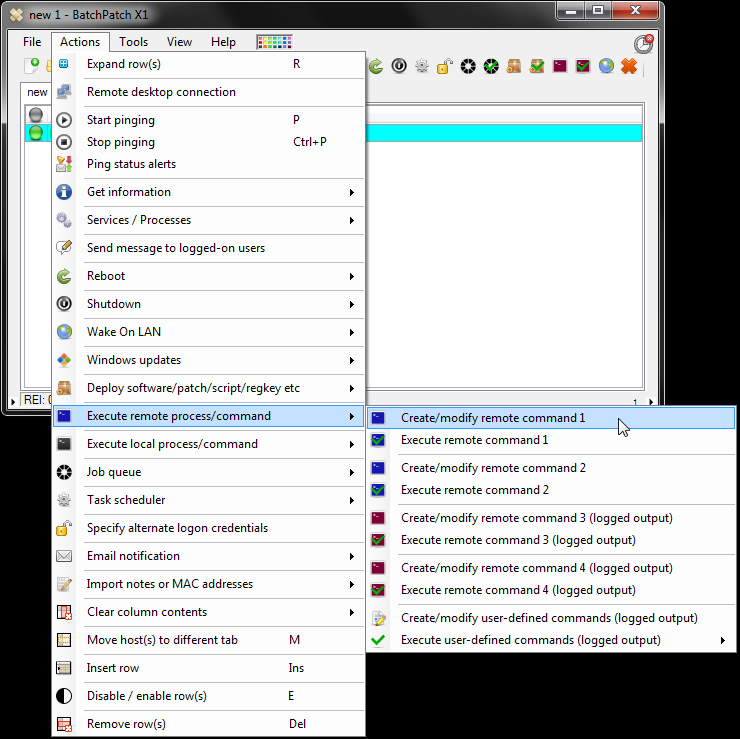
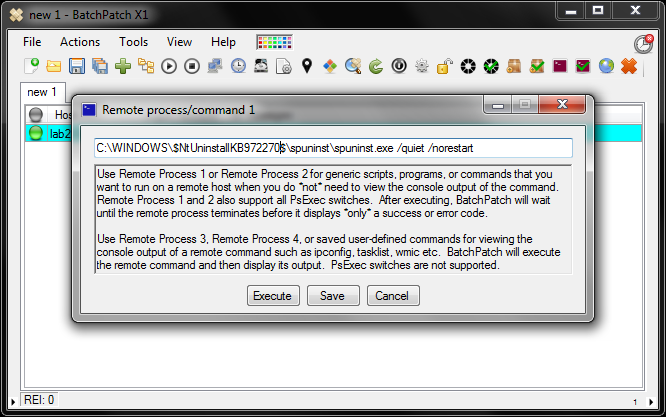
A lot of BatchPatch users have a set of remote commands that they regularly run on target hosts, either to collect information or to execute remote processes. BatchPatch allows you to “hard-code” any command into the BatchPatch menu so that commands you use frequently that aren’t built-in to BatchPatch are just as easily accessible to you as commands that are pre-built-in to the application. For example, BatchPatch has a built-in action for killing remote processes. You can select ‘Actions > Services / Processes > Kill specific running process,’ which lets you input a process name or PID to kill on target systems. This is great, but what if for some reason you always find yourself having to kill the same rogue process repeatedly on your systems? Wouldn’t it be nice to not always have to type in the process name? Well, you can create a user-defined command under ‘Actions > Remote process/command > Create / modify user-defined commands.’ You could then enter the following command into the window provided.
WMIC PROCESS where name='rogueProcess.exe' call terminate
Once you’ve entered a command, it will now be automatically saved so that it appears hard-coded in the ‘Actions > Remote process/command > Execute user-defined commands’ menu! Pretty neat. Now any time you need to kill that rogue process, you can simply click on the menu item that you just created, and that process will be killed without prompting you to enter a process name.
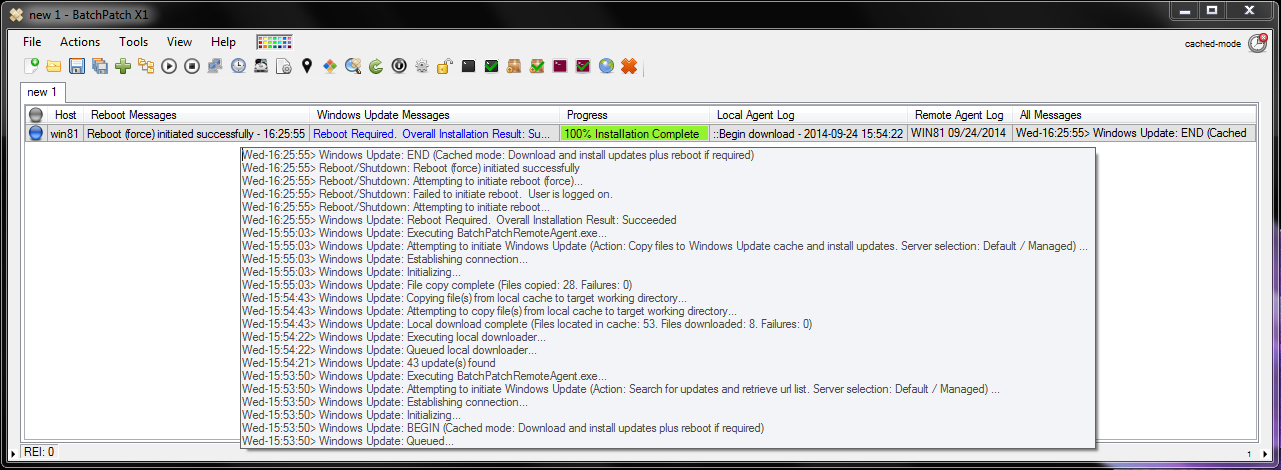
Middle-click Cells to View Cell Contents:
Any time you need to see the entire contents of a cell in a BatchPatch grid, the easiest way to do this is to just middle-click (scroll-wheel-click) on the cell. The cell contents are displayed in a custom tooltip window.
Right-click-drag on Cell Contents Tooltip to Move it to a New Location:
You can move the cell contents tooltip window around on your screen by right-clicking anywhere on it, and then dragging it to a new location.