

In the latest version of BatchPatch (April 2015) we added a macro to automatically configure a deployment of multiple .MSU files (.MSI and .MSP also allowed). Deploying and then remotely installing an entire folder’s worth of patches / updates to numerous computers has never been easier. Note, if you’re using a pre-April-2015 version of BatchPatch, you can still accomplish this task, but it requires an extra manual step. Please take a look at this tutorial for pre-April-2015 versions of BatchPatch: Remote Script Deployment – Install Multiple .msu Files In A Single Action On Remote Computers. However, if you’re using the April 2015 (or newer) version of BatchPatch, here’s how it works:
- Place all the .MSU files that you plan to install into a single folder. There should be nothing else in that folder. You can use this method to install .MSU, .MSP, or .MSI files, but since Microsoft seems to now have mostly standardized on .MSU files for individual Windows update packages, in this example we’re just using .MSU files.
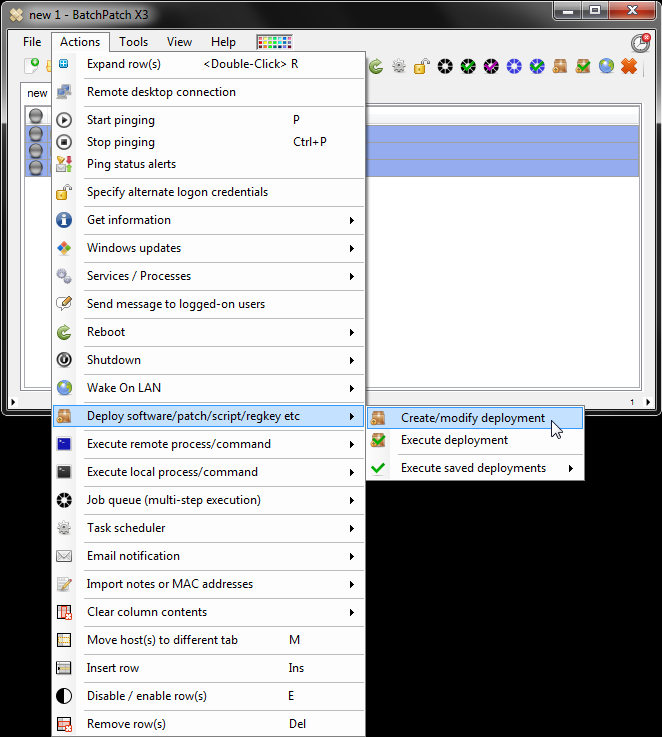
- Once all of your installation package files are in a single folder, launch BatchPatch and highlight the hosts that you want to include in the deployment. Then select ‘Actions > Deploy software/patch/script > Create/modify deployment.’
- In the ‘Deployment’ window that appears, click the folder browser button.
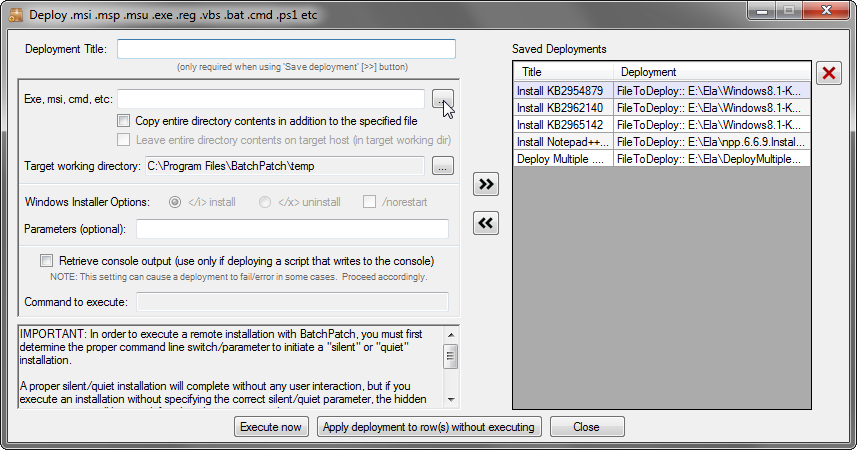
- Select the ‘Multiple update file deployment’ radio button, and then click OK.

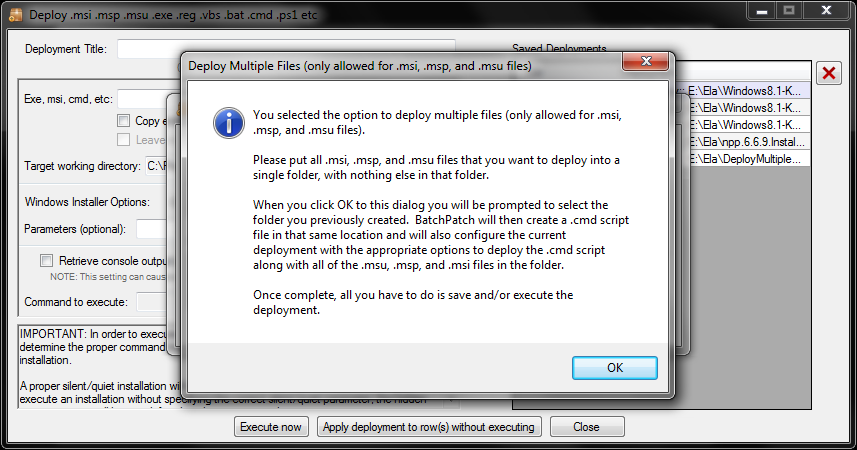
- A message box pops up explaining to place all .msi, .msp, and .msu files to be deployed into a single folder. Click OK and then select the folder.
- After we select the folder, BatchPatch scans the folder for .msi, .msp, and .msu files. BatchPatch then creates a .cmd script file in the folder. The .cmd file contains the commands that will be used during execution to install the .msu files.
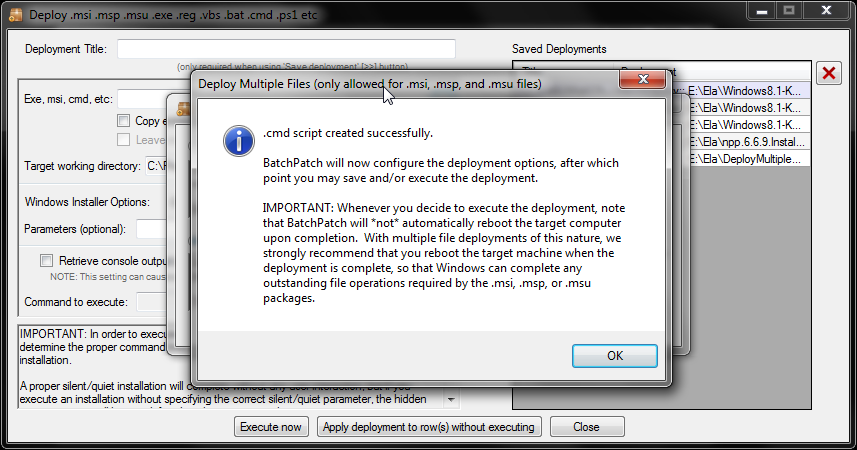

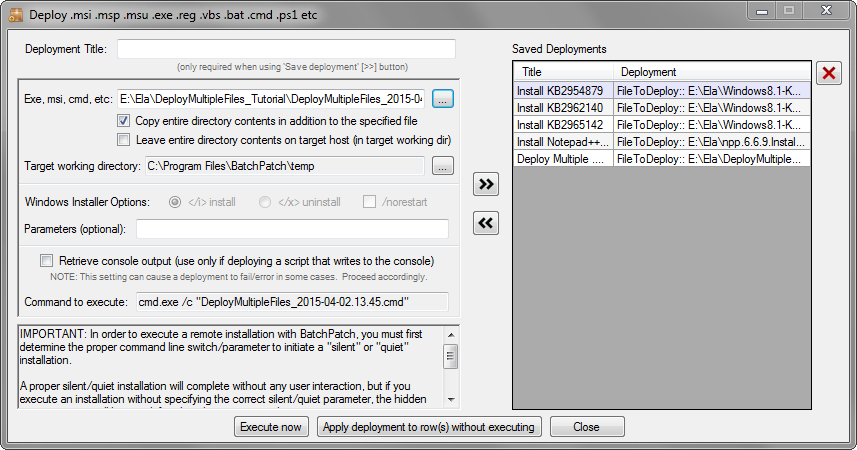
- When we click OK on the final message box, BatchPatch automatically inserts the correct/appropriate deployment configuration options into the ‘Deployment’ form. The configuration is setup so that when you execute the deployment, the .cmd file that BatchPatch created along with the entire folder of .msu files will be copied to the target computers. Once copied to the target computers, BatchPatch will execute the .cmd script, which will handle installing each .msu file, sequentially.
- That’s all there is to it. You can now save and/or execute the deployment!