We published a new build at the end of last week. Here are the highlights:
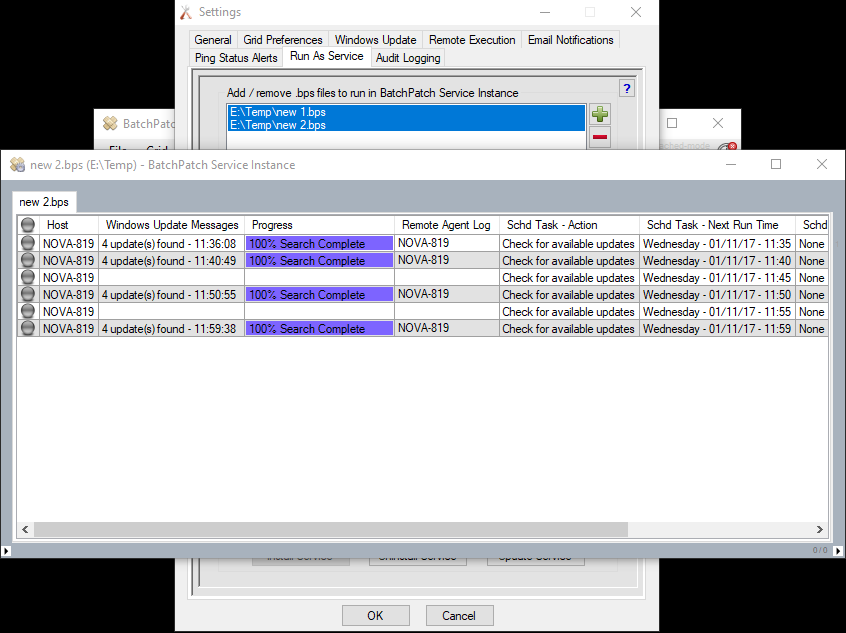
Search for Updates with Filters Applied – Menu and Job Queue Items:
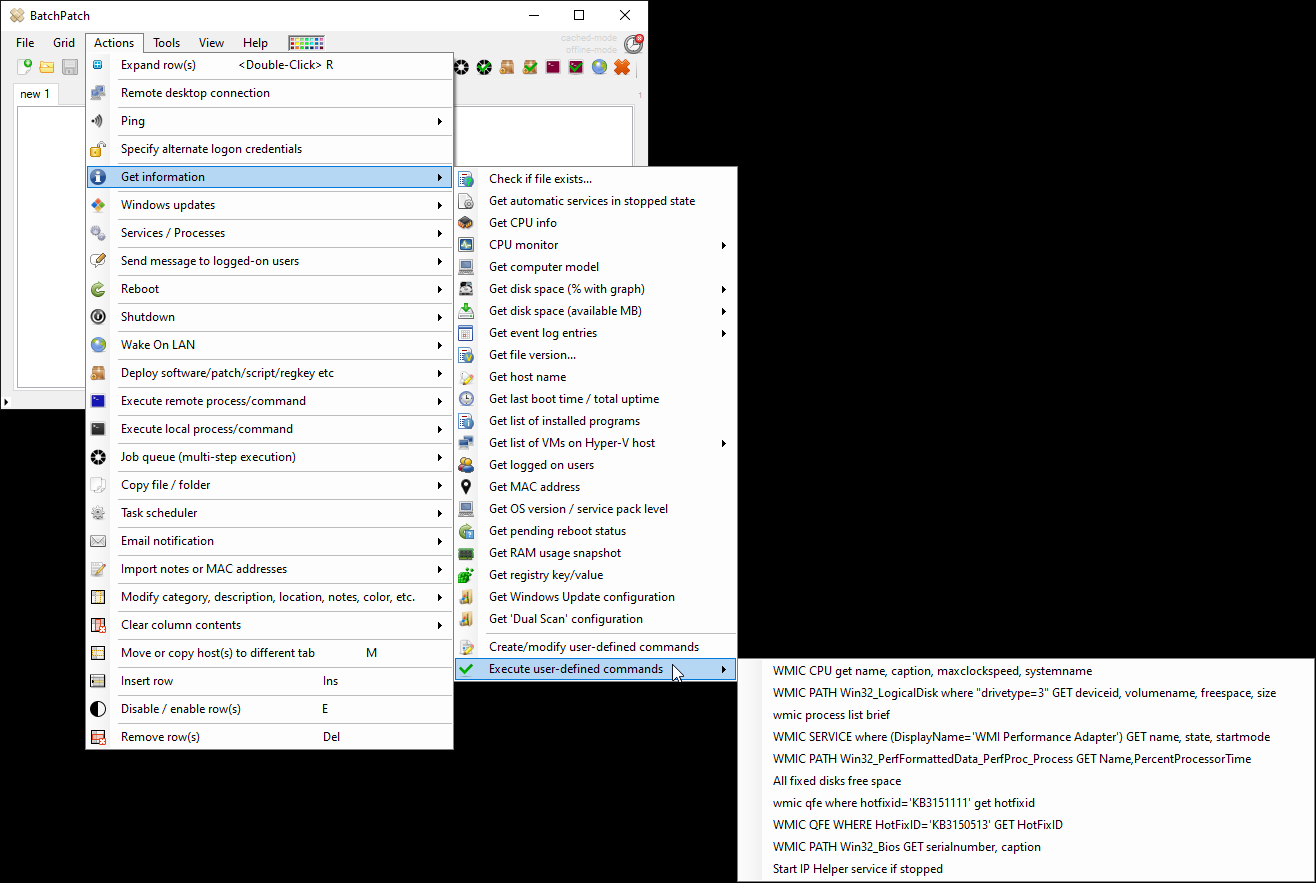
We added the following Windows Update action menu items:
*Check for available updates (with filters applied)
*Generate consolidated report of available updates (with filters applied)
*Retrieve consolidated url list of available updates (with filters applied)
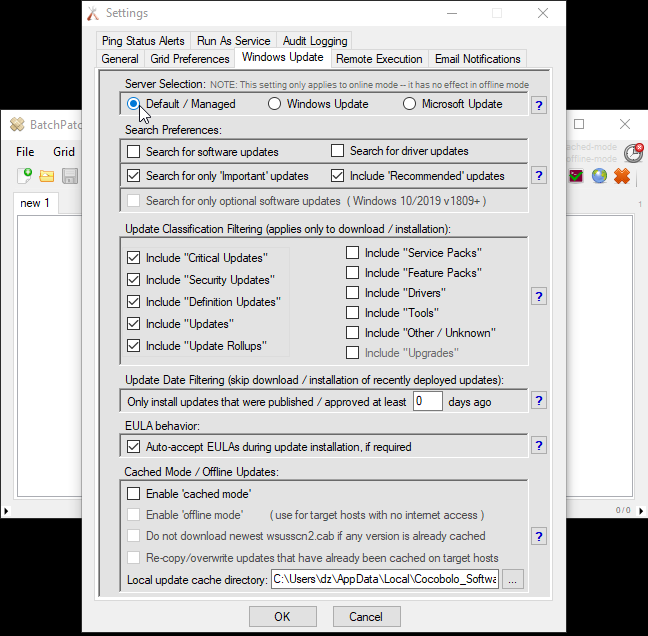
Previously a search for updates would find all available updates, based on the search settings. However, this wasn’t super helpful if you wanted to know which updates were applicable to target computers *after* the download/install filters had been applied. Now with these new menu items you have the ability to perform a search for updates with the filters applied so that you can preview exactly which updates will be applied when the actual download and installation takes place.
Similarly, we also added the following items to the job queue:
*Check for available updates (with filters applied)
*If most recent ‘Check for available updates (with filters applied)’ found 0 updates, terminate queue
*If most recent ‘Check for available updates (with filters applied)’ found 0 updates, send email notification
*If most recent ‘Check for available updates (with filters applied)’ found 0 updates, goto label:X
*If most recent ‘Check for available updates (with filters applied)’ found any updates, goto label:X
These new job queue items will enable you to tweak your loops/branches/gotos to take into account the post-filter available updates list instead of just the pre-filter list.
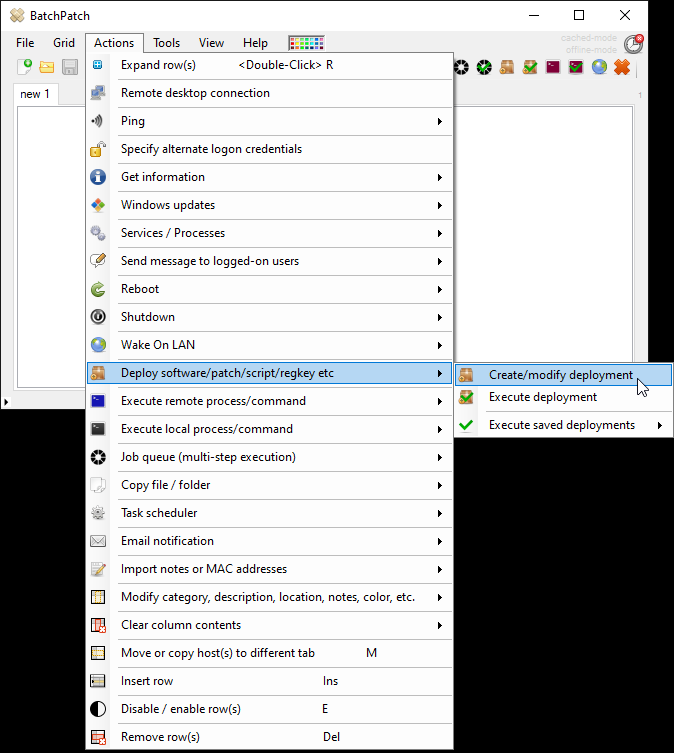
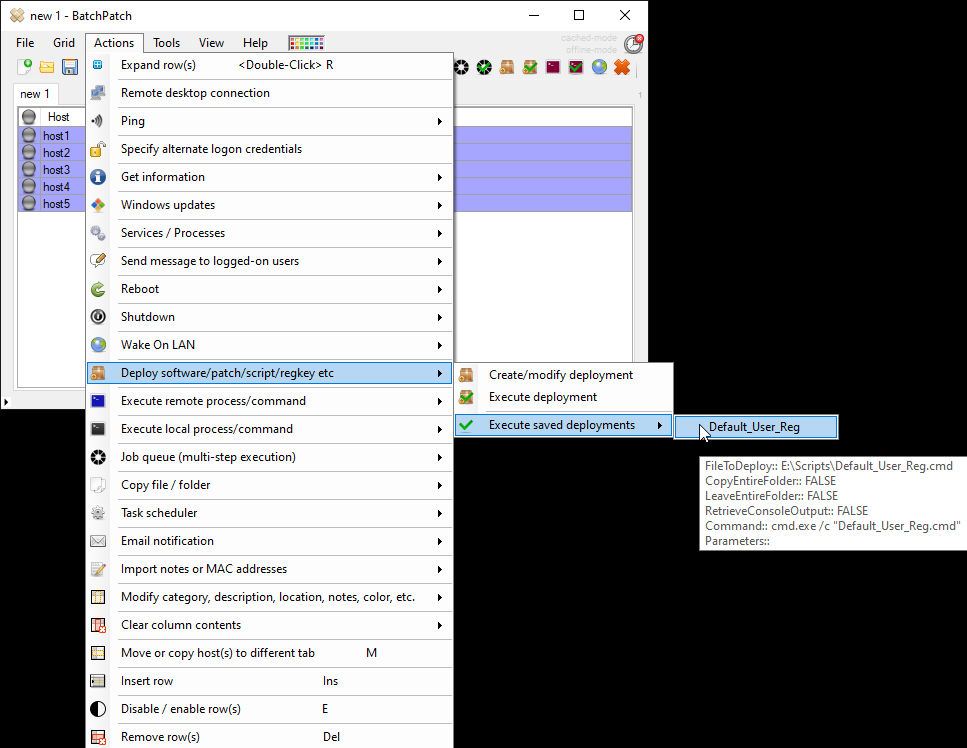
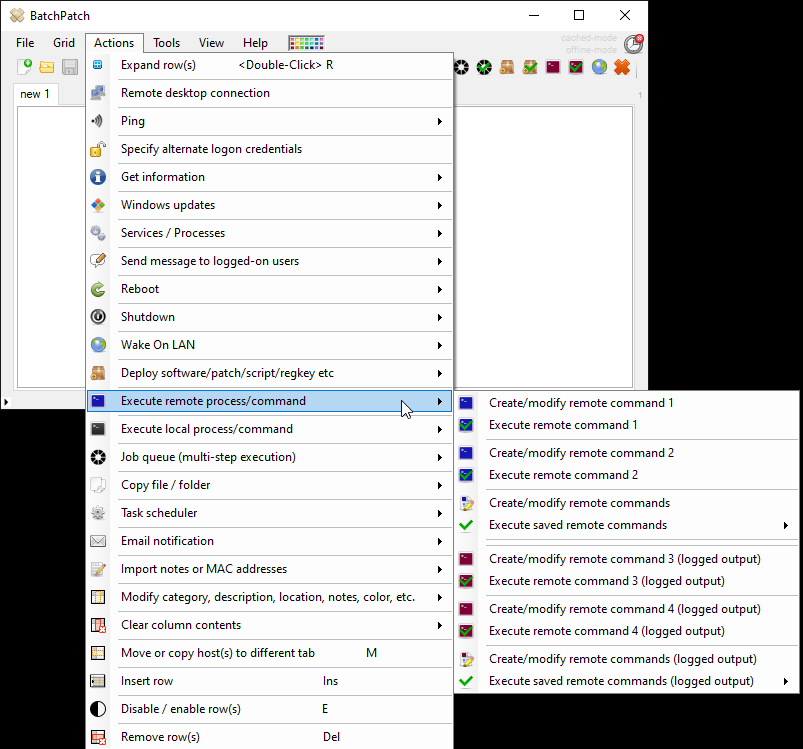
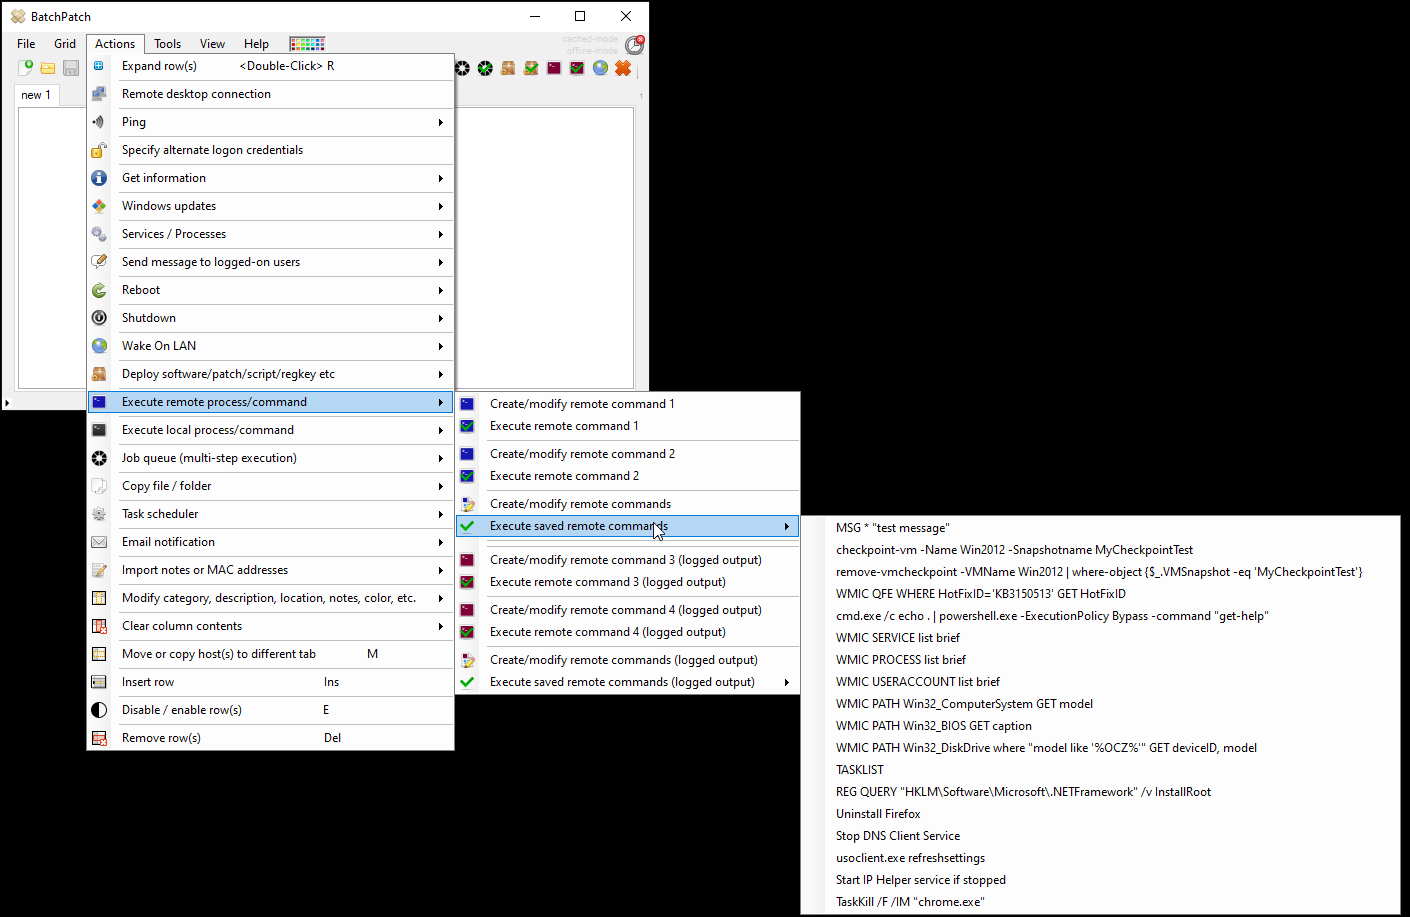
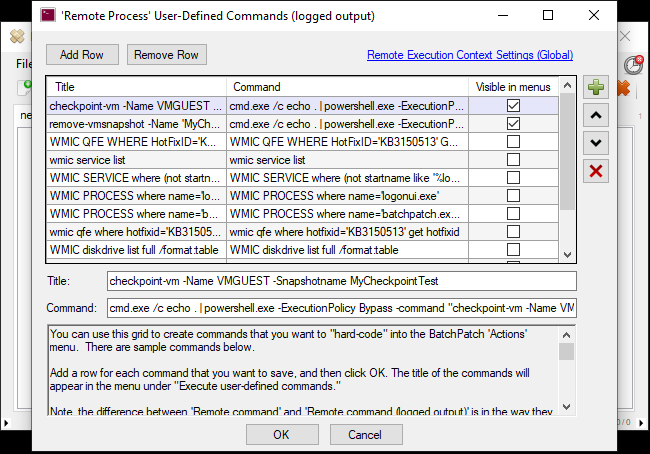
Customization of User-Defined Entry Visibility and Order in Menus
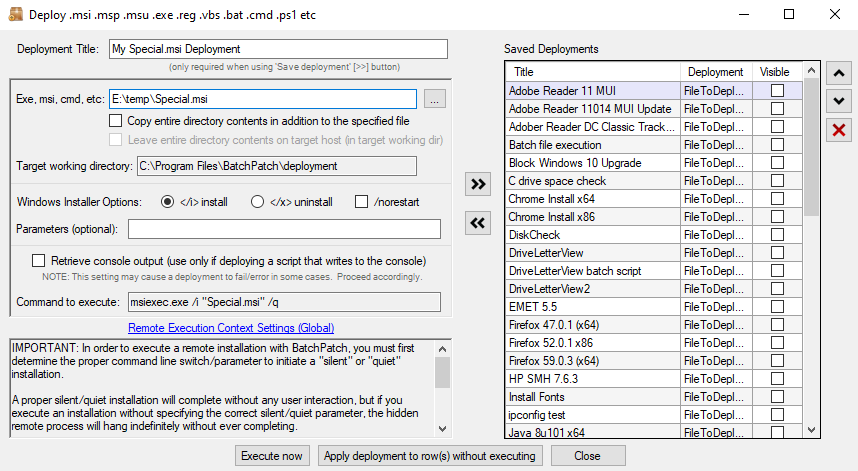
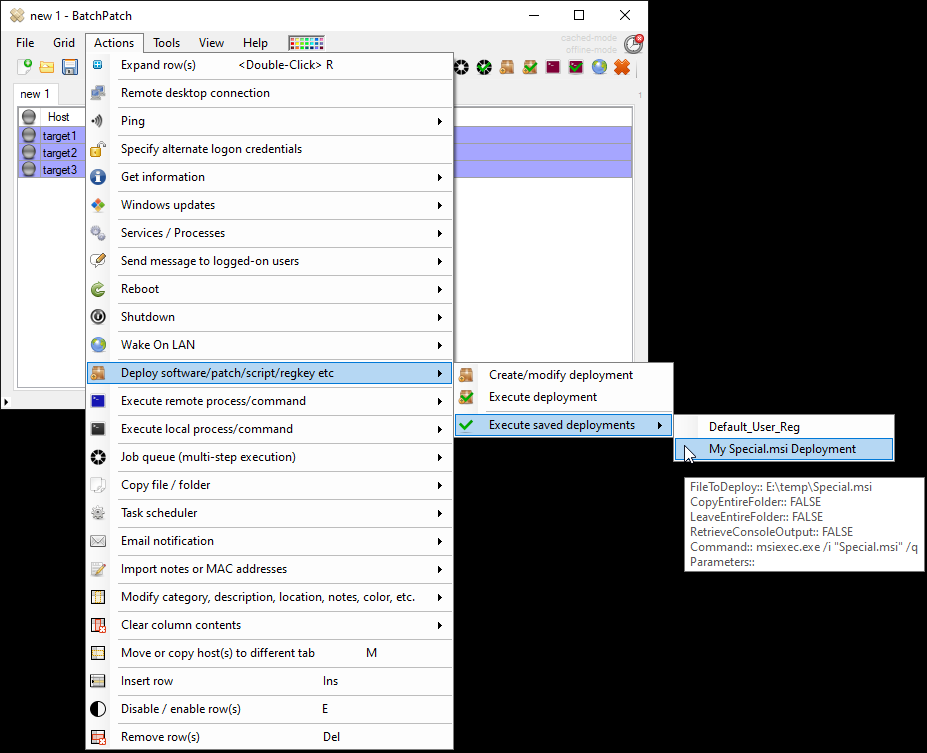
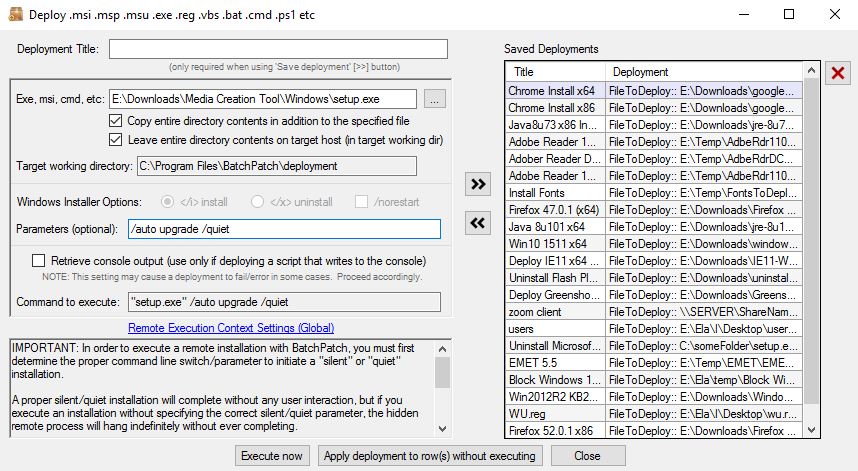
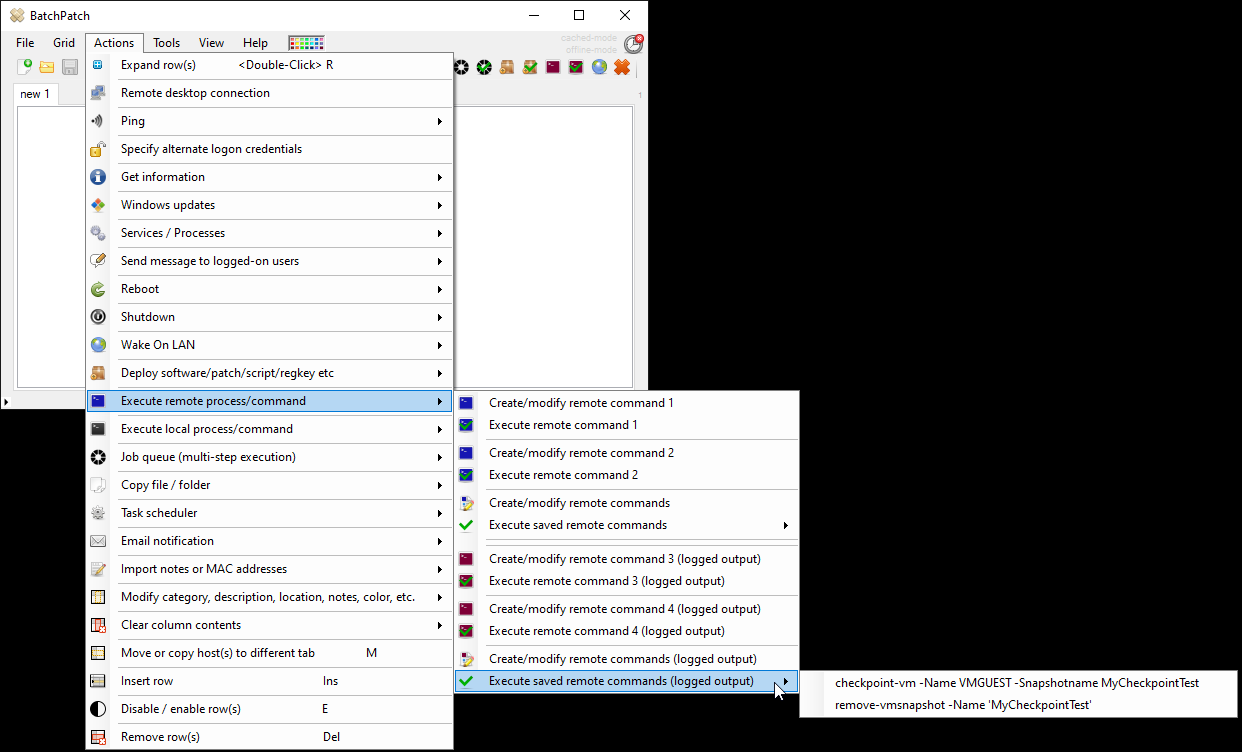
All user-defined entries in the software can now be hidden from the menus, so you can customize which commands/deployments/queues etc that you want to be visible in the main menus without having to delete commands altogether in order to hide them. If you look at the screenshot below you can see that I have only checked the box next to the first two remote commands in my list. As a result of doing that, only those two commands appear in the ‘Execute saved remote commands‘ menu item. In addition to remote commands you can do the same for job queues, deployments, messages to logged-on users, copy jobs, and local commands. Additionally, you are now able to change the order of how the visible entries appear in the menus.
Confirmation Dialog Windows Now Always Fit Contents
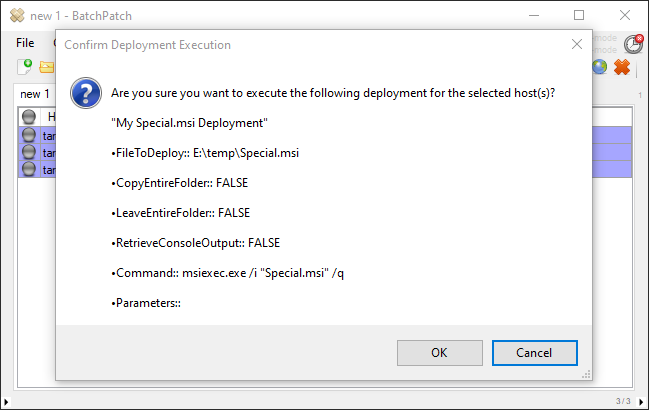
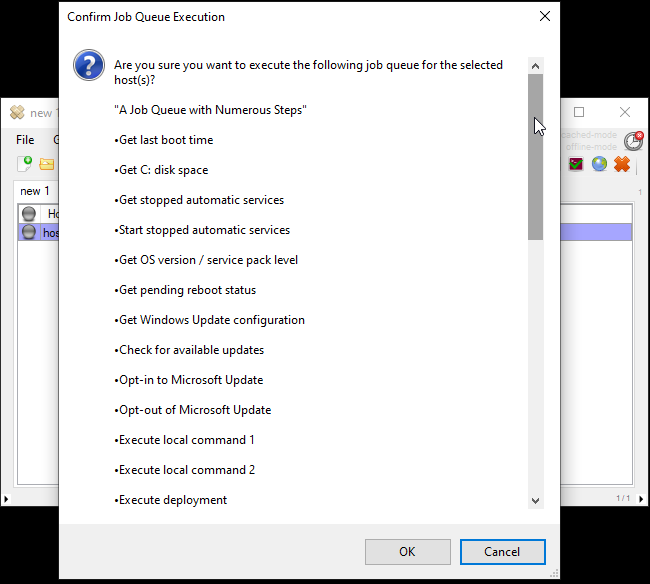
If you are executing a job queue with numerous steps, you’ll now always be able to see the entire set of steps appear in the confirmation dialog that appears before final execution. The confirmation dialog windows throughout the app now have a scrollbar, which will be visible only if needed, so that you can now view the entire dialog contents, even in cases where the text would have been truncated in previous versions. Additionally, the confirmation dialog windows are now also resizable. In a future version we may add the ability for the window settings to be customizable by users, but for now, the good news is that you won’t have to guess at the contents anymore if you are about to execute a job queue with a lot of steps.
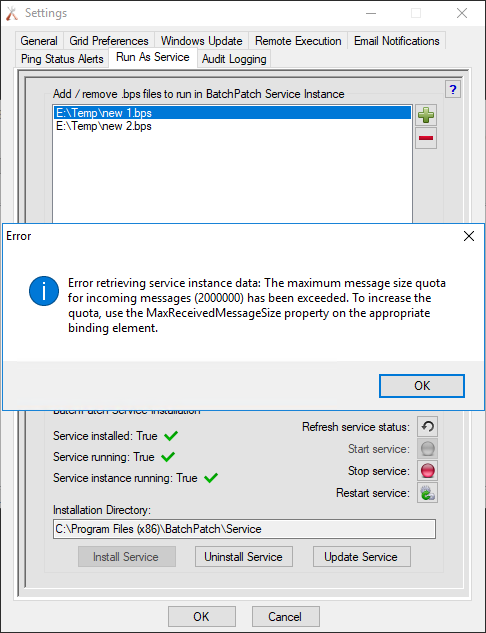
Bug Fixes and Miscellaneous
As always, there were a number of bugs that we fixed. Additionally we made various other minor improvements and updates throughout the code; some visible and most invisible.