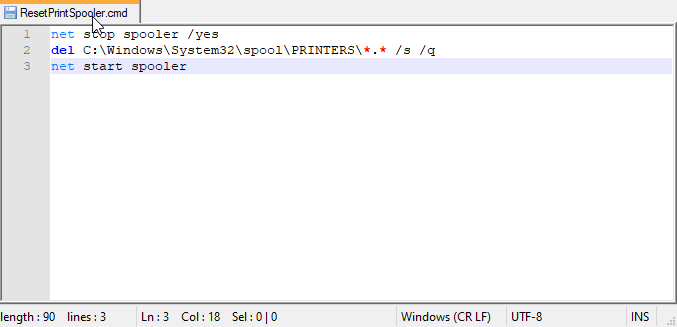
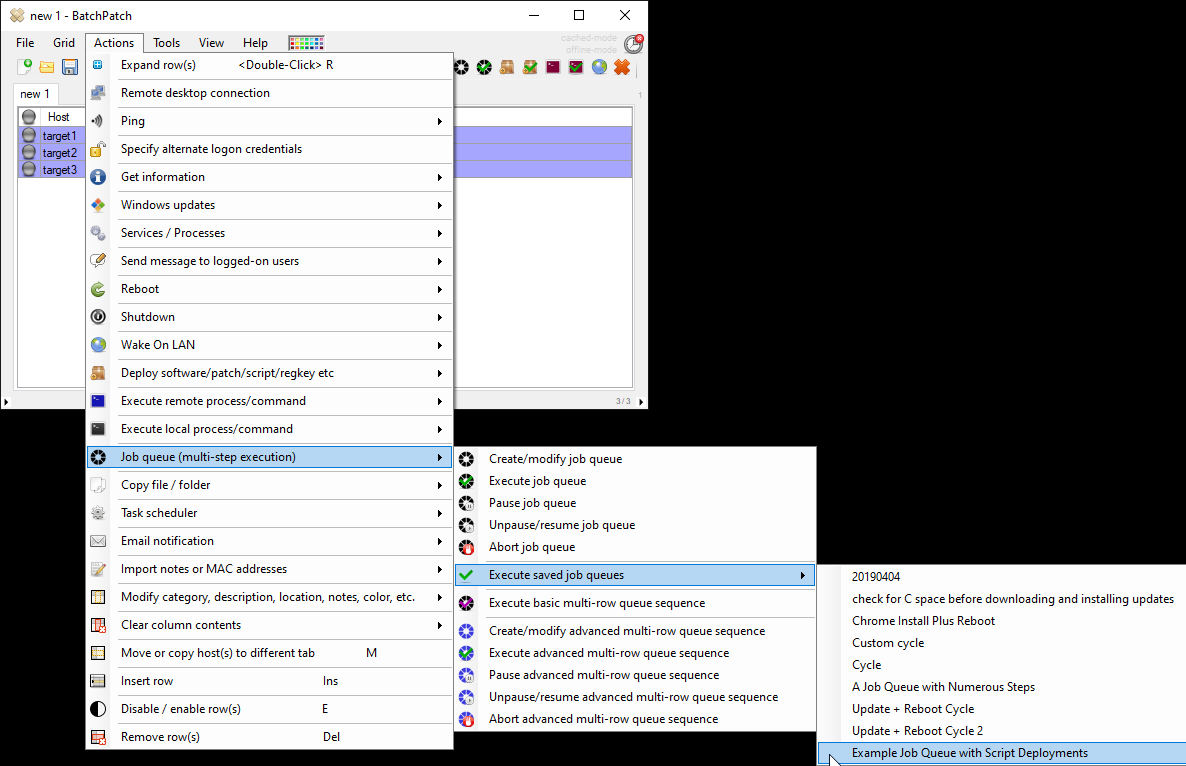
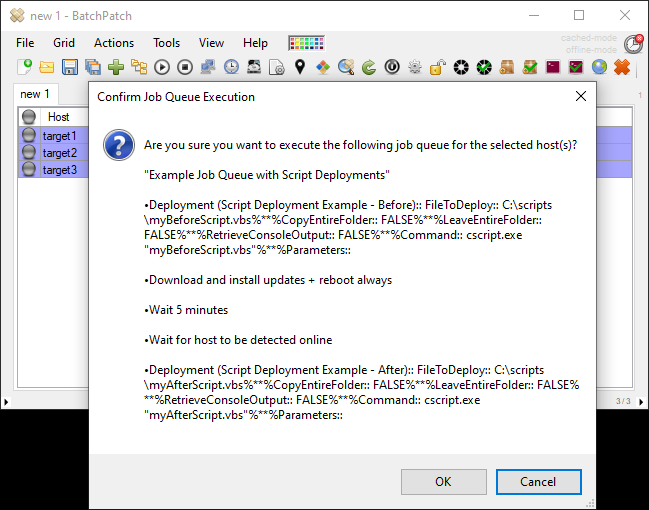
When you use BatchPatch to deploy a Windows 10 Feature Update (e.g. Windows 10 1607, 1703, 1709, 1803, 1809, 1903, 1909, 2004, 20H2 etc), if you encounter a problem, it’s generally going to be delivered to you as a single HRESULT code (e.g. Deployment: Exit Code: -1047526904), which on its own might be a bit difficult to interpret. Today I’m going to show you how to figure out what’s really going on.
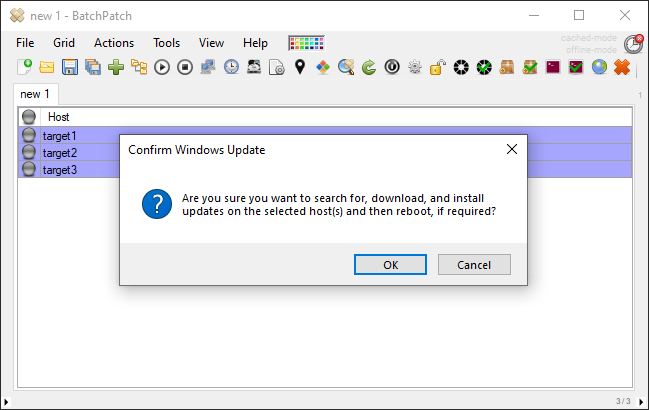
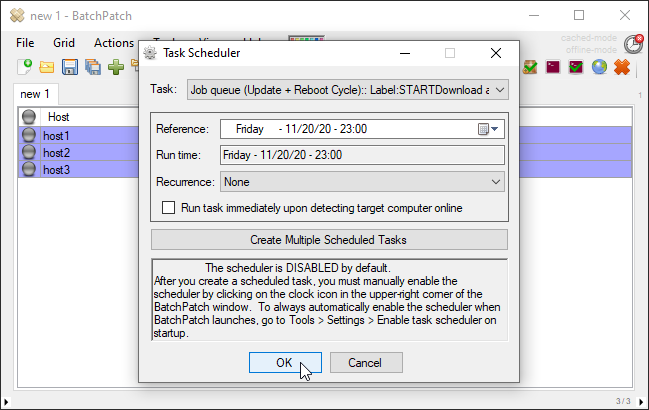
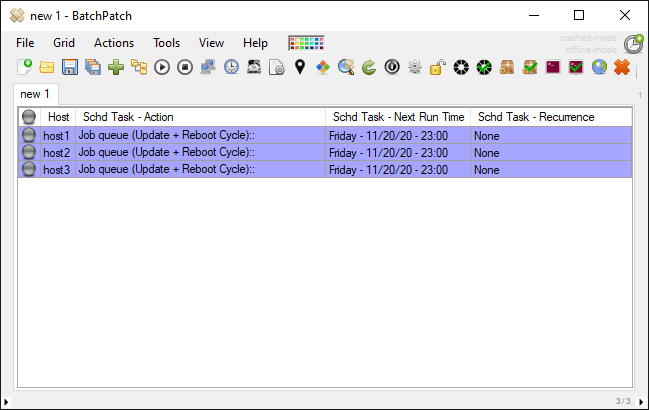
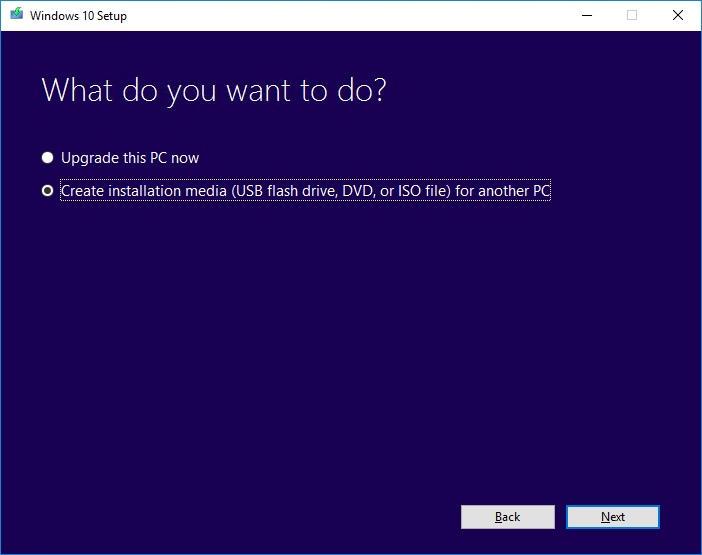
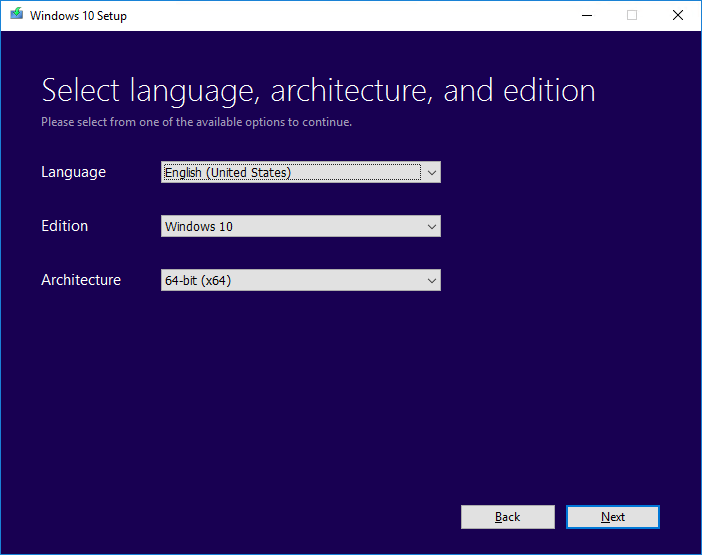
Today I tried to update one of our Windows 10 1709 virtual machines to Win 10 20H2. I followed the normal BatchPatch update procedure ( Deploying Windows Feature Upgrades/Updates Remotely to Multiple Computers ), and this is the result I got: Deployment: Exit Code: -1047526912
Now what? This number isn’t particularly helpful.
Three Steps to Determining the Cause of the Windows Feature Update Failure / Error
There are three primary methods you can use to get to the bottom of the error, which we will go through below. First, please note that the exit codes are generally coming from Windows, not from BatchPatch. BatchPatch is simply running the deployment, but if it fails with an HRESULT exit code value similar the one I pasted above (a 10-digit negative number), that generally indicates the issue is not with BatchPatch but rather is something to do with Windows. If you follow the BatchPatch deployment steps properly but you encounter such an error, then you can be pretty sure that BatchPatch is not the reason for the failure. However, if the error you received does not look similar to the one pasted above (is not a 10 digit negative number), then you should review your BatchPatch deployment configuration and make sure you followed the BatchPatch Windows 10 Feature Update deployment steps properly as outlined in the tutorial.
Method 1. Convert the HRESULT value to HEX and then search for it on Google
Follow the instructions outlined here to convert the decimal HRESULT value to hexadecimal. Then Google search the hex value to see if you can find a quick solution/resolution. In many cases, this will get you the answer you need pretty quickly.
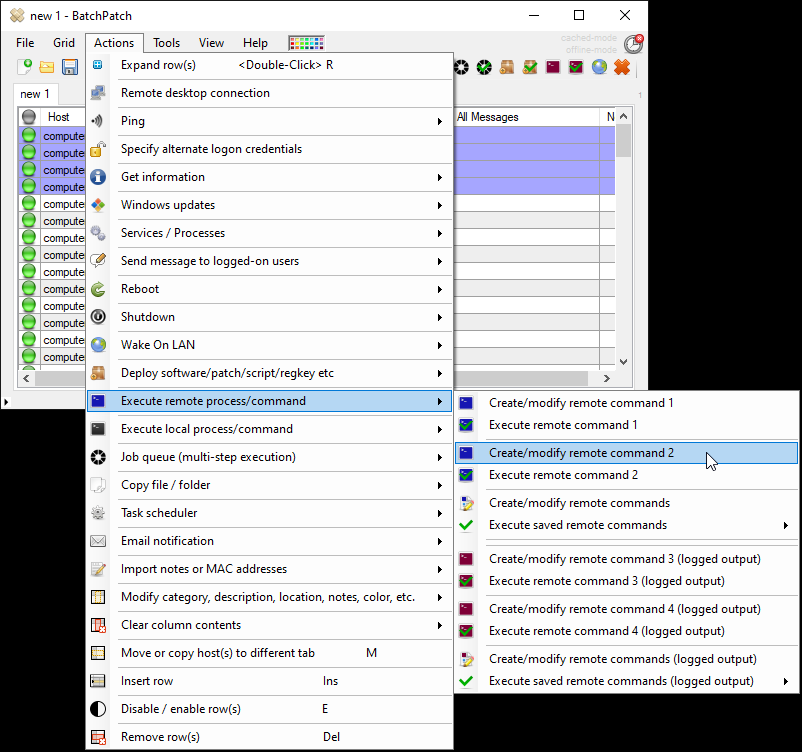
Method 2. Run the Feature Update Deployment at the Command Prompt, Manually, WITHOUT Using BatchPatch
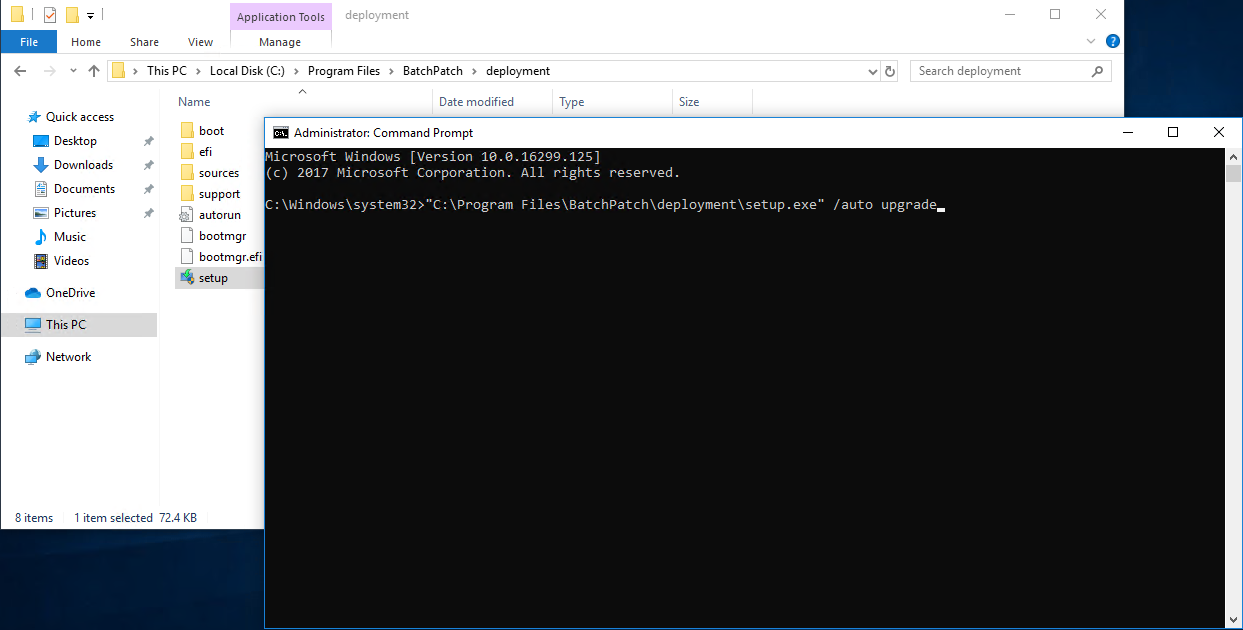
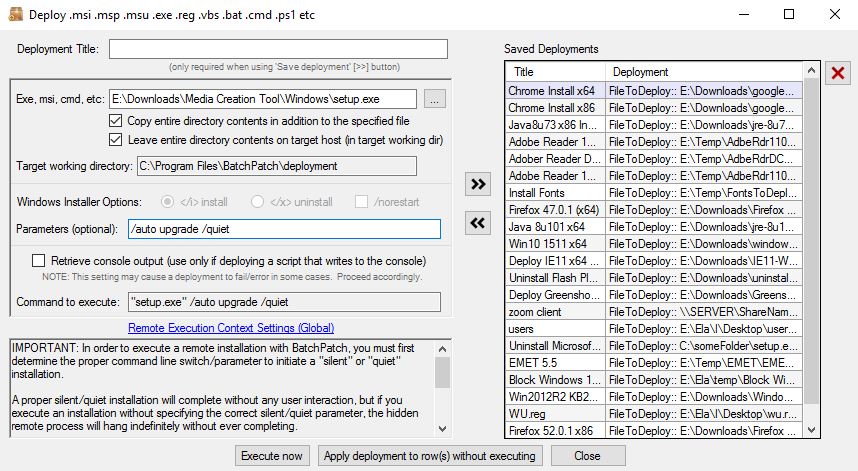
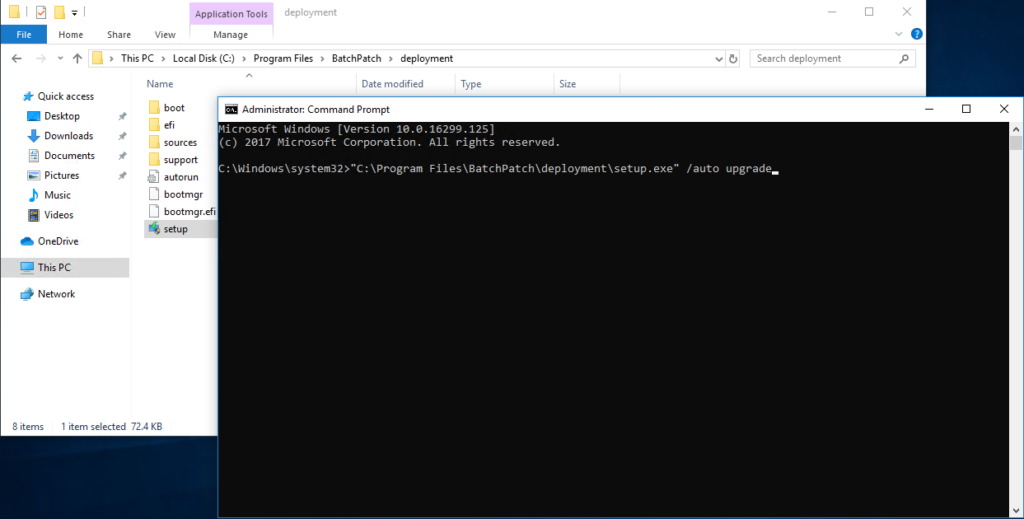
Log on to the target computer directly, and then open an elevated/administrator command prompt (cmd.exe) window. Then run the following command *without* using the /quiet switch. This way you’ll be able to see the progress, and hopefully Windows will provide a meaningful explanation for why the failure occurred. All of the setup files should still be on the target computer from your previous attempt, so everything should already be in the right spot for to try this. Note if you have modified the ‘target working directory’ in your BatchPatch deployment configuration, then the path where you find the Windows setup files on the target computer will be different from what my screenshots below illustrate:
setup.exe /auto upgrade
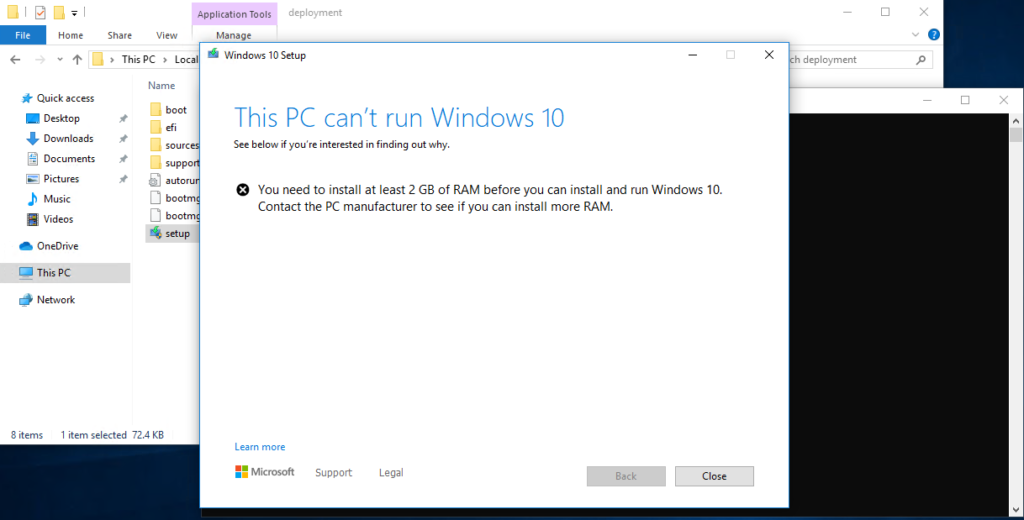
You can see in my case when running it manually, as described above, I ended up with this, which told me everything I needed to know, which is that my virtual machine needs more RAM allocated before attempting the feature upgrade again:
Method 3. Review the Windows Update Log Files
In some cases Windows does not provide you with a useful, textual description of the reason for the failure. For example, some users are seeing this HRESULT when trying to update to 20H2: -1047526904. This is just a generic failure HRESULT, and Windows does not currently provide much additional information about what is causing this to occur. So, you have to do some digging in the Windows Update Log files.
On the target computer open Windows Explorer and paste this value into the address bar:
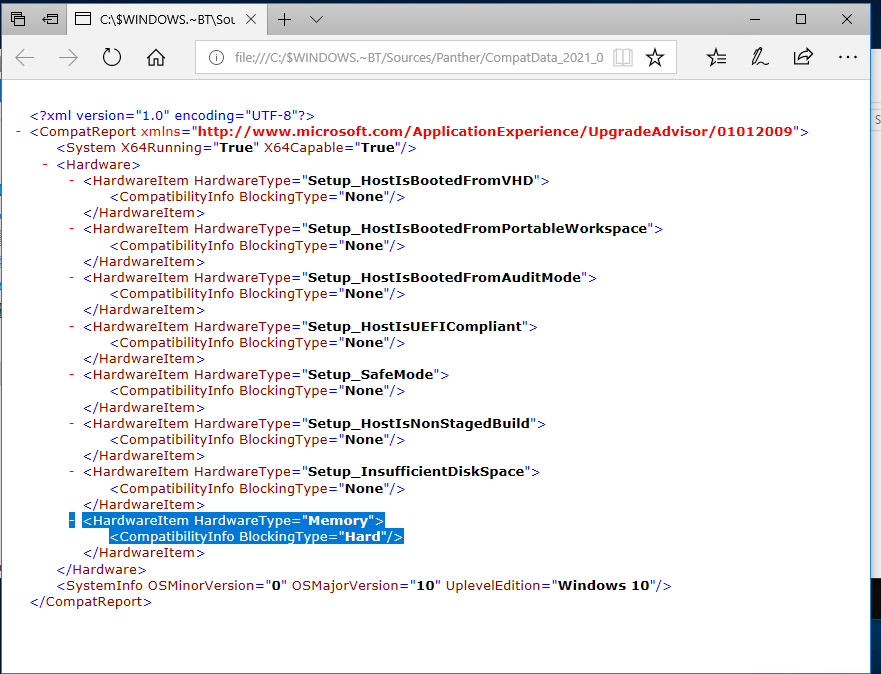
C:\$WINDOWS.~BT\Sources\Panther
Find the .xml files that look like CompatData_yyyy_mm_dd.xml

Open the last CompatData xml file with Microsoft Edge or Notepad++ or your favorite XML viewer app. It can be opened in a standard text editor like Notepad but will be a bit harder to read without the XML formatting. You can see in my case the not-enough-RAM issue shows in the log file like this ( as CompatibilityInfo BlockingType=”Hard” ):
We have had a couple of users report one particular HRESULT value, -1047526904, where the problem was actually being caused by a couple of built-in Windows drivers. Yes you read that correctly… Microsoft’s own XPS and PDF printer drivers, which are part of Windows 10 itself, are blocking the 20H2 installation process for some reason for some people. The following link shows how to determine the specific drivers that are blocking the upgrade process, and how to disable/remove them in order to complete the installation.
How to Fix What Needs Your Attention Windows 10 Setup Errors
With regard to -1047526904, it seems like Microsoft just messed up on this one (not a huge surprise), and hopefully they will resolve this issue in the next feature update, so that so many people don’t continue to encounter this same problem.