

This is one of those situations where something that seems like it ought to be very quick and simple is unfortunately not so quick and not so simple. The good news it’s also not *that* difficult, but there’s no question that it’s a pain and it takes a bit of effort.
It used to be the case that if you needed to remove a Microsoft Office Update such as KBXXXXXX that you could remove it just like you can remove any other Windows Update. In BatchPatch we have a couple of built-in options for executing the update removal process of a particular Windows Update that you can access under ‘Actions > Windows Updates > Uninstall individual update…‘ To use those menu items all you need is the KB number of the update that you want to remove.
Unfortunately for a while now the above-mentioned built-in commands for removing individual updates is only successful for standard Windows operating system updates. Microsoft Office updates, on the other hand, require a different removal command that unfortunately involves some manual digging.
The command line syntax options for removing a MSOffice update are as follows, but you have to substitute the correct Office GUID and Patch GUID values into your command, and this is what makes the process frustrating/tedious:
msiexec.exe /package {Office GUID} /uninstall {Patch GUID} /QN |
msiexec.exe /package {Office GUID} /uninstall {Patch GUID} /QN REBOOT=REALLYSUPPRESS |
This Microsoft Blog article explains the process for locating the correct GUIDs in the registry for the patch that you wish to uninstall.
After you find the appropriate GUIDs, you can form the actual command to use to remove the update. So, for example, the following command is an example of what your command will actually look like, as I have inserted actual GUID values, but as previously mentioned, you’ll need to find the GUIDs for the product and patch that you are removing.
c:\windows\system32\msiexec.exe /package {90140000-0012-0000-1000-0000000FF1CE} /uninstall {B23AAF3E-F931-4C72-8D96-7E58363A3D12} /qn |
Once you have determined the proper syntax and have run it successfully on your test computer, you may insert it into a ‘Remote Command’ in BatchPatch. Highlight the desired target computer rows in the BatchPatch grid. Then select ‘Actions > Execute remote process/command > Create/modify remote command 1‘
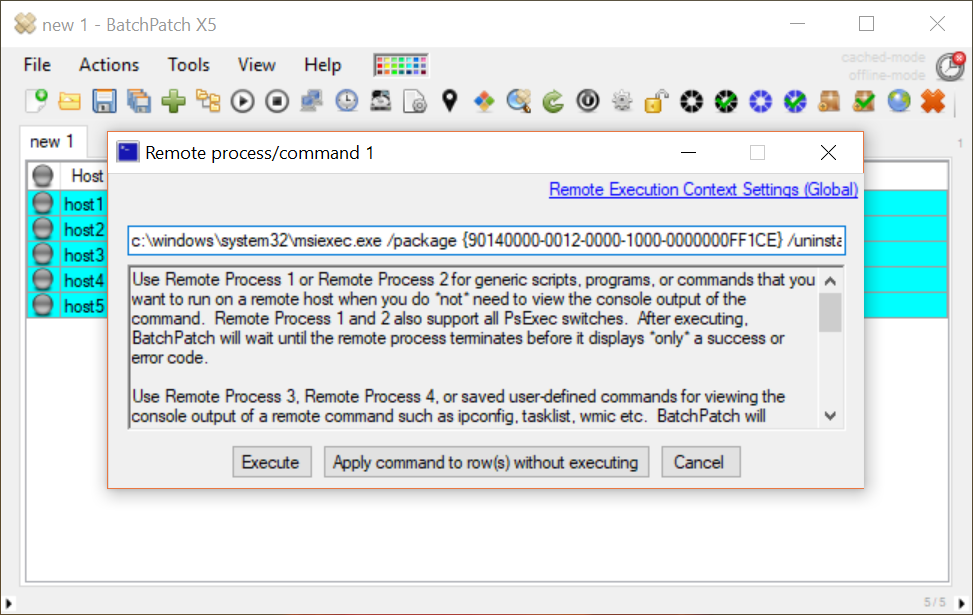
Paste your command into the field, as illustrated in the screenshot above. Then either ‘Execute’ the command immediately or choose ‘Apply…’ to execute it later. Another option for executing at a later time/date is to hard-code the command into the BatchPatch menu by using ‘Actions > Execute remote process/command > Create/modify remote commands‘ In this case I have used ‘Apply…’ to apply the commands to each of the highlighted rows, which you can see in the screenshot below.
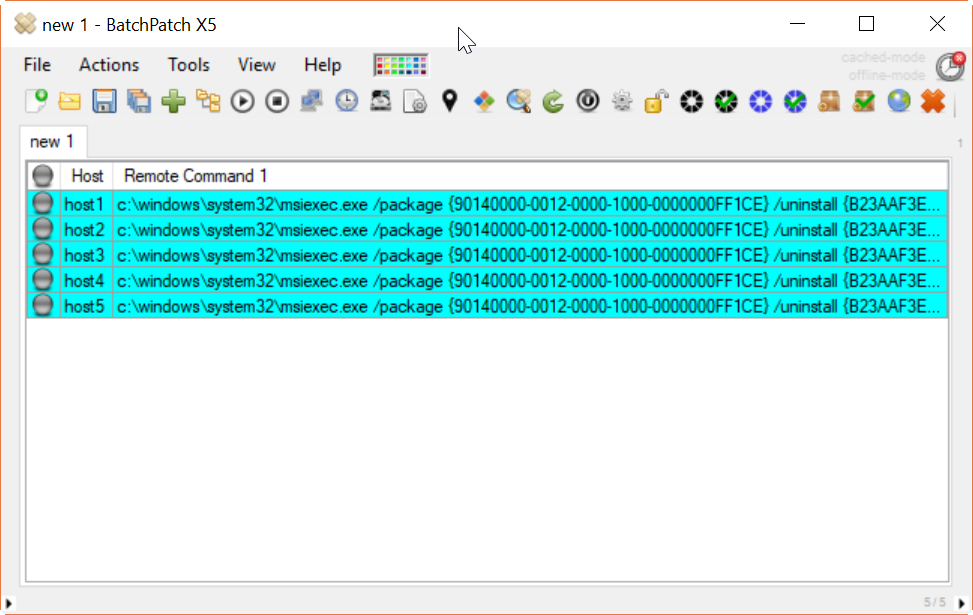
Now I can execute the applied command for each/every row by just selecting the rows that I want to include, and then clicking ‘Actions > Execute remote process/command > Execute remote command 1‘