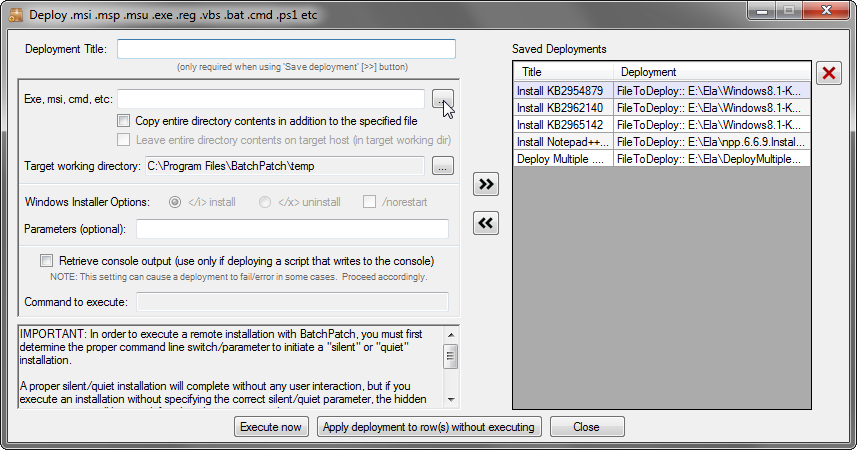
You have a few different options for initiating actions on target computers with the account that you have set aside for administrative actions. Most actions in BatchPatch must be executed with an account that has local administrator permissions on the target computer. However, in some cases a BatchPatch administrator might not be logged on to the BatchPatch computer with the same account that has been granted local administrator privileges on the target computers. Below are the different methods available to the administrator.
3 methods for specifying credentials:
- (Integrated Security Option 1 – Recommended) Logon to the BatchPatch computer with the same account that has been granted local administrator permission on the target computers. This is the recommended method for operating BatchPatch. Whenever possible, we encourage you to simply log on to the computer that runs BatchPatch with the same account that you have designated to exist in the local administrators group on the target computers. When you launch and operate BatchPatch, it will run under the security context of that same account, and so it will automatically have the appropriate permissions to connect to target computers.
- (Integrated Security Option 2 – Recommended when option 1 is not possible) Launch BatchPatch using “run-as,” by right-clicking on the BatchPatch.exe and choosing “run-as” so that you may enter different credentials for launching the application. In this case you might be logged on to your computer with one account, but you are then able to launch and run BatchPatch under a different account, with that different account also being a member of the local administrators group on the target computers. NOTE: Generally, in order for this to work properly you must have logged on to the computer at least one time with the run-as account. If you are trying to use a run-as account that has never been used to log on to the computer, you will most likely experience an error.
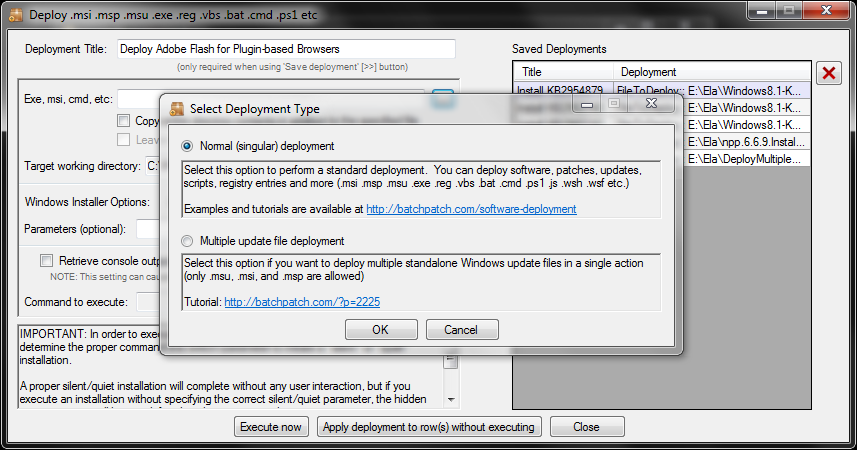
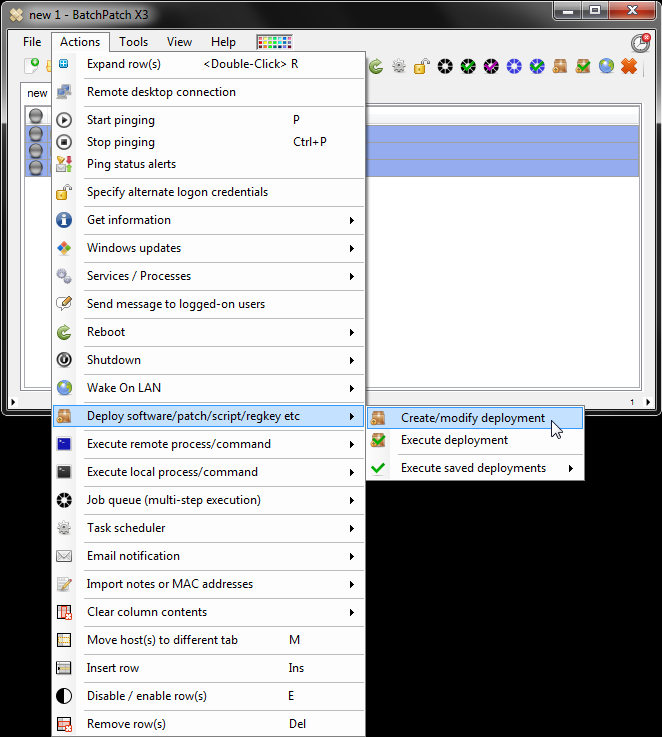
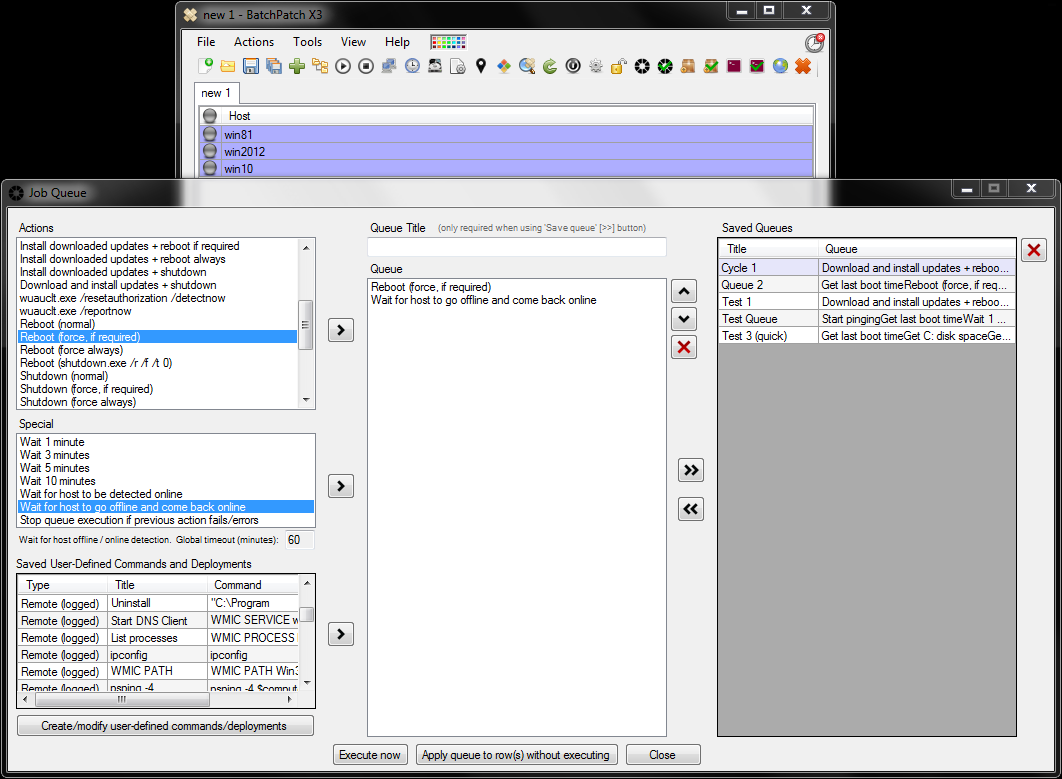
- (Alternate Credentials – Less Secure) Launch BatchPatch normally, but input row-specific credentials for each host in the BatchPatch grid. With this option you are able to specify a different logon account to use for each target host listed in the BatchPatch grid. If your target hosts are setup such that you must use a different logon account to obtain administrative privileges on each of the target computers, then this method is your best bet: ‘Actions > Specify alternate logon credentials’.
Why is using ‘Alternate Credentials’ less secure than using ‘Integrated Security’? Generally any time you are dealing with passwords you are creating a new potential exposure for those passwords to be seen or captured by malicious actors. For many users, the use of alternate credentials in BatchPatch probably won’t be a major concern, but for some users it might be a deal-breaker, so it’s important to understand what’s happening under the hood so that you can make an educated decision about how to use the software in your environment.**BatchPatch enables you to specify alternate logon credentials for a given host/row at any time, but in order for this to be possible the credentials will necessarily appear at times in the BatchPatch computer’s RAM (Random Access Memory) as plain, unencrypted, text. While the passwords are generally stored encrypted in memory to whatever extent possible, conversion from plain text to encrypted text and from encrypted text to plain text in memory by the application is still required in order to make use of those passwords, thereby causing those passwords to still appear in RAM in plain text and sometimes to also linger in memory in plain text for longer periods of time than we would like. If a malicious actor has gained access to the BatchPatch computer, it could be possible for him/her to dump the contents of memory and retrieve passwords. However, it’s also the case that if a malicious actor has gained access to the BatchPatch computer that it may already be too late in a sense, regardless of whether or not he/she is able to capture passwords from RAM. That is, the machine is compromised, and whether or not the malicious actor gains access to credentials from RAM may not matter because he/she may already have more than enough access to wreak havoc on the network.
**Furthermore, alternate credentials in BatchPatch will also be used during the execution of certain command line queries and scripts during some BatchPatch actions that you initiate. If you have systems in place that are logging command line activity on all computers (some organizations do this as standard practice), then passwords could/would end up in your logs. Similarly, these passwords could be captured by a malicious user who has gained access to the system.
**Lastly, if you save a BatchPatch grid (File > Save) to a .bps file, any alternate credentials that were entered for a row in the grid will be stored in the .bps file. It’s important to protect files containing credentials, so please see ‘File > Protection options’ to review/modify the grid file encryption settings available. We also always recommend that you employ additional encryption measures whenever possible to further protect such files, and that you restrict access to such files to whatever extent possible, or avoid saving grid files altogether. Of course if you can avoid alternate credentials altogether and instead only ever use integrated security so that no credentials ever have to be involved at all, that’s still the best option.
Domain environments:
In typical domain environments, there isn’t much else that you have to be aware of when it comes to logon accounts. As long as the logon account that you are using to run BatchPatch (or the logon account that you have specified per-row in the ‘alternate credentials’ dialog) is in the local administrators group on the target computers, you should be ok when it comes to permissions and authentication.
Non-domain (workgroup) environments:
IMPORTANT: In workgroup / non-domain environments, there are a couple of extra items that you need to be aware of in order to get authentication working properly with BatchPatch. In the sections below that describe how to use local accounts for authentication, we highlight registry entries/changes that you might need to make in your environment if you desire to use local accounts for authentication. These registry modifications come with their own security implications. You can read more about those registry values and remote UAC filtering here:
User Account Control and WMI
Description of User Account Control and remote restrictions
User Account Control Group Policy and registry key settings
In non-domain environments you will be launching BatchPatch under the security context of a local account instead of a domain account OR you will be specifying alternate credentials in each row of the BatchPatch grid. In order for these methods to work, the local account that you’re using to launch BatchPatch or the local account that you are specifying in each row of the BatchPatch grid must also exist on the target computers, defined with the exact same username and password that is defined on the computer running BatchPatch. This user account must also be a member of the local administrators group on the target computers.
Once you’ve got your accounts all setup on the target computers with the same username and password that is used for the account on the computer that is running BatchPatch, and you’ve made sure that each target computer’s local administrators group contains the local account that you just created on each target computer, there is still one more element to configure.
-
If the local account you are using to run BatchPatch is THE built-in administrator account on the target computers, the following registry DWORD must be set to 0 on the target computers. When this DWORD is set to 0, the built-in administrator account is set to full-token mode, and BatchPatch will work properly. However, if it’s set to 1, the built-in administrator account is put in admin-approval mode, which will prevent most BatchPatch actions from completing successfully for those target computers:
(Only required for Vista/7/8/10/2008/2008R2/2012/2012R2/2016/2019 targets. NOT required for XP/2003 targets):HKLM\SOFTWARE\Microsoft\Windows\CurrentVersion\Policies\system\FilterAdministratorToken
- If the local account you are using to run BatchPatch is not THE built-in administrator account on the target computers, but instead is just a regular named local account that is a member of the local administrators group on the target computers, then the following registry DWORD must be set to 1 on the target computers:
(Only required for Vista/7/8/10/2008/2008R2/2012/2012R2/2016/2019 targets. NOT required for XP/2003 targets):HKLM\SOFTWARE\Microsoft\Windows\CurrentVersion\Policies\system\LocalAccountTokenFilterPolicy