

This is an example of using BatchPatch to install .NET 4.5.1 remotely on Windows 7 and Windows 2008R2 computers.
Overview: The process is very straightforward. Add the target hosts to your BatchPatch grid, create the BatchPatch deployment, and then finally execute the deployment. It’s important to always test a new deployment on a single machine before you try to execute it across numerous computers. This way you can iron out any kinks in the process to make sure it’s working properly before you move forward with it on your entire network.
Important: Please try to remember that any remote deployment task in BatchPatch requires that the installation be executed silently / quietly. When I say “silent” or “quiet” installation, I mean that the installation process needs to be executed without requiring any user interaction whatsoever. As you know, many installer packages will prompt the logged on user to click OK or to select an installation directory or to specify some other installation-specific options. However, in the case of a remote installation, there won’t be any opportunity to click on various options that the installer presents. In fact, if the installer presents any options, the presentation of these options will actually be hidden from the view of any logged on users because it’s being executed in the background. In this case the installation will simply appear to hang indefinitely without ever completing. So, any time you’ve attempted a deployment and it appears to be hanging with no completion, then you can rest assured knowing that it’s simply waiting for user input. In that case, since the remote deployment is hidden from view, you would have to manually kill the installation process on the target computer and then start over again with the correct silent/quiet parameters.
- Determine the “silent” / “quiet” installation parameter:
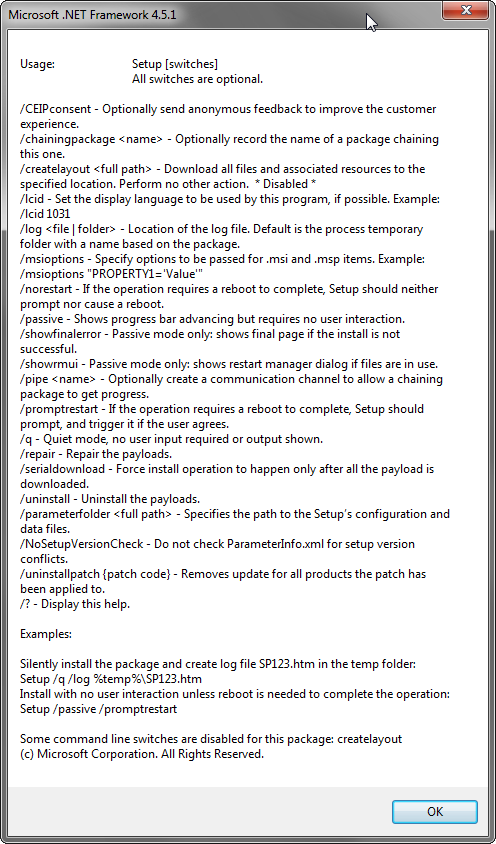
You can generally learn what the “silent” / “quiet” parameters are by executing the installation at the command line with the “/?” or “/help” parameter. For example, take a look at the screenshots below, where I have launched the .NET installer package with the “/?” parameter. Doing so displays a windows with all of the installation options.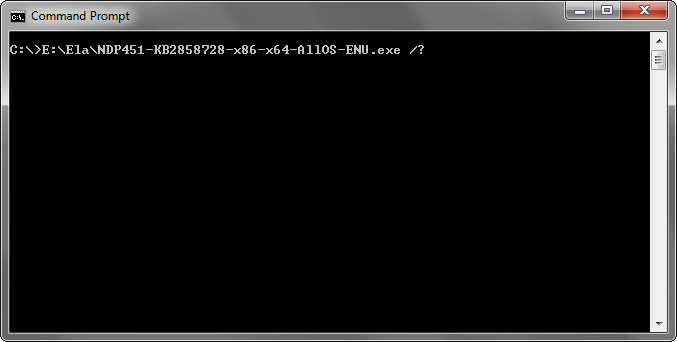
- Create the deployment:
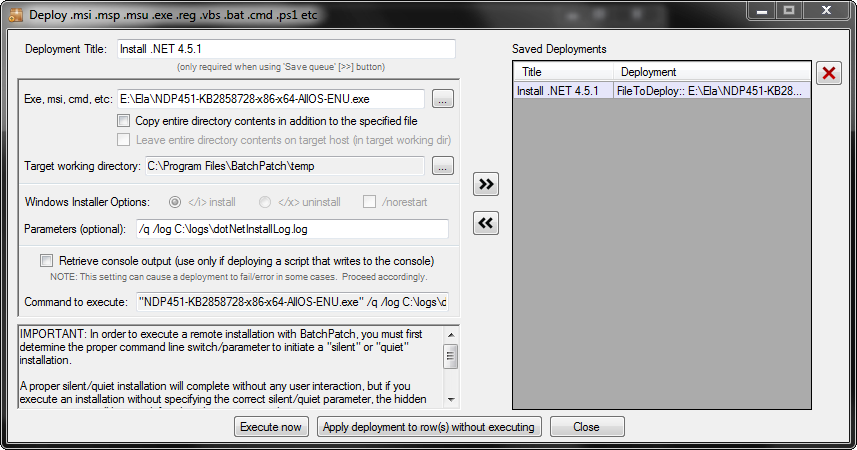
Highlight the host(s) and choose Actions > Deployment > Create/modify deployment. In the window that appears, you’ll select the location of the .NET installer file, and you’ll add the “/q” parameter to ensure that the installation executes without any interaction. In the screenshot below you can see I’ve also added the /log parameter, so that I can review the installation log in the event of a problem or failure. Note: The installation package that I’m using is the offline installer that Microsoft offers. You will not be able to use their online installer for this silent deployment because their online installer does not offer a silent/quiet installation parameter. The offline installer is available here: http://www.microsoft.com/en-us/download/details.aspx?id=40779
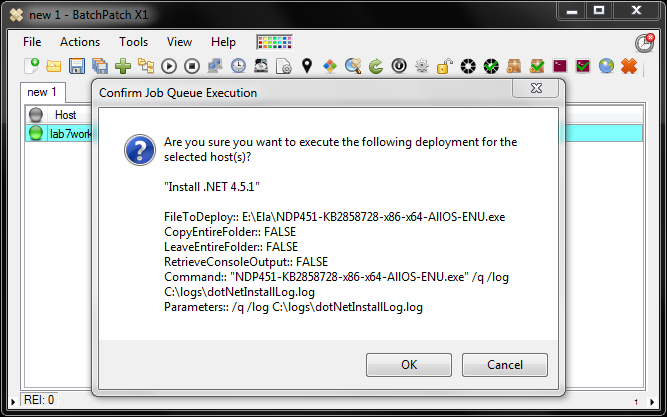
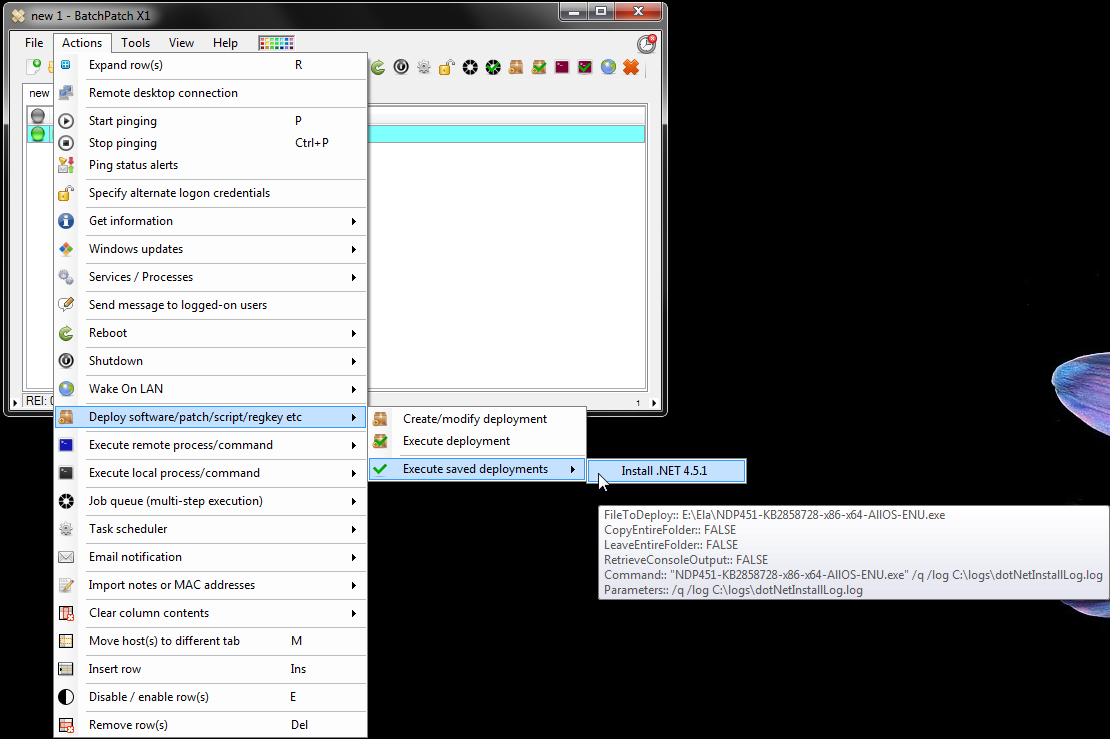
- I’ve saved the Deployment, and now I can execute it using Actions > Deployments > Execute saved deployment

Confirm the deployment configuration and click OK on the prompt that appears:
.NET Installer Exit Codes:
0: Installation completed successfully.
1602: The user canceled installation.
1603: A fatal error occurred during installation.
1641: A restart is required to complete the installation. This message indicates success.
3010: A restart is required to complete the installation. This message indicates success.
5100: The user’s computer does not meet system requirements.