

One of the questions we get sometimes is how best to get data out of a BatchPatch grid, usually to present to someone who is not a BatchPatch user. For the most part when IT admins are using BatchPatch there is little need to present information to anyone else. The goal is typically to just get machines patched and rebooted, and then make sure they are back online and functional before maintenance is over. However, for many users there is sometimes a need to present certain information either to management or perhaps to a different team. For example, maybe your manager wants to know the status of your maintenance, including which updates have been deployed to which computers, or which updates are currently available and ready to install on which computers, etc. Today I’m going to show you the best ways to accomplish these objectives.
Copy and Paste
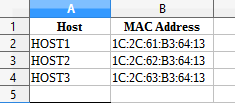
This is not the most elegant option available, but it can still be the best option in certain situations, depending on your needs. If you want to get some data out of a BatchPatch grid, one option that’s always available is to first show/hide the desired columns (you can show/hide columns by right-clicking on any column header or by selecting ‘Tools > Customize columns‘), then use CTRL-A to select the entire grid, or simply highlight the desired rows, then use CTRL-C to copy the contents to the clipboard. Next you can use CTRL-V to paste the contents of the clipboard into your favorite spreadsheet application. From there you can format as desired. Note, if you select all rows in the grid, then when you paste the contents to another application, the header row showing column titles will be included. If you only select some rows in the grid, the header row will not be included.
HTML Grid Export
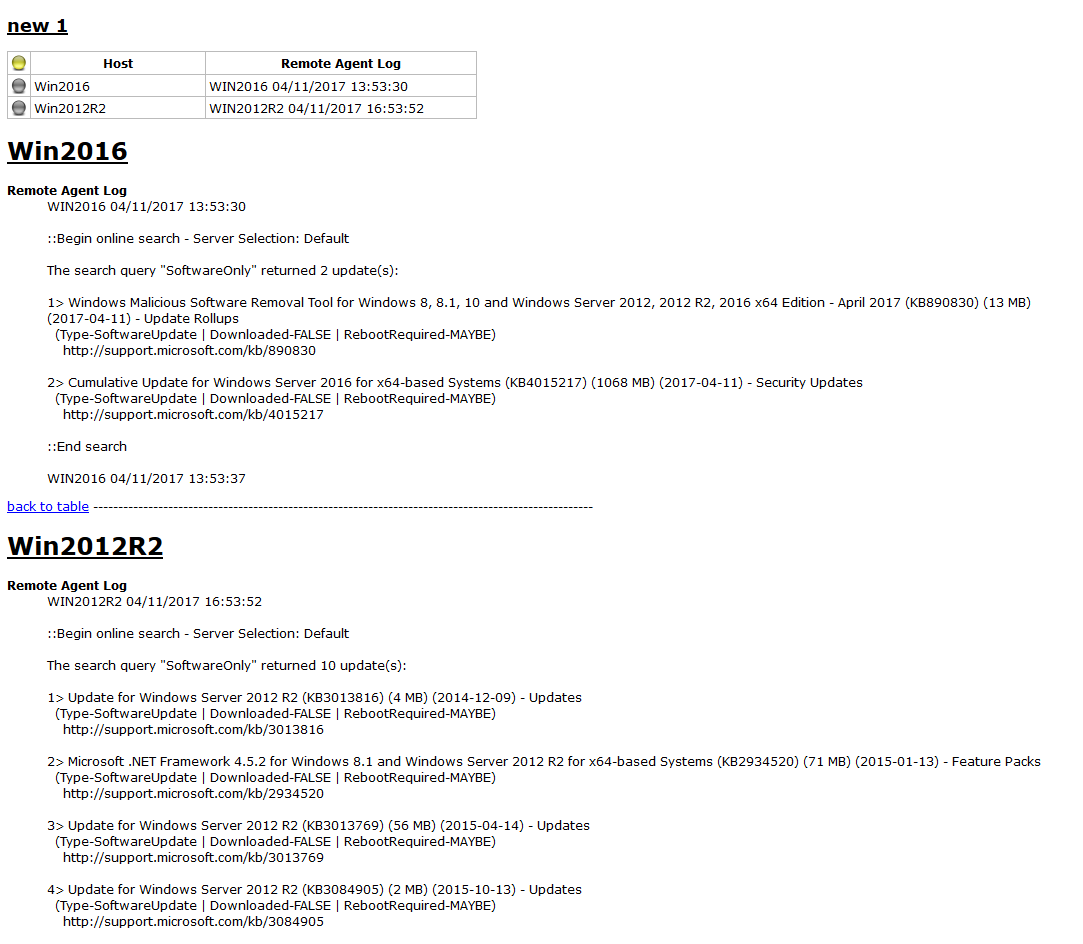
This is my favorite method for most situations. You can present the grid data in HTML format for anyone to be able to view in a way that is very similar to how the data is presented in the BatchPatch grid. Simply select ‘File > Export grid‘ and then select one of the HTML export options. If you have more than one grid open in BatchPatch you can choose to have each grid go to a separate HTML file or you can have all grids be included in the same HTML file. The grid view that is displayed in the HTML report is clickable. If you click any cell in the HTML grid, it will jump to the spot in that file where that data is expanded, so that you can easily view the complete data. You can then jump right back to the grid view, as needed.
Delimited Grid Export
Another option is to export the grid to a delimited file. This is a versatile option because the resultant delimited file can be imported into a spreadsheet or database application. To perform this kind of export, choose ‘File > Export grid > Export current grid to delimited file‘. Note, the default delimiter that BatchPatch uses is the ‘?’ character. However, you can choose any delimiter that you want, including a multi-character delimiter. One thing to be careful of is to not use a delimiter that will break your output. For example, we do not recommend using a comma ‘,’. Comma is a common delimiter in many applications, but for BatchPatch it will often produce undesirable results because a BatchPatch grid may very well contain commas in its data fields. In particular, many Windows Update titles contain commas. If there is a Windows Update title in your ‘Remote Agent Log’ column, for example, then choosing comma as a delimiter is going to be problematic.
Built-in Reports
If you specifically need to produce a report of available updates or of previously installed updates for a group of computers you might want to use one of the built-in options for these particular reports. Check ‘Actions > Windows updates > Generate consolidated report of available updates‘ and ‘Actions > Windows updates > Generate consolidated report of update history‘. Once these reports have been created in BatchPatch they can both be exported to delimited files, at which point they can be imported into your favorite spreadsheet or database application.