When you’re running BatchPatch in offline mode, instead of performing the search for Windows Updates against a local WSUS or against Microsoft’s public Windows Update or Microsoft Update servers, BatchPatch utilizes the WsusScn2.cab file that Microsoft publishes each month in order to perform the offline scan for Windows Updates. The WsusScn2.cab is a large file that contains various metadata for Windows Updates. When an offline scan for Windows Updates is performed, Windows is able to use the WsusScn2.cab file to determine which updates are available for download/installation on the scanned computer, without needing direct access to a WSUS, Windows Update, or Microsoft Update.
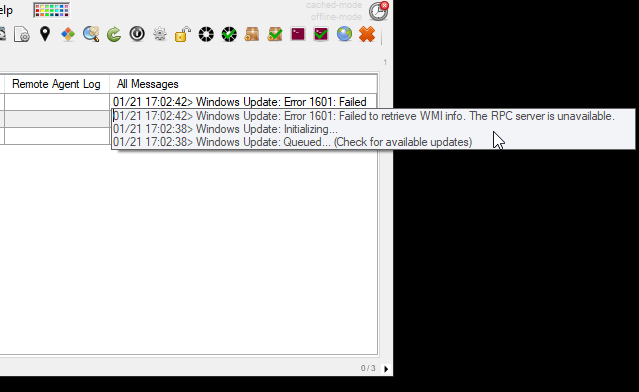
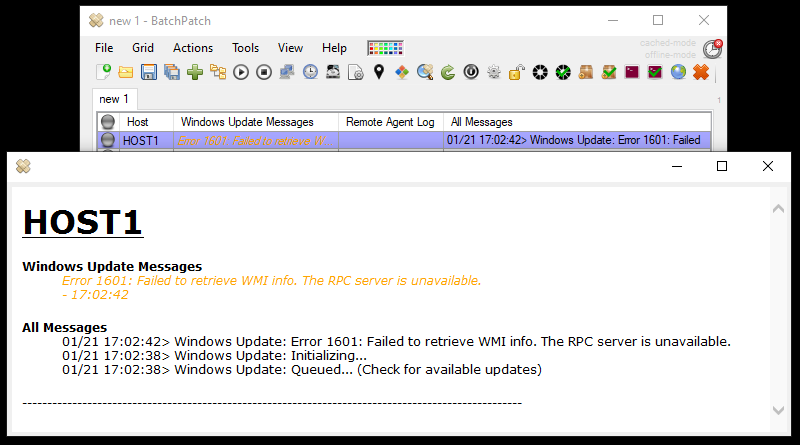
In BatchPatch, if there is some type of problem with loading the WsusScn2.cab file for scanning, BatchPatch will throw an error that looks like this:
Error -198: Failed to add scan package service. HRESULT: -XXXXXXXXXX |
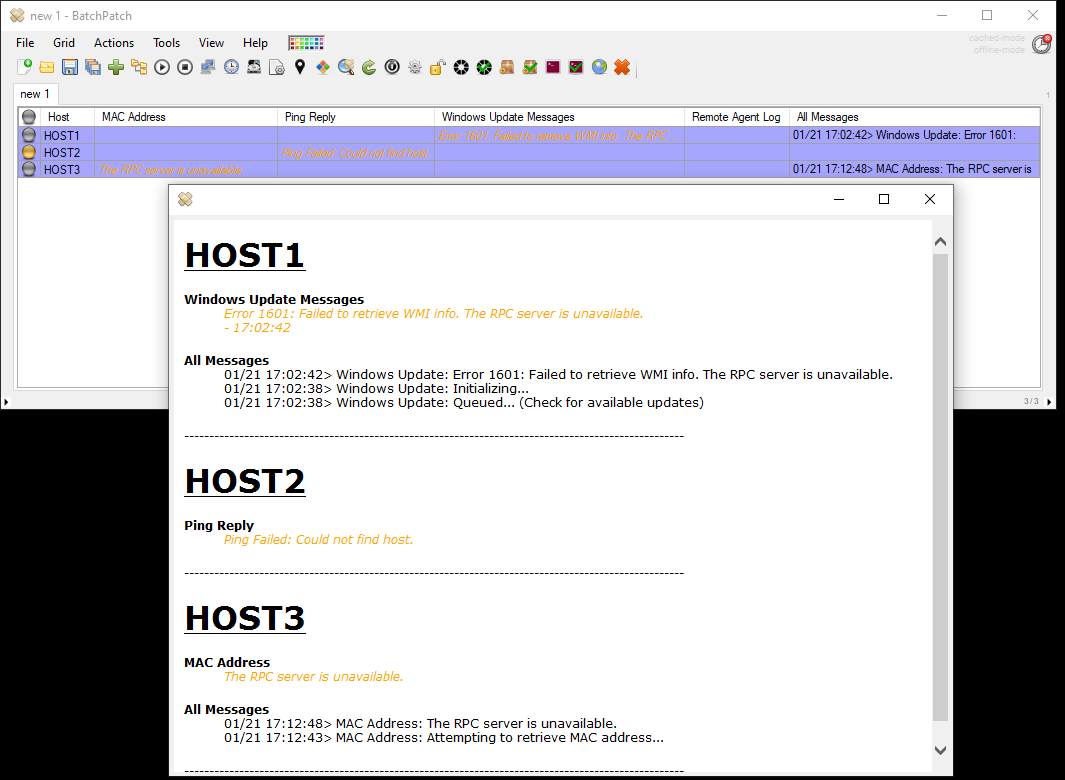
The -198 number simply indicates that the issue was with loading the WsusScn2.cab file. The HRESULT value is the actual reason code that the Windows Update Agent reports to BatchPatch. You’ll be able to see this in the BatchPatch ‘Remote Agent Log’ column after the failure/error occurs. Or you can view it later in the target computer’s BatchPatch.log file, which by default would be located in C:\Program Files\BatchPatch\BatchPatch.log on the target computer.
Various HRESULT values that might be seen with a -198 error
Error -198: Failed to add scan package service. HRESULT: -2146762487
0x800B0109 -2146762487 CERT_E_UNTRUSTEDROOT
A certificate chain processed, but terminated in a root certificate which is not trusted by the trust provider |
We are aware of two possible causes for this error. 1: You are trying to apply updates to an operating system that Microsoft is no longer supporting and delivering updates for. If you have not purchased an Extended Security Update (ESU) package from Microsoft, you might need to do this. 2: You have not installed the most recent servicing stack update (SSU). Try manually applying the most recent SSU for the OS in question, and it’s likely this error will go away.
Error -198: Failed to add scan package service. HRESULT: -2147024894
0x80070002 -2147024894 ERROR_FILE_NOT_FOUND
The System cannot find the file specified |
This should only happen if the WsusScn2.cab file itself does not exist on the target computer when the scan is initiated. For the most part, BatchPatch wouldn’t/shouldn’t allow the scan to be attempted to if the file isn’t there, but there may be some edge cases where it could still occur.
Error -198: Failed to add scan package service. HRESULT: -2147024674
0x8007000D The data is invalid. ERROR_INVALID_DATA |
OR
Error -198: Failed to add scan package service. HRESULT: -2145124303
0x80240031 -2145124303 WU_E_INVALID_FILE
File is not of the right format |
Either of the above HRESULT values indicate that there is probably an issue (presumably some type of file corruption) with the WsusScn2.cab file that is being used. Either there was corruption when downloading it from Microsoft to the BatchPatch computer, or the corruption is being introduced when the BP computer copies it to the target computers. If you manually inspect the WsusScn2.cab file (both on the BP computer in the local cache directory as well as on a couple of targets) you can right click on the file and view ‘Properties > Digital Signatures’ as a way to verify that the file has not been corrupted/modified. If the Digital Signatures tab is present with signatures listed, then the file is good. If it is not present or if it is present but with no signatures listed, then the file is not good. If it’s not good then you can delete the WsusScn2.cab file and let BatchPatch re-download it. If it’s good on the BP computer but not good on the targets, then the corruption is being introduced during the file copy from the BP computer to the targets. This would be unusual, but it would imply that you might be having issues with your network, or it could be just a one-off copy issue.
Error -198: Failed to add scan package service. HRESULT: -2147024784
0x80070070 -2147024784 ERROR_DISK_FULL
There is not enough space on the disk |
This error is self-explanatory. You need to free up some disk space on the target computer and then try again.
Error -198: Failed to add scan package service. HRESULT: -2147023838
0x80070422 -2147023838 ERROR_SERVICE_DISABLED |
Typically this means a required service is disabled. Start by verifying that the following services are started:
BITS service (Background Intelligent Transfer Service)
Windows Update service
Windows Modules Installer service
Error -198: Failed to add scan package service. HRESULT: -2146885619
0x8009200D -2146885619 Crypt_E_Bad_Msg
Not a cryptographic message or the cryptographic message is not formatted correctly |
OR
Error -198: Failed to add scan package service. HRESULT: -2146869232
0x80096010 -2146869232 Trust_E_Bad_Digest
The digital signature of the object did not verify |
Either of the above HRESULT values indicate that the WsusScn2.cab file that you have is likely failing a signature validity check, so you should re-download it and try again. We have seen a number of times when Microsoft first publishes a new WsusScn2.cab file on Patch Tuesday each month, where for some period of time soon after publishing, the WsusScn2.cab file is missing a digital signature when it’s downloaded from Microsoft’s servers. The Windows Update Agent will not load a WsusScn2.cab file that doesn’t haven’t a valid signature. If you manually inspect the WsusScn2.cab file (both on the BP computer in the local cache directory as well as on a couple of targets) you can right click on the file and view ‘Properties > Digital Signatures’ as a way to verify that the file has not been corrupted/modified. If the Digital Signatures tab is present with signatures listed, then the file is good. If it is not present or if it is present but with no signatures listed, then the file is not good. If it’s not good then you can delete the WsusScn2.cab file and let BatchPatch re-download it. If it’s good on the BP computer but not good on the targets, then probably some corruption is being introduced during the file copy from the BP computer to the targets. This would be unusual, but it would imply that you might be having issues with your network, or it could be just a one-off copy issue. If the file you are getting directly from Microsoft does not contain a digital signature, wait a while and then try to download it again from scratch.