

If you have a .MSI package that you need to deploy to numerous computers, it’s very easy to accomplish this with BatchPatch. The great thing is that not only does it only take a moment to create the deployment, when you are ready to execute the process you can do it for as many target computers as needed, all at the same time.
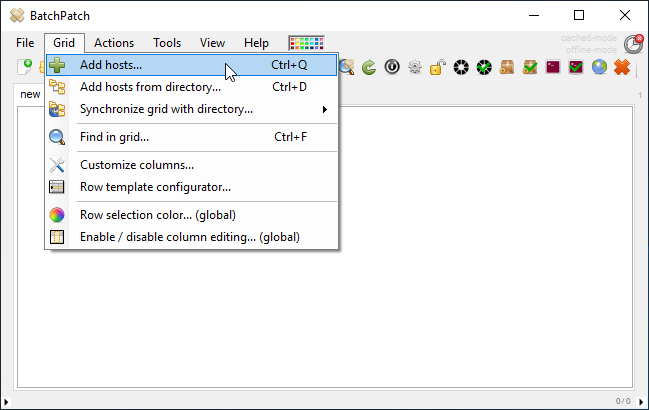
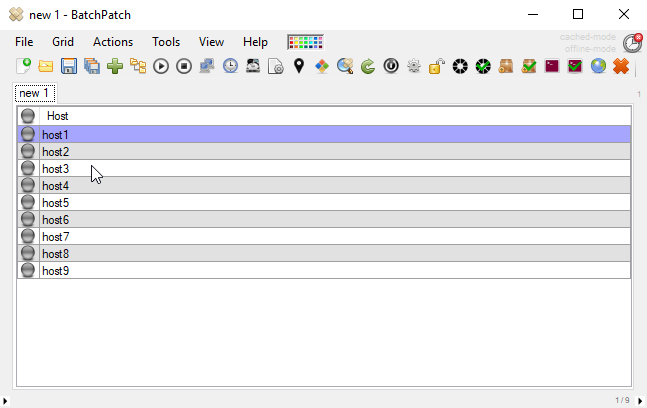
- Start by adding the target computers to your BatchPatch grid. You can drag and drop a list of computers onto the grid to populate it, or you can use one of the ‘Grid > Add hosts‘ options to get the host names into the grid by whichever method works best for you. This includes the ability to synchronize your grid with Active Directory organization units or security groups.
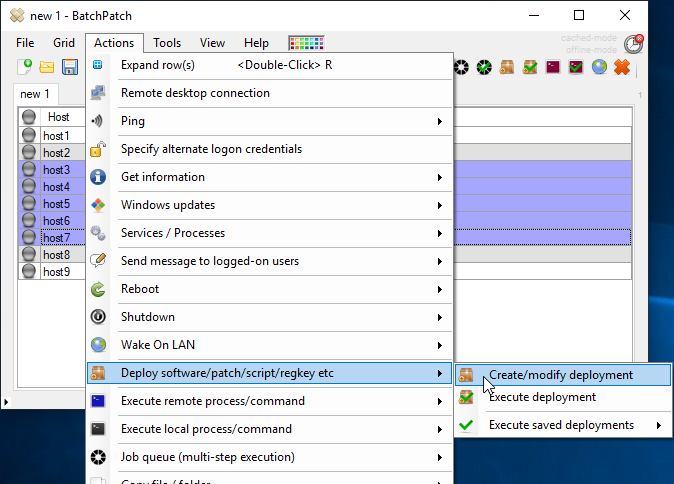
- With the computers added to the BatchPatch grid you may now create the deployment. Note you could also create the deployment before adding the computers, and then just save the deployment for later. It doesn’t make a difference. In this case though we’ll highlight the targets in the grid and then click on ‘Actions > Deploy > Create/modify deployment‘
- In the Deployment window you’ll need to click on the browse button (…) to locate the .MSI file on your computer. If the .MSI file is a standalone package that does not require any additional files, then there is no need to tick the checkbox for ‘Copy entire directory contents‘. However, if the .MSI package comes in a folder with various other files that are required by the installer during the installation process, then in order to get all of those files to the target computer, use the ‘Copy entire directory contents‘ checkbox. The idea here is that you’ll put the .MSI file and all required files in a single folder. Select the .MSI in the ‘Exe,msi,cmd,etc‘ field, and then check the ‘Copy entire directory…‘ box. When the deployment is executed BatchPatch will copy the entire folder, including the .MSI file and everything else contained in the same folder. This way all of the files will be available on the target computer when the execution of the installation occurs. If the installer might trigger a restart, consider checking the ‘/norestart‘ checkbox if you need to prevent that from happening. And of course you can certainly always initiate a reboot from within BatchPatch at a later time, if needed or desired.
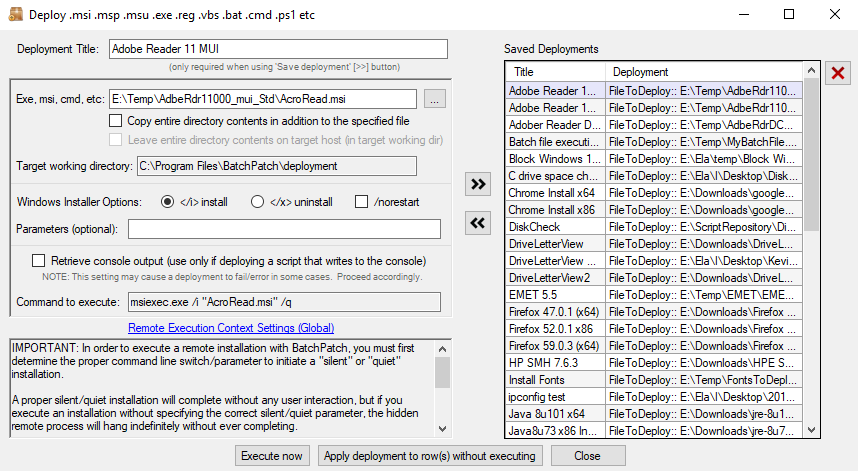
- We’re nearly done already. Pretty quick and simple, right? At this point if you want to save the deployment for future / later usage, just click on the double-arrow ‘>>‘ button. You’ll see an entry appear in the ‘Saved Deployments’ grid on the right side of the window. Alternatively you can choose ‘Execute now‘ which will start the deployment for all of the currently selected computers in the grid. Or you can choose ‘Apply deployment to row(s) without executing‘, which will put the deployment configuration options into the corresponding fields for each selected/highlighted row. This essentially just gives you another way to execute the deployment later or as part of a job queue without saving the deployment to the ‘Saved Deployments’ grid.
NOTE: We always recommend testing a deployment on a single computer before trying it out on many computers.