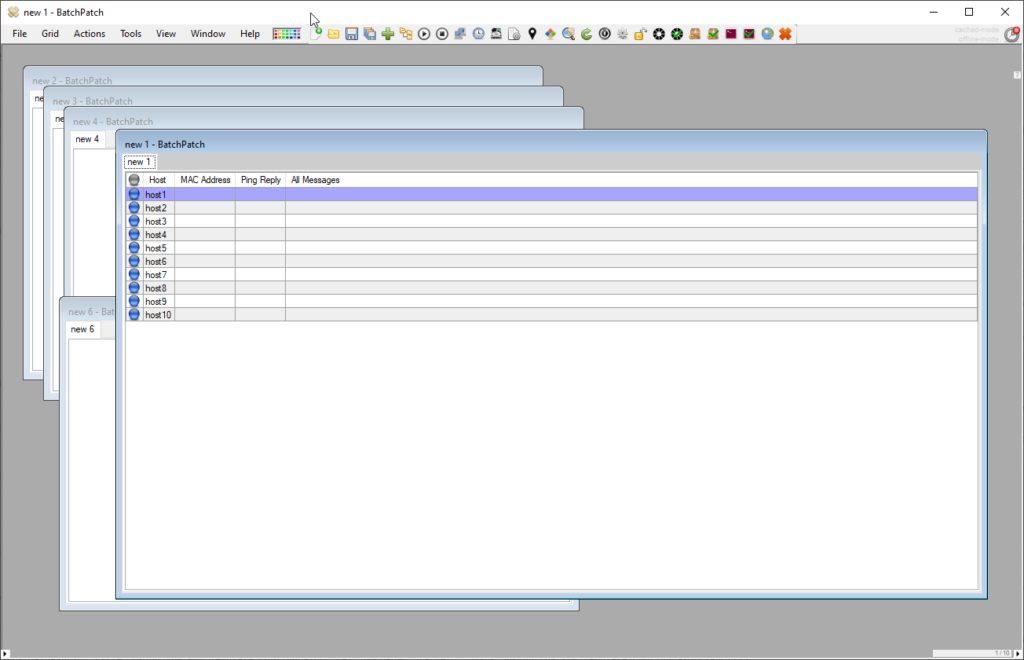
OK, so the title to this posting is a bit jocular and misleading because I’m going to include some things in this posting that you will want to use if you don’t already know about them. 🙂
- Middle-click tooltip: This is a MUST-USE feature that some users never discover. Every field in the BatchPatch grid can be easily viewed by middle-clicking or scroll-wheel-clicking on it. If you aren’t already using middle-click, you should start. I honestly can’t imagine using BatchPatch without it.


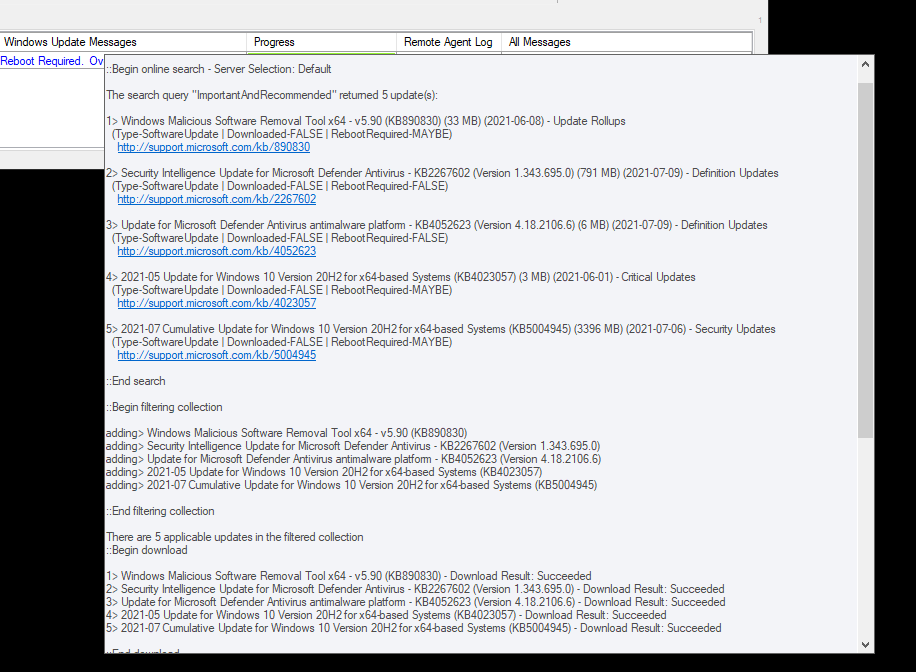
- Moving the middle-click tooltip: You can re-position the middle-click tooltip when it’s visible by right-clicking anywhere directly on it and then dragging it to a new location. Middle-click drag and ctrl-left-click will also both work.
- Never show certain columns: If you want to prevent a certain column from ever being made visible by BatchPatch, you can do that under ‘Tools > Settings > Grid preferences > Never automatically display or unhide specific columns’
- Generate a BatchPatch project file (.bpp): If you want to be able to launch numerous .bps files into the same grid all at once, you can use a BatchPatch project file to do that, if desired. A BatchPatch project file (.bpp) is actually just a regular text file with a .bpp extension that contains a list of full filepaths to .bps files. If you load a .bpp file into BatchPatch, all the .bps files listed in the .bpp file will be loaded as separate tabs. When you generate a .bpp file using the ‘File > Generate project file option’, BatchPatch will create a .bpp file that contains the saved filepath of each open tab in that instance of BatchPatch. If a tab has never been saved to a .bps file, it will not be included in the .bpp file.
- Generate a BatchPatch template file (.bpt): A BatchPatch template file (.bpt) is simply a BatchPatch state file (.bps) that has been named with a
.bpt extension instead of .bps. When you load a .bpt file into BatchPatch, BatchPatch will not allow you to save over it. When you try to save it, you will instead be forced to ‘Save As’ a .bps file. The ‘File > Generate template file’ option will enable you to create a .bpt file from any grid in BatchPatch. However, you may also create your own .bpt files by simply renaming existing .bps files with the .bpt extension. - Row template configurator: Use this feature to automatically apply values to new rows that are added to a grid. If you want to auto-populate certain fields when you add a host to the grid, such as scheduled tasks, you can use this feature to do that. Using the Row Template Configurator
- Synchronize a grid with Active Directory: If you want to have a BatchPatch grid that always has the same list of hosts as a given OU or Group in Active Directory, you can use this feature to do that. Synchronize a BatchPatch Grid with Active Directory OUs and Groups
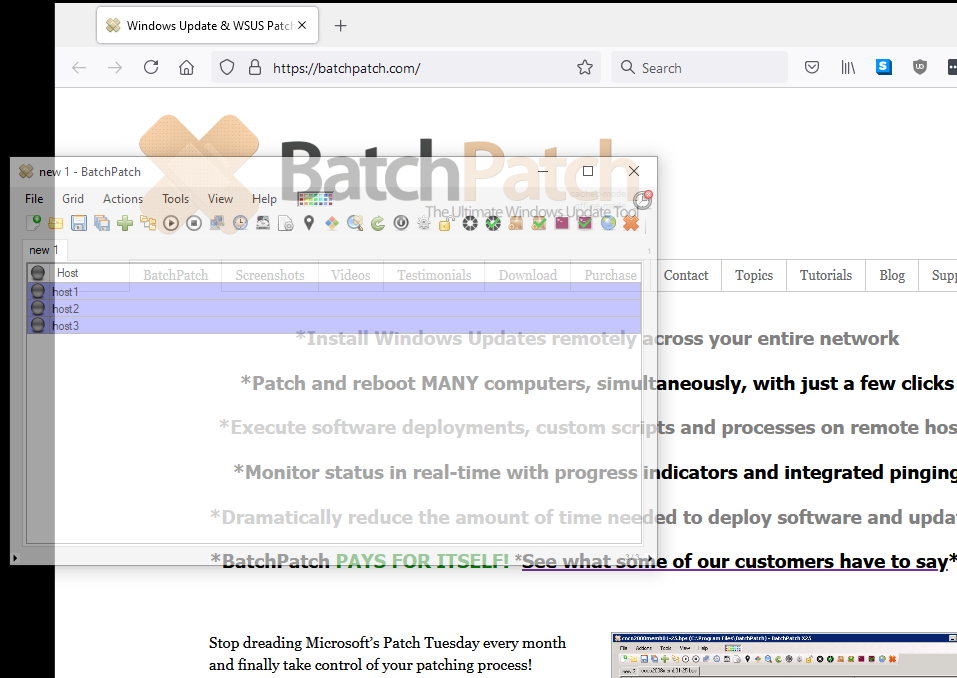
- Transparency: You can make the entire BatchPatch application transparent, if desired. Use the little arrow icon on the lower right corner of the BatchPatch window to access a slider that lets you adjust the level of transparency.
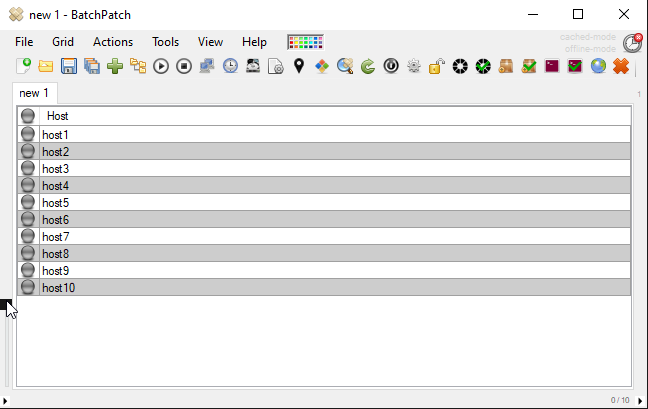
- Alternating rows backcolor intensity: Use the little arrow icon in the lower left corner of the window to access a slider that lets you adjust the intensity of the alternating rows backcolor.
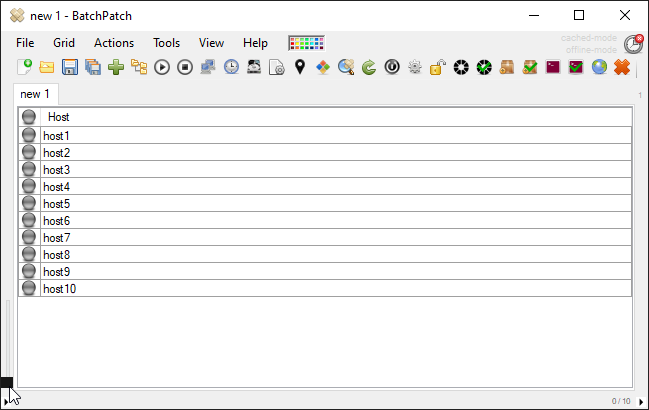
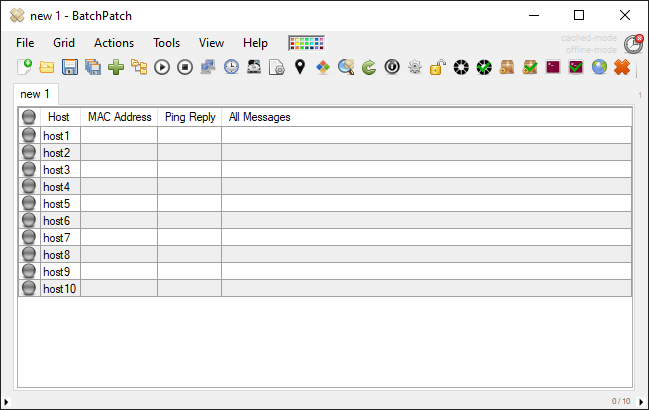
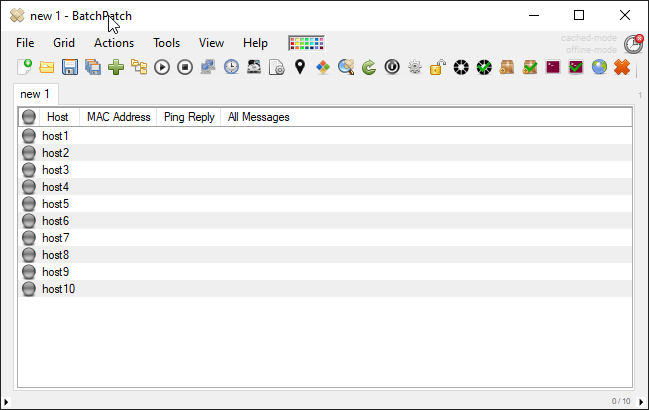
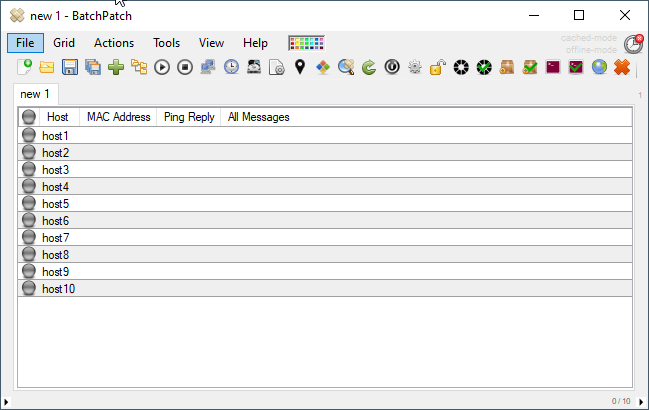
- Grid borders: You can use CTRL-B toggle between 4 different styles for column and row borders in the grid.
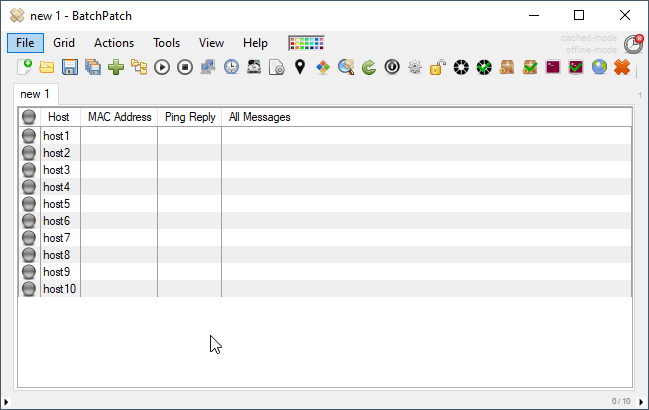
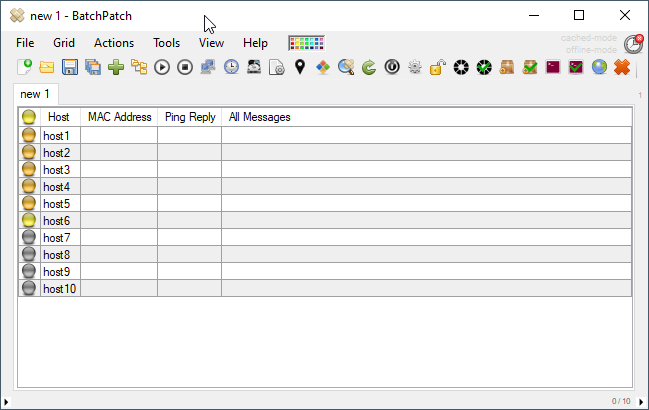
- Host status ping thread: Independently of the normal grid operations, it’s possible to turn on a separate ping thread that will color the LED orb icons, based on the status of the host. Click the LED image header column to turn it on or off. Middle-click the image header column to clear all rows LED image icon. Middle-click a particular row’s LED image icon to disable/remove/skip it from the check. Shift-middle-click a particular row’s LED image icon to turn it blue.
- Multi-grid mode: ‘View > Multi-grid mode’
