

In BatchPatch most users enter each host name into the grid without using the entire fully qualified domain name (FQDN) or IP address. In general, for most situations entering just the host names will be sufficient. However, many users have more complex network environments, and sometimes it won’t be sufficient to enter just the unqualified single-label host name without using the FQDN or IP address. This is because when there are multiple domains involved, and a given target computer is not on the same domain as the BatchPatch computer, Windows will not automatically know what the proper DNS suffix for the target computer is unless DNS suffixes have already been configured for the network interface of the BatchPatch computer. That is to say, in a multi-domain environment, it’s often the case that the network and systems administrators will configure group policy for the domain to include a list of DNS suffixes on every member computer’s network interface, so that if a user of any computer in the domain types, for example, “ping computerX” into a cmd prompt, Windows can try each of the DNS suffixes defined on the network interface to locate computerX. So, if the 3 DNS suffixes are:
domain1.com
domain2.com
domain3.com
Behind the scenes Windows can lookup computerx.domain1.com, computerx.domain2.com, and computerx.domain3.com until it finds a host (A) record in DNS for computerx. So let’s say computerx is actually computerx.domain3.com. When the DNS suffixes on the network interface are set properly, instead of having to enter computerx.domain3.com into BatchPatch, you can simply add the host as computerx.
You can add a DNS suffix to the search list on the BatchPatch computer directly/manually by doing the following:
Manual/direct DNS Suffix Additions/Modifications:
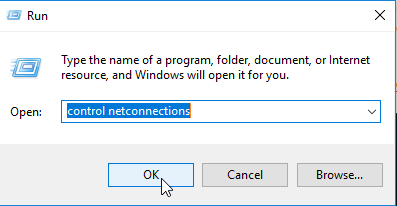
- In Windows select ‘Start > Run‘ and type control netconnections. Then click OK.
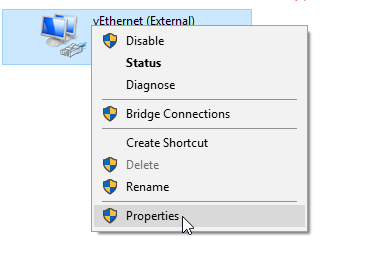
- In the control panel network connections window that appears, select the active network interface. Right-click on it and select Properties.
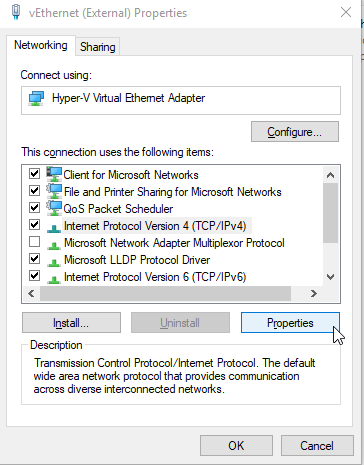
- In the Properties window select Internet Protocol Version 4 (TCP/IPv4), and then click the Properties button.
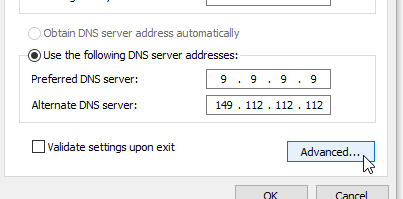
- In the following window that appears titled Internet Protocol Version 4 (TCP/IPv4) Properties, click the ‘Advanced’ button.
- In the ‘Advanced TCP/IP Settings‘ window, click on the DNS tab.

- In the DNS tab click the radio button that says ‘Append these DNS suffixes (in order):‘ and click ‘Add’ to add each desired DNS suffix.

Group Policy DNS Suffix Additions/Modifications:
If you want to apply the same DNS suffix list to many computers, then rather than applying them manually/directly, you should consider using Group Policy to apply them instead.
- On a computer that has the domain administrative tools installed, or on a domain controller, click Start > Programs > Administrative Tools > Group Policy Management
- In Group Policy Management, expand the forest and the domain in which you will apply Group Policy. Right-click Group Policy Objects, and then click New.
- In New GPO, type a name for the policy, and then click OK.
- Right-click the new policy that you created in Step 4, and then click Edit.
- In Group Policy Management Editor, expand Computer Configuration, expand Policies, expand Administrative Templates, expand Network, and then click DNS Client.
- Right-click DNS Suffix Search List, click All Tasks, and then click Edit.
- On the DNS Suffix Search List Properties page, select Enabled. In the DNS Suffixes box, type the desired DNS suffixes. Click OK.
- In Group Policy Management, expand Group Policy Objects, and then select the policy that you created in Step 4. On the Scope tab, scope the policy so that it applies to the desired comptuers.