

We are starting with a brand new, unmodified, stand-alone installation of Windows 2012 R2.
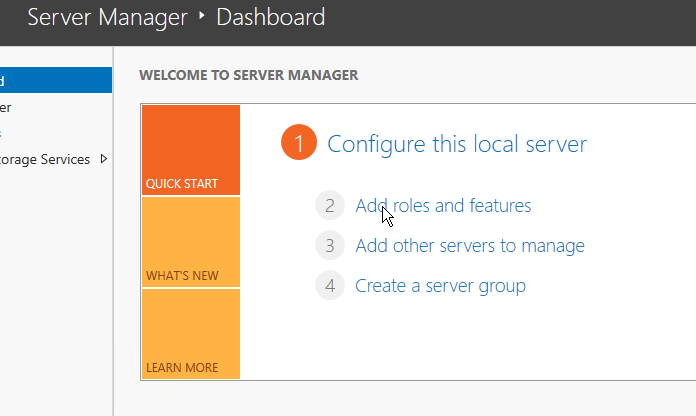
- In the Server Manager, click on ‘Add roles and features.’
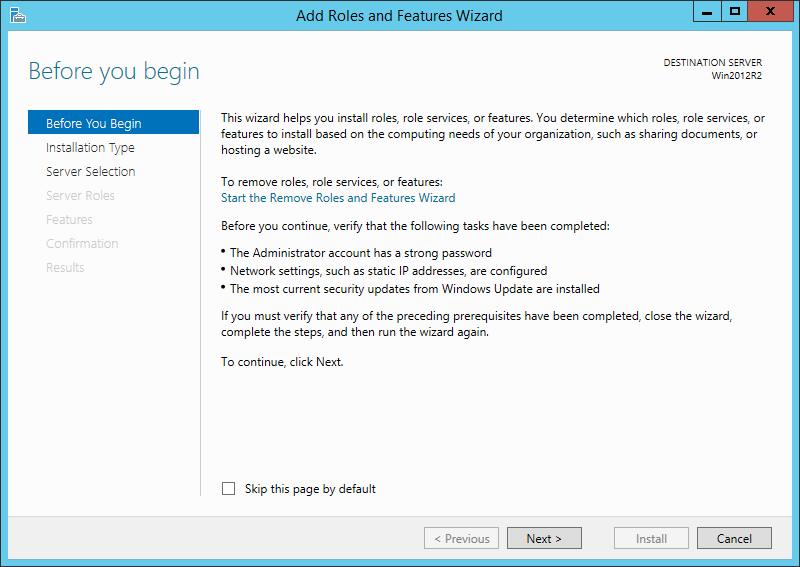
- The ‘Add Roles and Features Wizard’ is presented. Click ‘Next.’
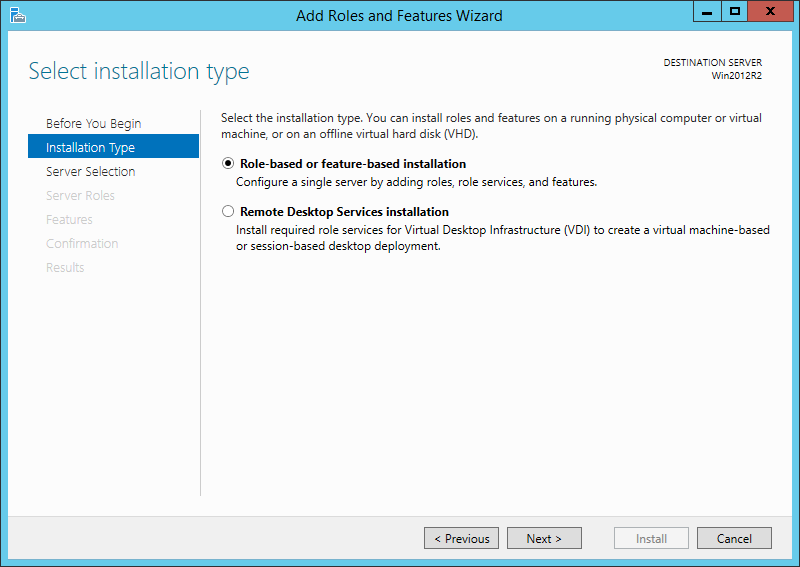
- For the ‘Installation Type’ we’ll select ‘Role-based or feature-based installation.’
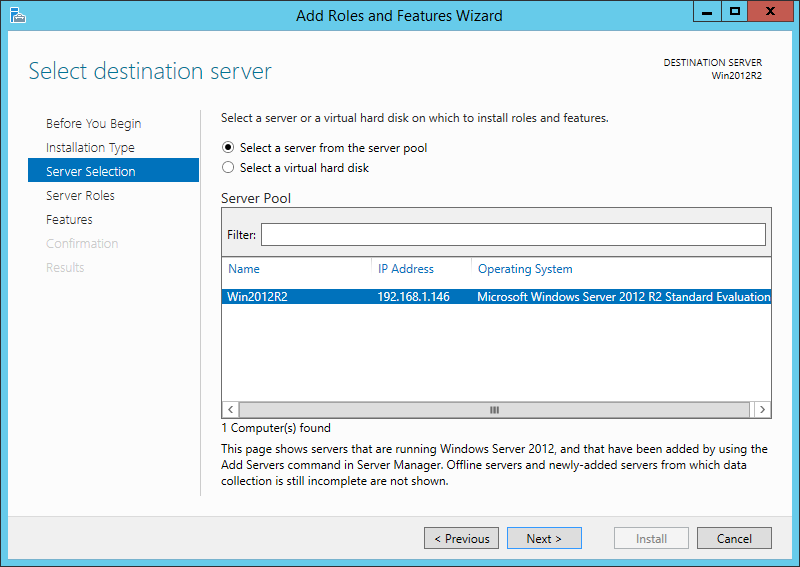
- For ‘Server Selection’ I’ve selected the server the local machine..
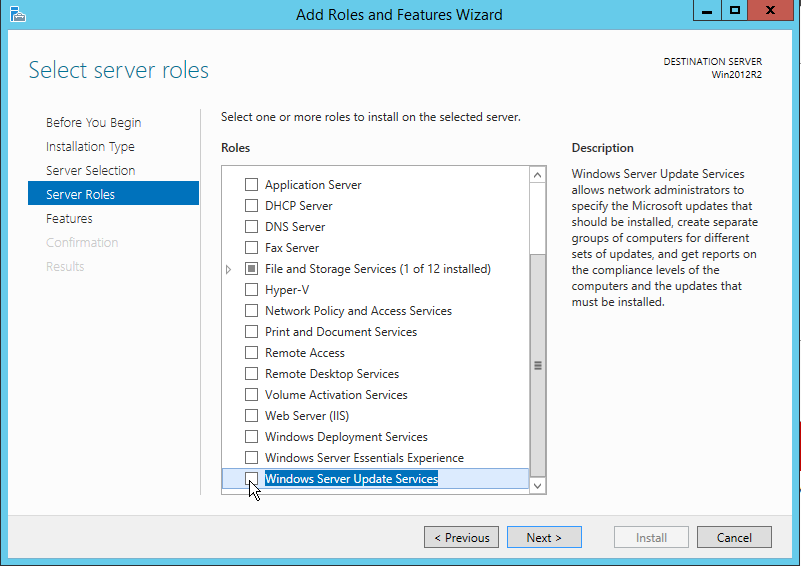
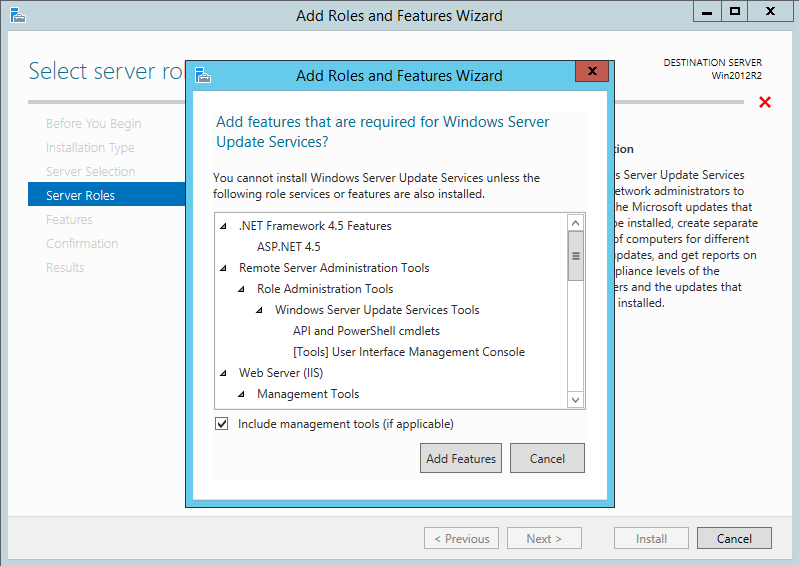
- In the ‘Server Roles’ screen, scroll to the bottom and select ‘Windows Server Update Services.’ This will immediately bring up a new window, describing that other features and services are required to be installed. Click ‘Add features’ on this window, and then click ‘Next’ on the remaining window.
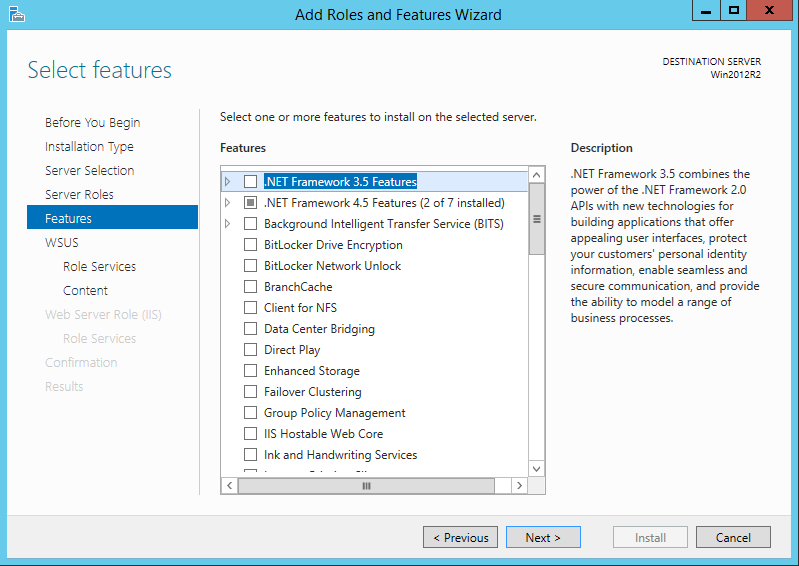
- For ‘Features’ simply click ‘Next.’
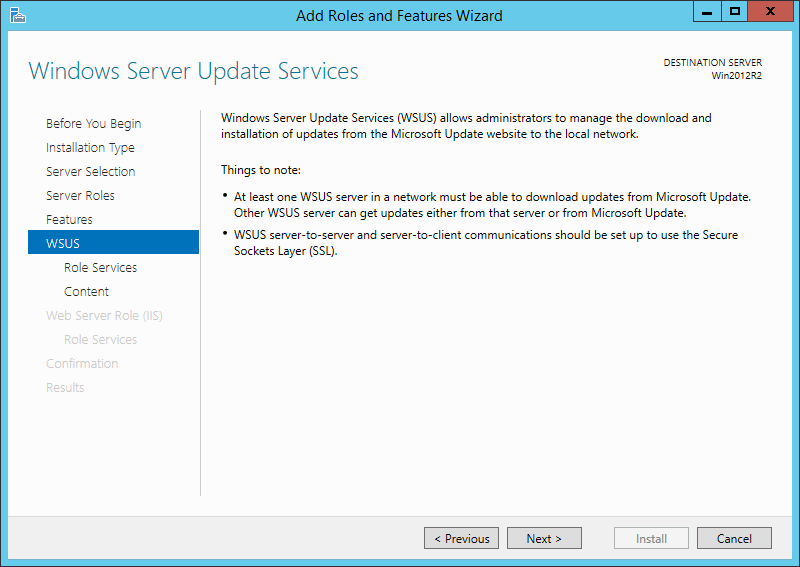
- On the ‘WSUS’ window, click ‘Next.’
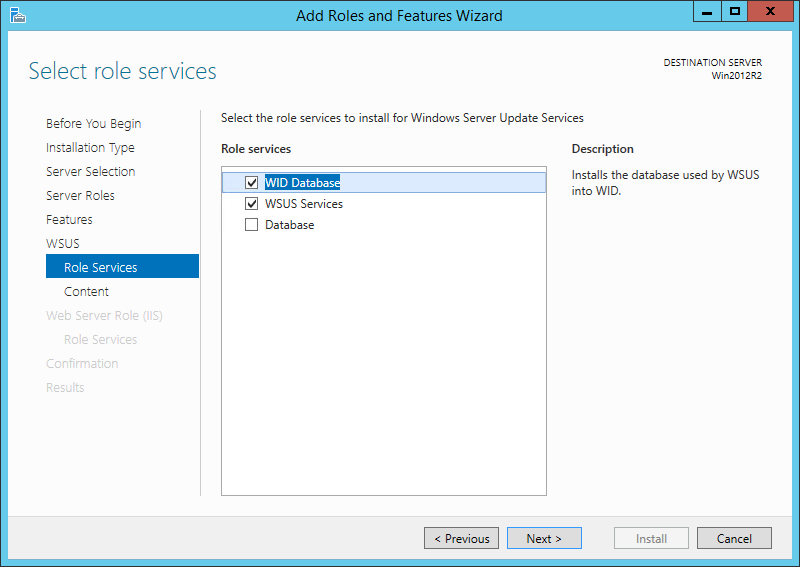
- For ‘Role Services’ we are once again going to leave the defaults as-is and click ‘Next.’
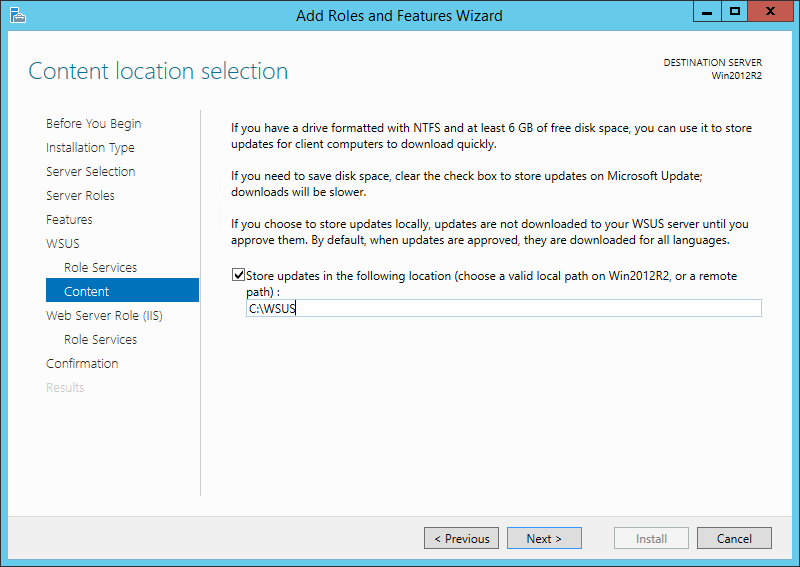
- For the ‘Content’ screen we need to enter a local directory to keep all of the WSUS content that is downloaded. On my server I’ve selected C:\WSUS. Normally I would use a drive that doesn’t also contain the OS, but for the sake of this tutorial I’m using a virtual machine with only a single drive. Make sure that whatever location you specify has plenty of free space. In this window Microsoft is officially recommending to have at least 6GB of free space, but I’d say shoot for a minimum of 30GB free space, otherwise you’ll end up running out soon and need to do cleanup. Since disk space is relatively cheap these days, it makes more sense to provide plenty of room, so that you have less disk space maintenance to deal with in the future.
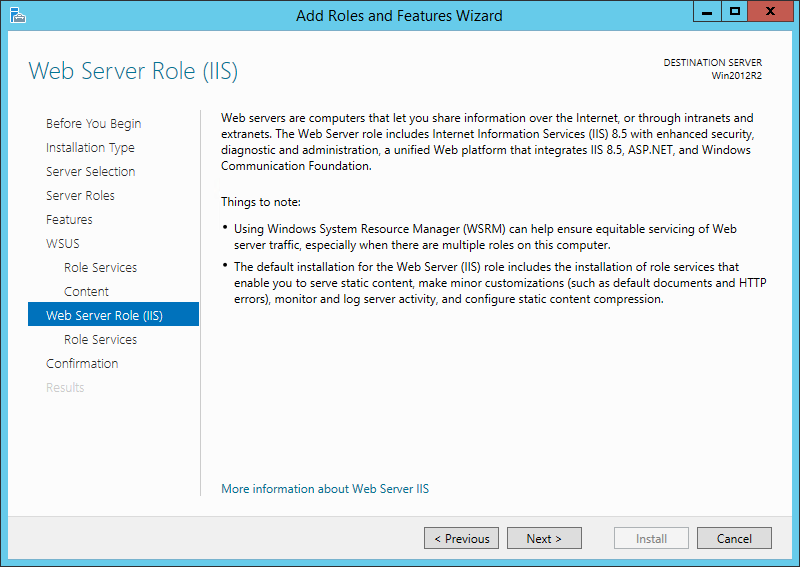
- On the ‘Web Server Role (IIS)’ screen, click ‘Next.’
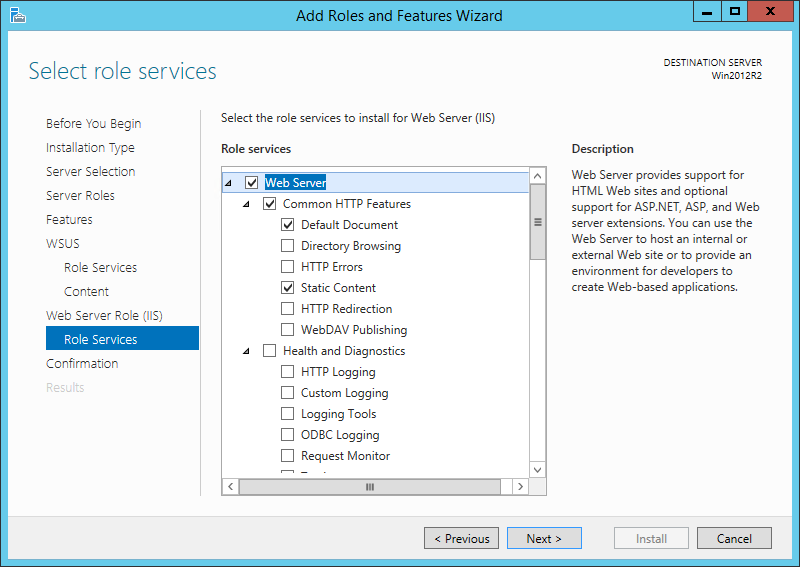
- On the ‘Role Services’ screen, leave the defaults as-is and click ‘Next.’
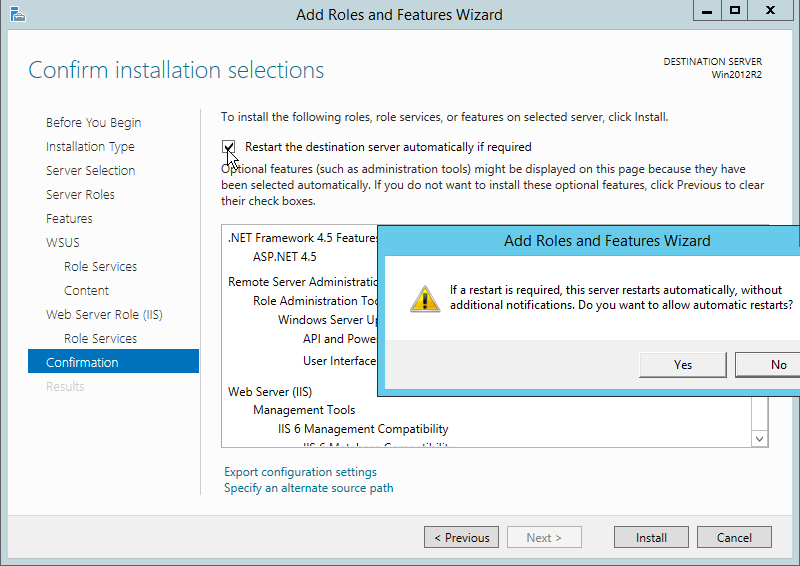
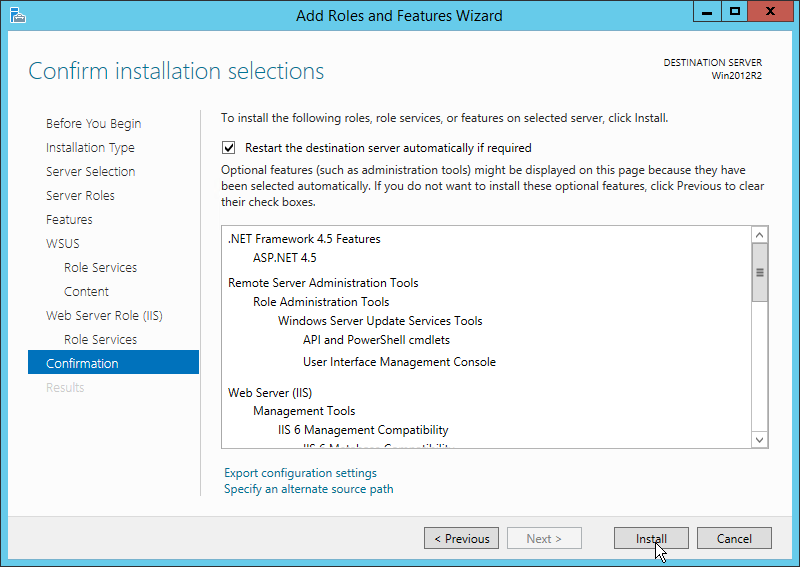
- On the ‘Confirmation’ screen I have checked the box to ‘Restart the destination server automatically if required.’ Click ‘Yes’ to confirm automatic restarts.
- Finally click ‘Install’ to proceed with the WSUS installation. The WSUS server along with all required services and features will be installed.
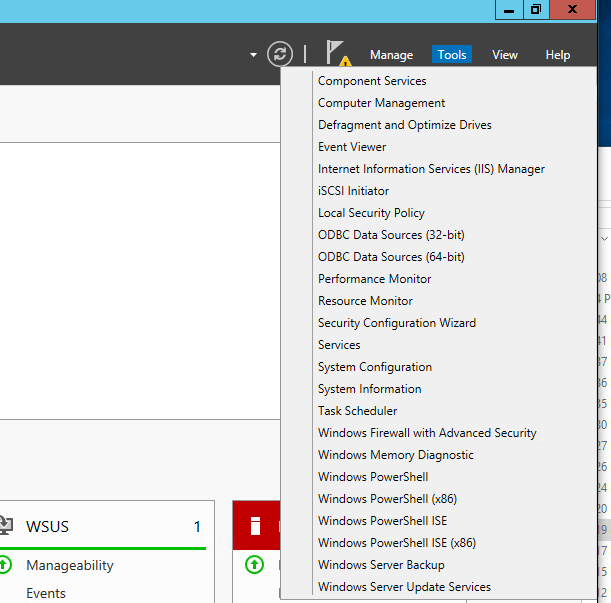
- The installation only took about a minute on my lab machine. Next click on ‘Tools > Windows Server Update Services’ in the ‘Server Manager’ window. You will be prompted to complete some post-installation configuration tasks.
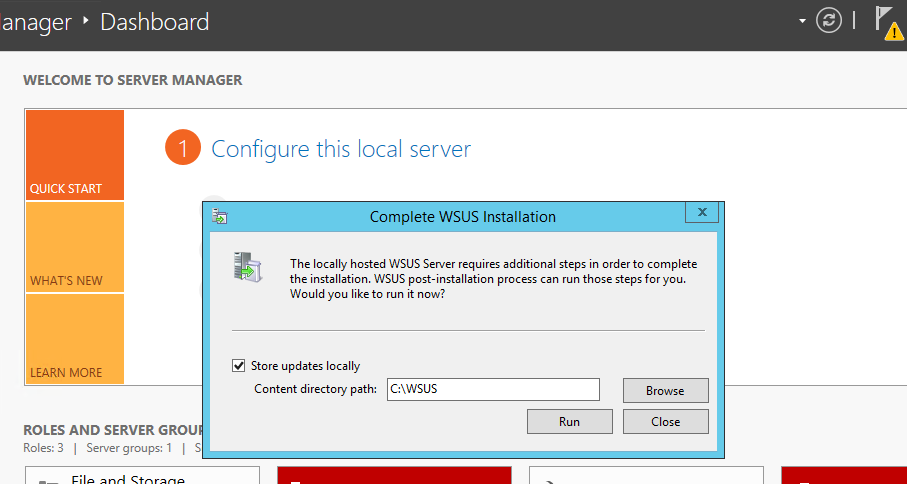
- We are prompted to ‘Complete WSUS Installation’ and choose whether or not to store updates locally. If you de-select this check box, your WSUS will not download any updates. Instead, it would only be used to control which updates are approved for your target computers. However, updates would then still be downloaded by each target computer directly from Microsoft. This is rarely the desired use for a WSUS server, so we recommend leaving the default as-is to ‘Store updates locally’ for most situations. Click ‘Run’ to run the post-installation task. When it completes a few seconds later, click ‘Close.’
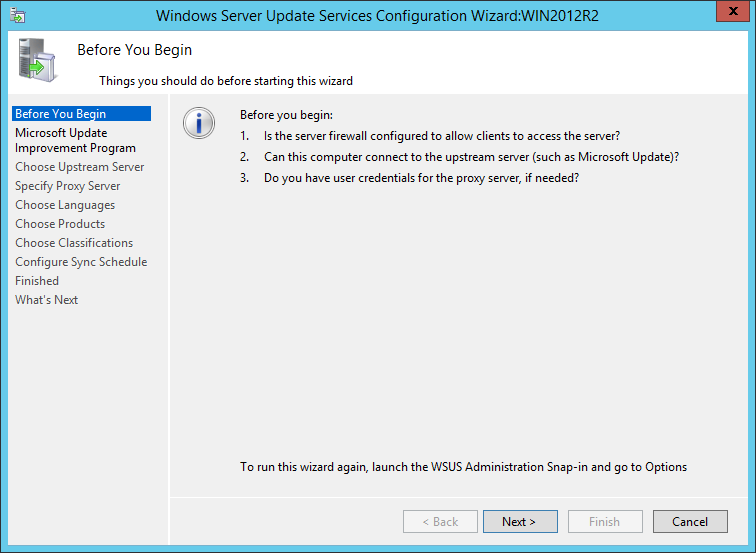
- After clicking ‘Close’ on the previous screen, the ‘Windows Server Update Services Configuration Wizard’ will be displayed. Click ‘Next’ to proceed.
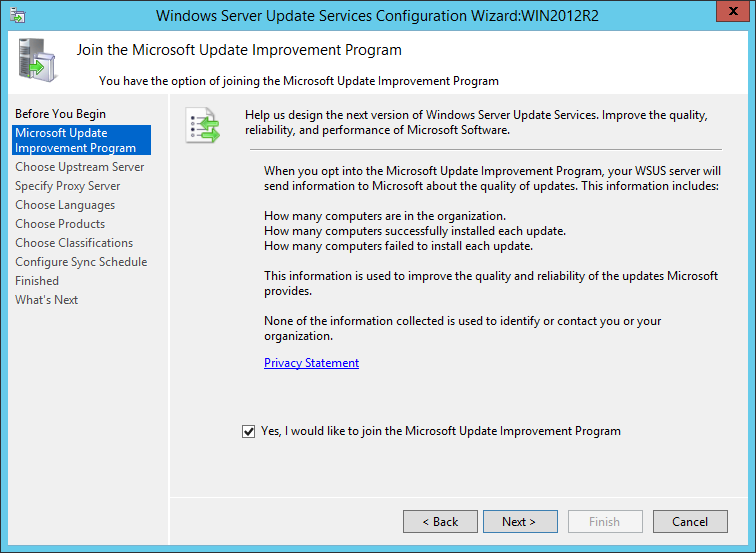
- Decide whether or not you would like to join the Microsoft Update Improvement Program, and the click ‘Next.’
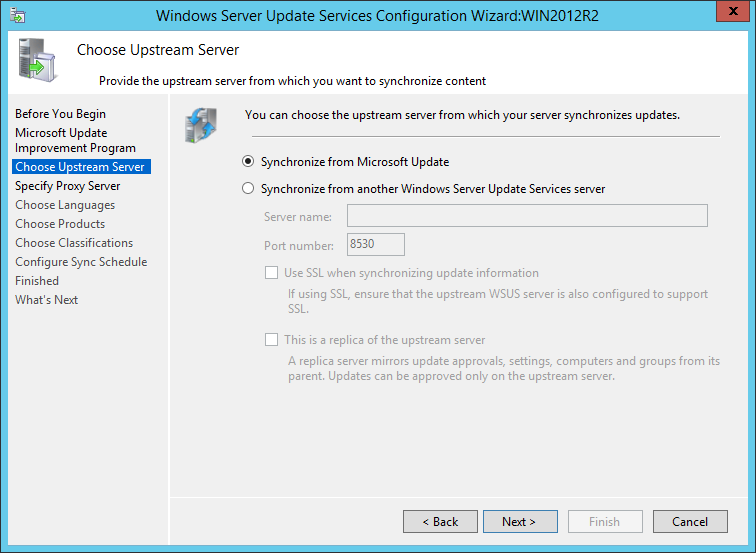
- If you already have an existing WSUS server in place, you may optionally choose to synchronize the newly installed server from an existing WSUS server. However, I expect that most people following this tutorial will want to synchronize from Microsoft Update. Select your desired source, and then click ‘Next.’
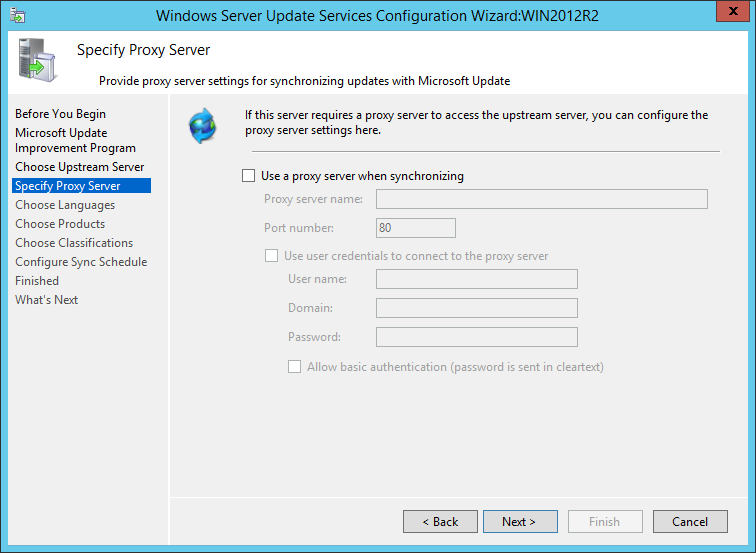
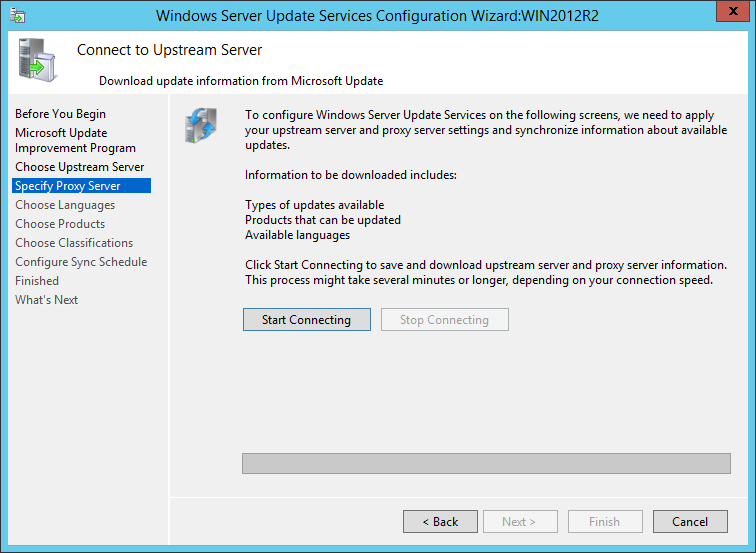
- If your environment requires a proxy server to access the internet, then you can configure the proxy server settings. If no proxy, simply click ‘Next.’
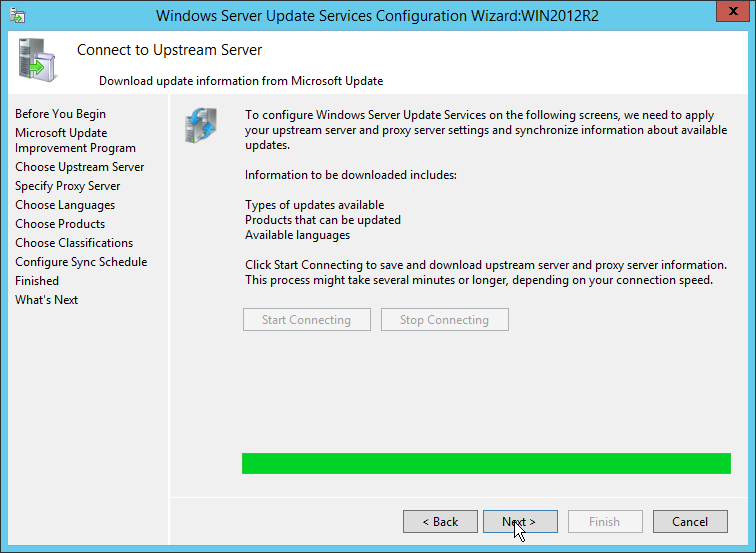
- Click ‘Start Connecting’ to continue. This process might take a little while to complete. When it’s done, click ‘Next.’
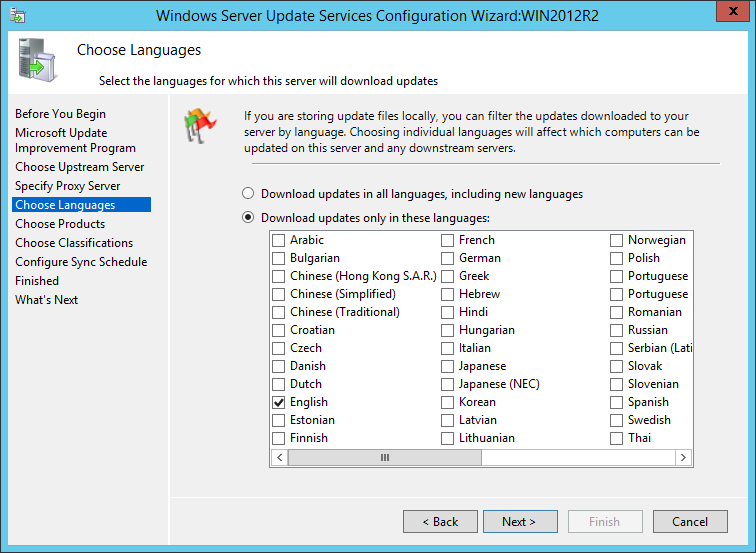
- Choose your desired languages, and then click ‘Next.’
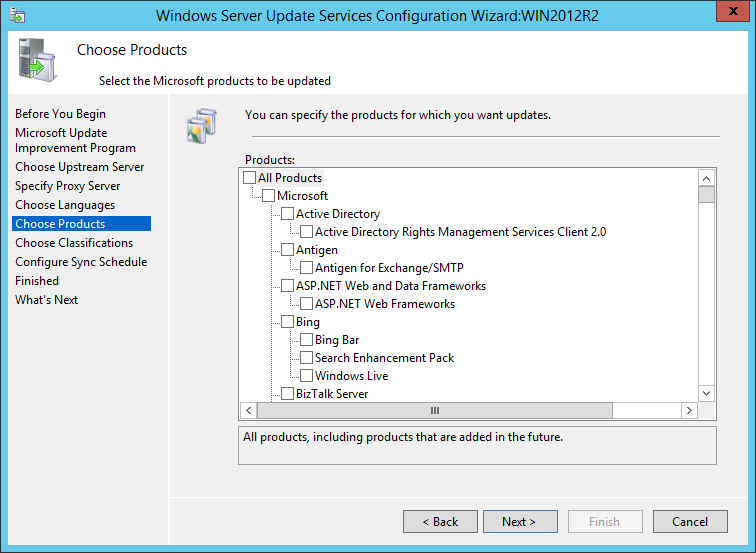
- Choose your desired products, and then click ‘Next.’ You can always add more (or remove) later, so start with only the ones that you are sure you need, like the OS updates for whatever operating systems you currently have deployed to target computers.
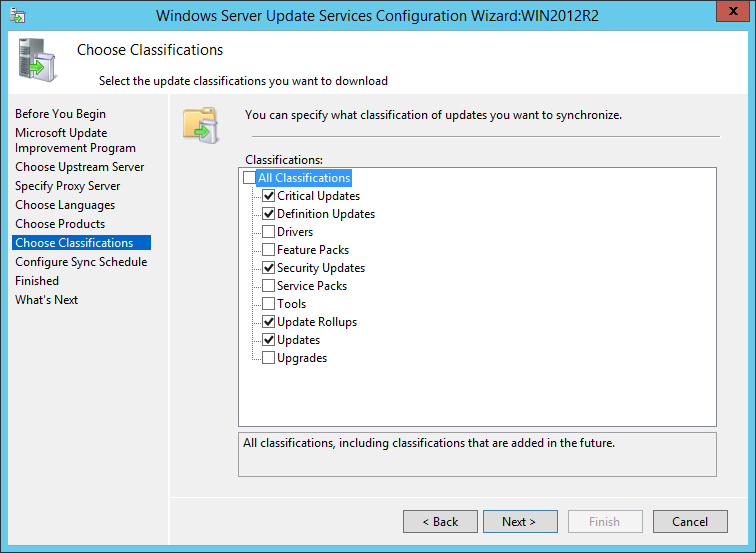
- Choose your desired classifications, and then click ‘Next.’ The default values are just ‘Critical,’ ‘Definition,’ and ‘Security Updates,’ but we strongly recommend that you also include ‘Update Rollups’ and ‘Updates’ because Microsoft releases updates under these two classifications that they deem to be ‘Important.’
IMPORTANT: Do not select ‘Upgrades’ until after you have installed KB3095113 on your WSUS server. If you enable ‘Upgrades’ before installing KB3095113, then you will need to follow instructions here to fix your WSUS to be able to support Windows 10 feature upgrades like the 1607 anniversary update or the 1703 update.
Please also note we have noticed that if you install all applicable Windows Updates to the server prior to enabling ‘Upgrades’, then you actually will not be able to install KB3095113 because in the process of installing all applicable updates, the content of KB3095113 appears to be included in one of the other updates, and KB3095113 will not appear in your update history.
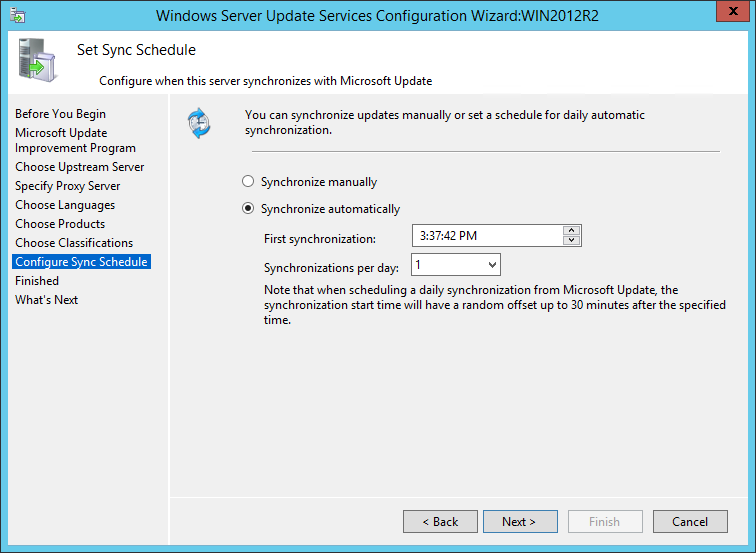
- Choose a synchronization schedule. For most environments, once per day is probably sufficient.
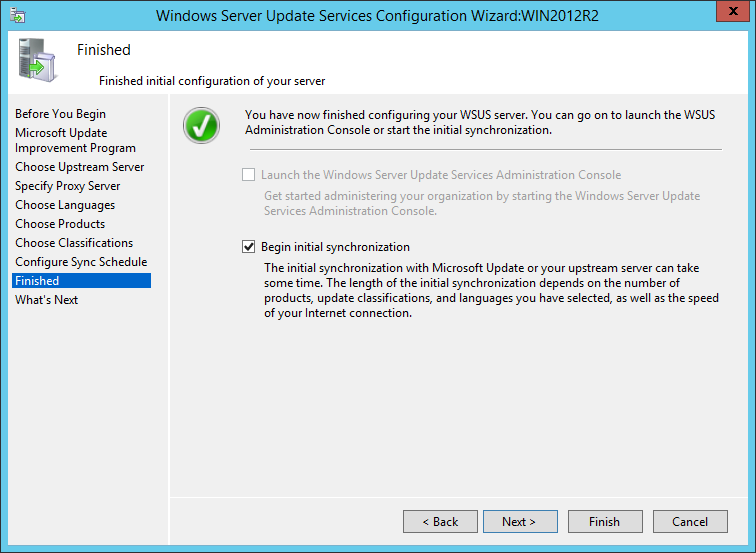
- Lastly, you may choose to begin the initial synchronization. The first synchronization always takes the longest, so at this point you can plan on checking back every hour or two to see if it has completed. Click ‘Finish’ to proceed.
- Now that the WSUS has been configured, you’ll want to use GPO to configure your target computers to get their updates from your new WSUS. Please review the section titled Our recommended approach to using BatchPatch with WSUS on this page to learn which settings to use.