

In the August 2018 release of BatchPatch, one of the new features that we added is the ‘Row Template Configurator’, which is available under ‘Grid > Row template configurator’. When you add new rows to a grid, sometimes it might be helpful to have the new rows be automatically configured with certain values such as scheduled task, job queue, deployment, remote or local command, etc. This is especially the case for users who have their grids configured to automatically synchronize with OUs/groups in Active Directory. After all, when you are automatically adding hosts/rows to a grid on a schedule, it’s common to also want other values automatically applied to the new hosts/rows too. Note, each grid can have its own row template configured/linked. This way if you want hosts that are added to one particular grid to be automatically populated with certain values, but you want hosts added to a different grid to be automatically populated with different values, you can do it very easily by applying a different row template to each grid. To use the row template configurator follow the instructions below.
- Start with a regular row in the main BatchPatch grid. Apply any values you want to the row, such as a job queue or scheduled task or deployment or remote command or local command etc. The idea here is that you’ll create a row in the main grid that contains all of the values/columns that you would like to be automatically included for new rows that are added to the grid.
- Once you have created a “template” row in the main grid, select ‘Grid > Row template configurator’ to launch the row template configurator form.
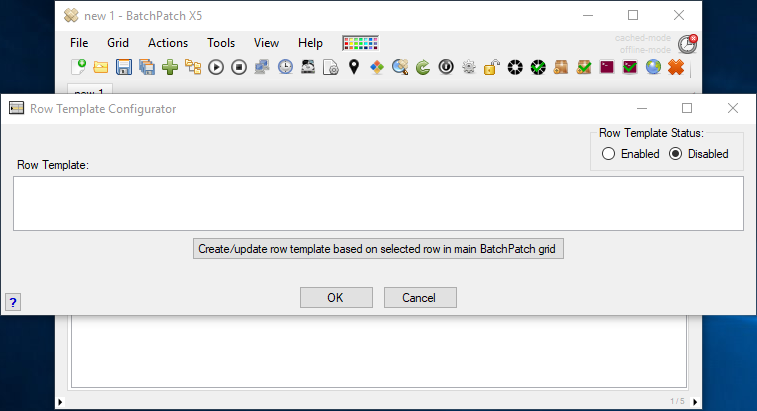
- With the row that you created in the main form still highlighted, click the button ‘Create/update row template based on selected row in main BatchPatch grid.
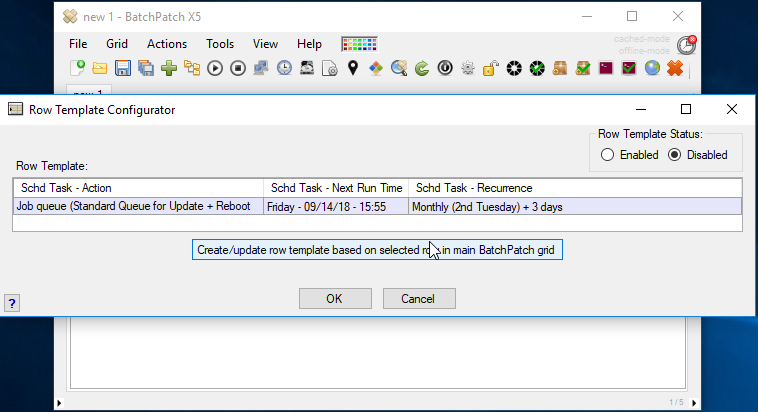
- After clicking the ‘Create/update…’ button you’ll see a single row appear the ‘Row Template’ grid. This row will contain any templatizable values from the main grid’s selected row. So if the main grid has a scheduled task configured, the row template will now show the same scheduled task values. Same goes for any job queues, deployments, commands, notes etc. They will all get included in the row template, and they will be visible in the new row template row that appears in the ‘Row Template Configurator’ form.
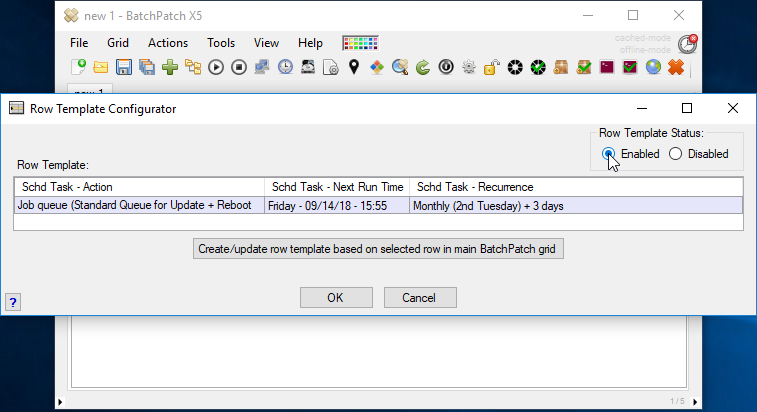
- Now that you have configured the row template values, you need to actually enable the row template for the grid. The default setting is ‘Disabled’ which means that if you add new rows/hosts to this grid, nothing special will occur. But as soon as you switch the radio button to ‘Enabled’ and click OK, then all new rows added to the grid will automatically receive any values that were set in the row template.
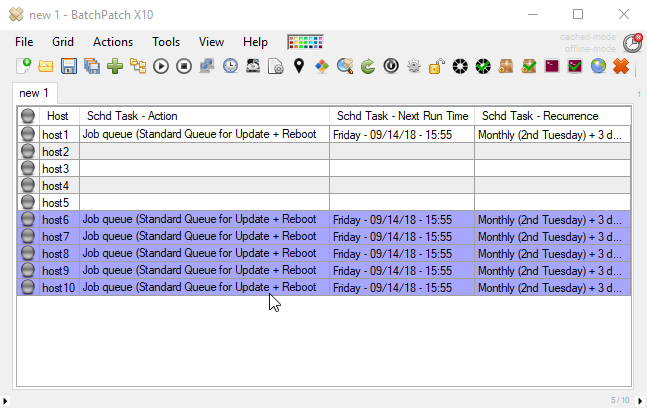
- So now if you look at my existing grid I have ‘host1’ showing a scheduled task configured, but host2, host3, host4, and host5 show nothing. Since I’ve just enabled a new row template for the grid, based on host1, watch what happens when I add more hosts to the grid.
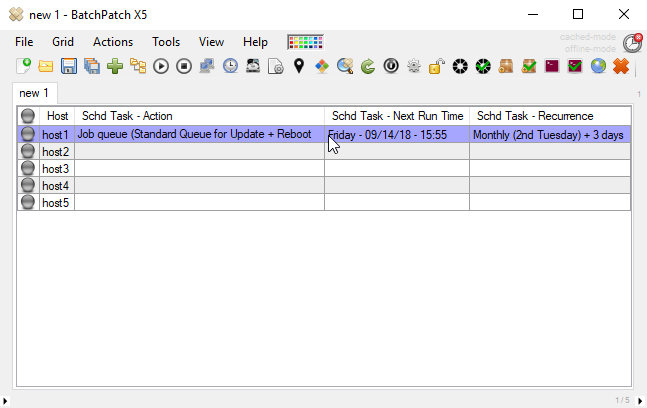
- All the newly added rows/hosts look identical to the row for host1. This is all thanks to the row template that we enabled for this grid.
We know that many of you have been looking forward to this new functionality. As always, if you have any comments or suggestions, don’t hesitate to contact us to let us know.